
EB One Page Navigation helps you turn a long single-page layout into a guided browsing experience. It is a Pro Block designed to transform long single‑page layouts into a guided browsing experience. It adds a sticky navigation menu that follows visitors as they scroll, highlights the section currently in view and allows smooth jumps to any other section with a single click.
This makes it an ideal solution for landing pages, product showcases, event sites, club homepages or any layout where all content lives on one URL. Instead of hand‑coding anchor links and scroll‑spy scripts, you can simply map each menu item to a section ID, choose from six ready‑made layout presets and customize colors, position and scroll behavior directly from the Gutenberg sidebar.
Learn how to add and configure a sticky, scroll-aware section navigator on your Gutenberg website using the One Page Navigation block from Essential Blocks.
Note: One Page Navigation is a premium block. You will need to install and activate Essential Blocks PRO on your website with the free version.
Before you begin: One Page Navigation is available from Essential Blocks 6.4.0 and Essential Blocks PRO 3.1.0 onwards. Update both plugins to at least these versions; otherwise, the block will not appear in your block library.
How to Activate the EB One Page Navigation Block? #
Every block in Essential Blocks can be switched on or off individually, which keeps your site lightweight by loading only the assets you actually use. Follow the three steps below to enable One Page Navigation.
Step 1: Open Your WordPress Dashboard #
Log in to your WordPress admin area. From the left-hand menu, locate Essential Blocks and click on it. If you cannot see the menu item, confirm that the plugin is installed and activated from Plugins → Installed Plugins first.
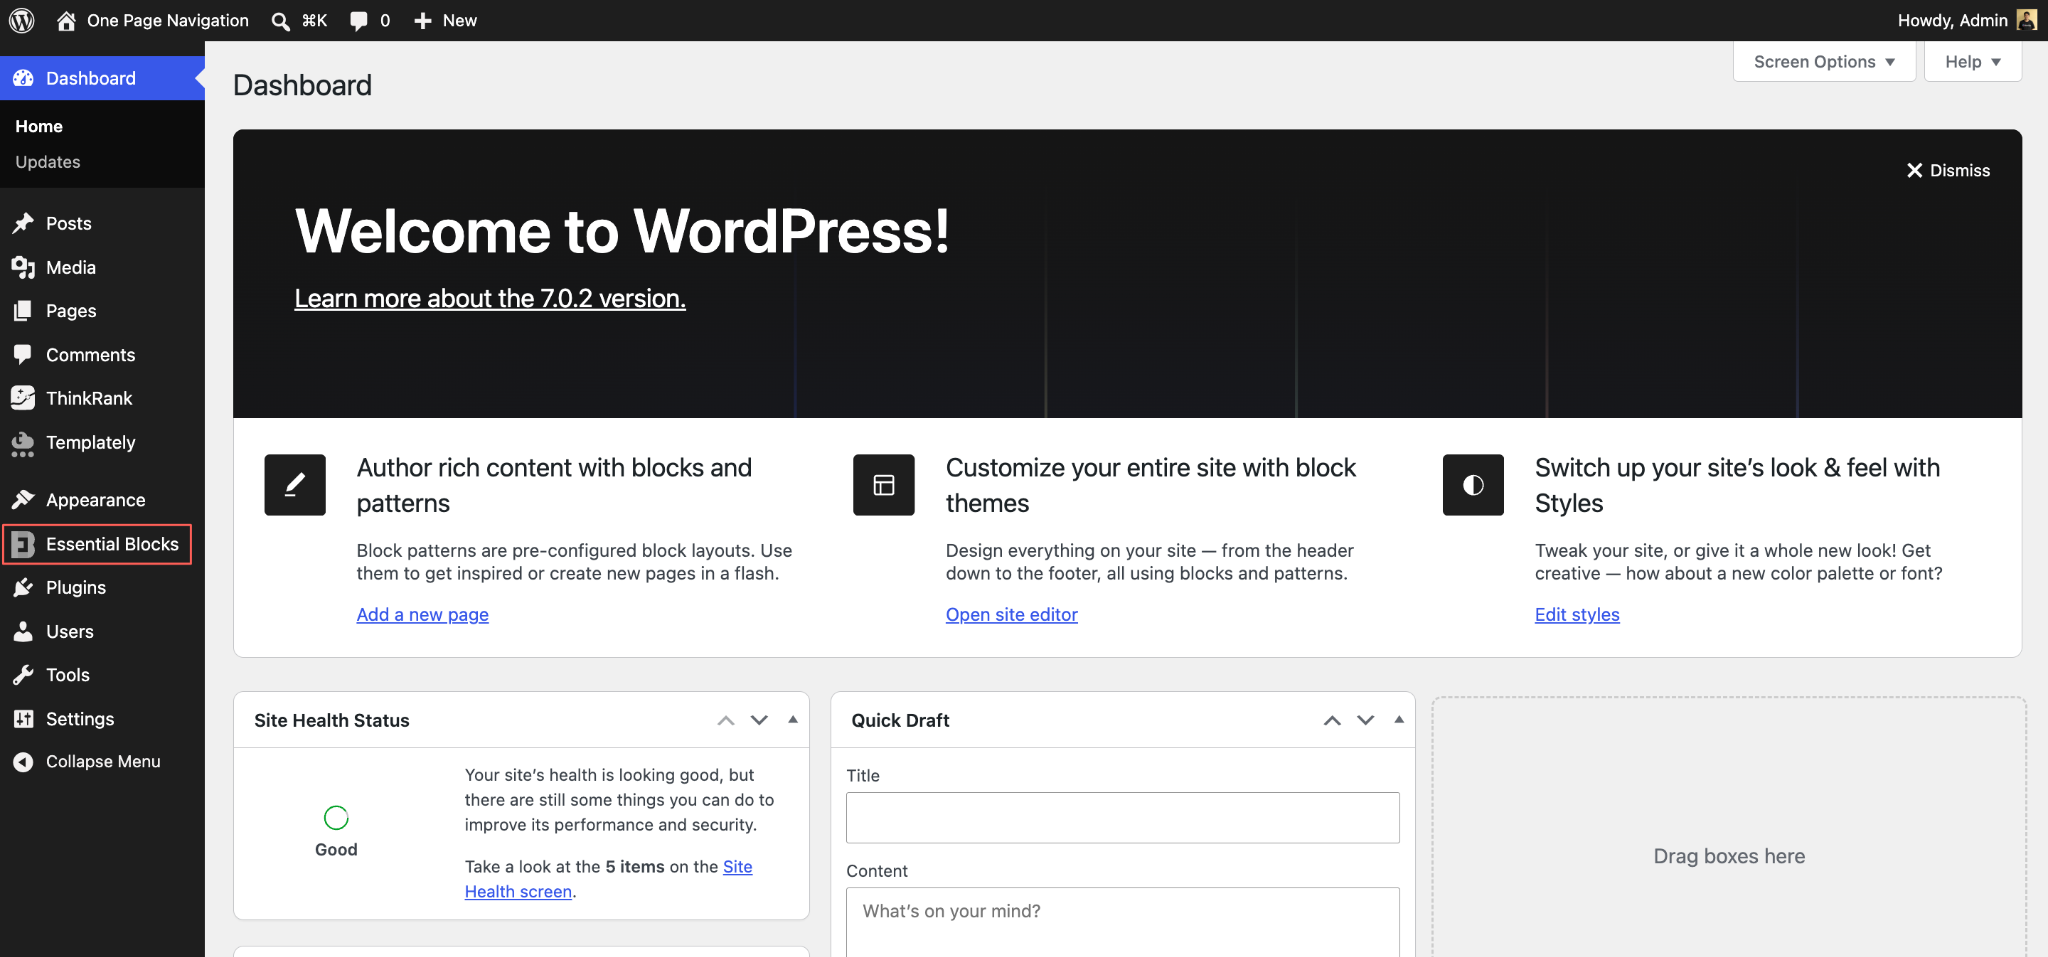
Step 2: Go to the Blocks Tab #
Inside the Essential Blocks dashboard, open the Blocks tab. Here you will find the complete block library, grouped into categories such as Content Blocks, Creative Blocks, Dynamic Content Blocks and WooCommerce. The Global Control panel at the top lets you enable or disable every block at once.
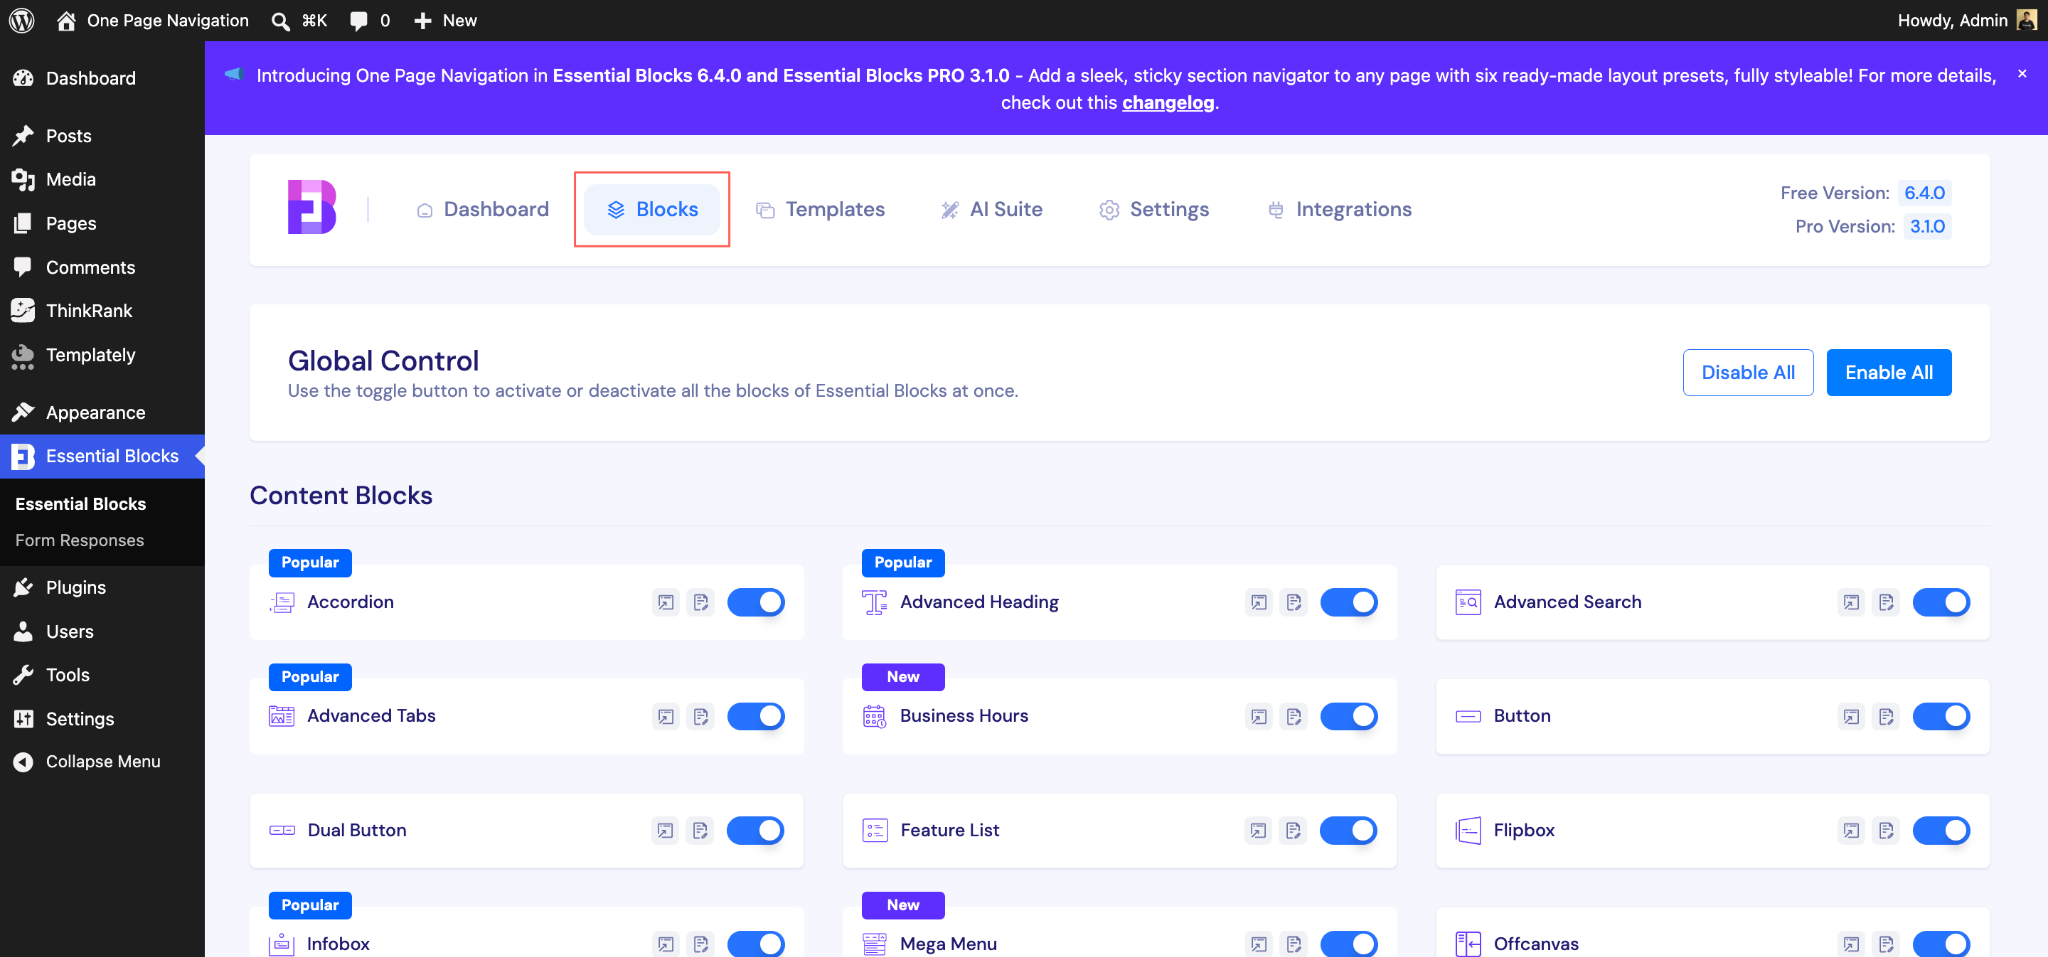
Step 3: Enable the One Page Navigation Block #
Scroll down to the Creative Blocks section and find One Page Navigation. Toggle the switch on. The setting saves automatically, so the block is immediately available inside the Gutenberg editor.
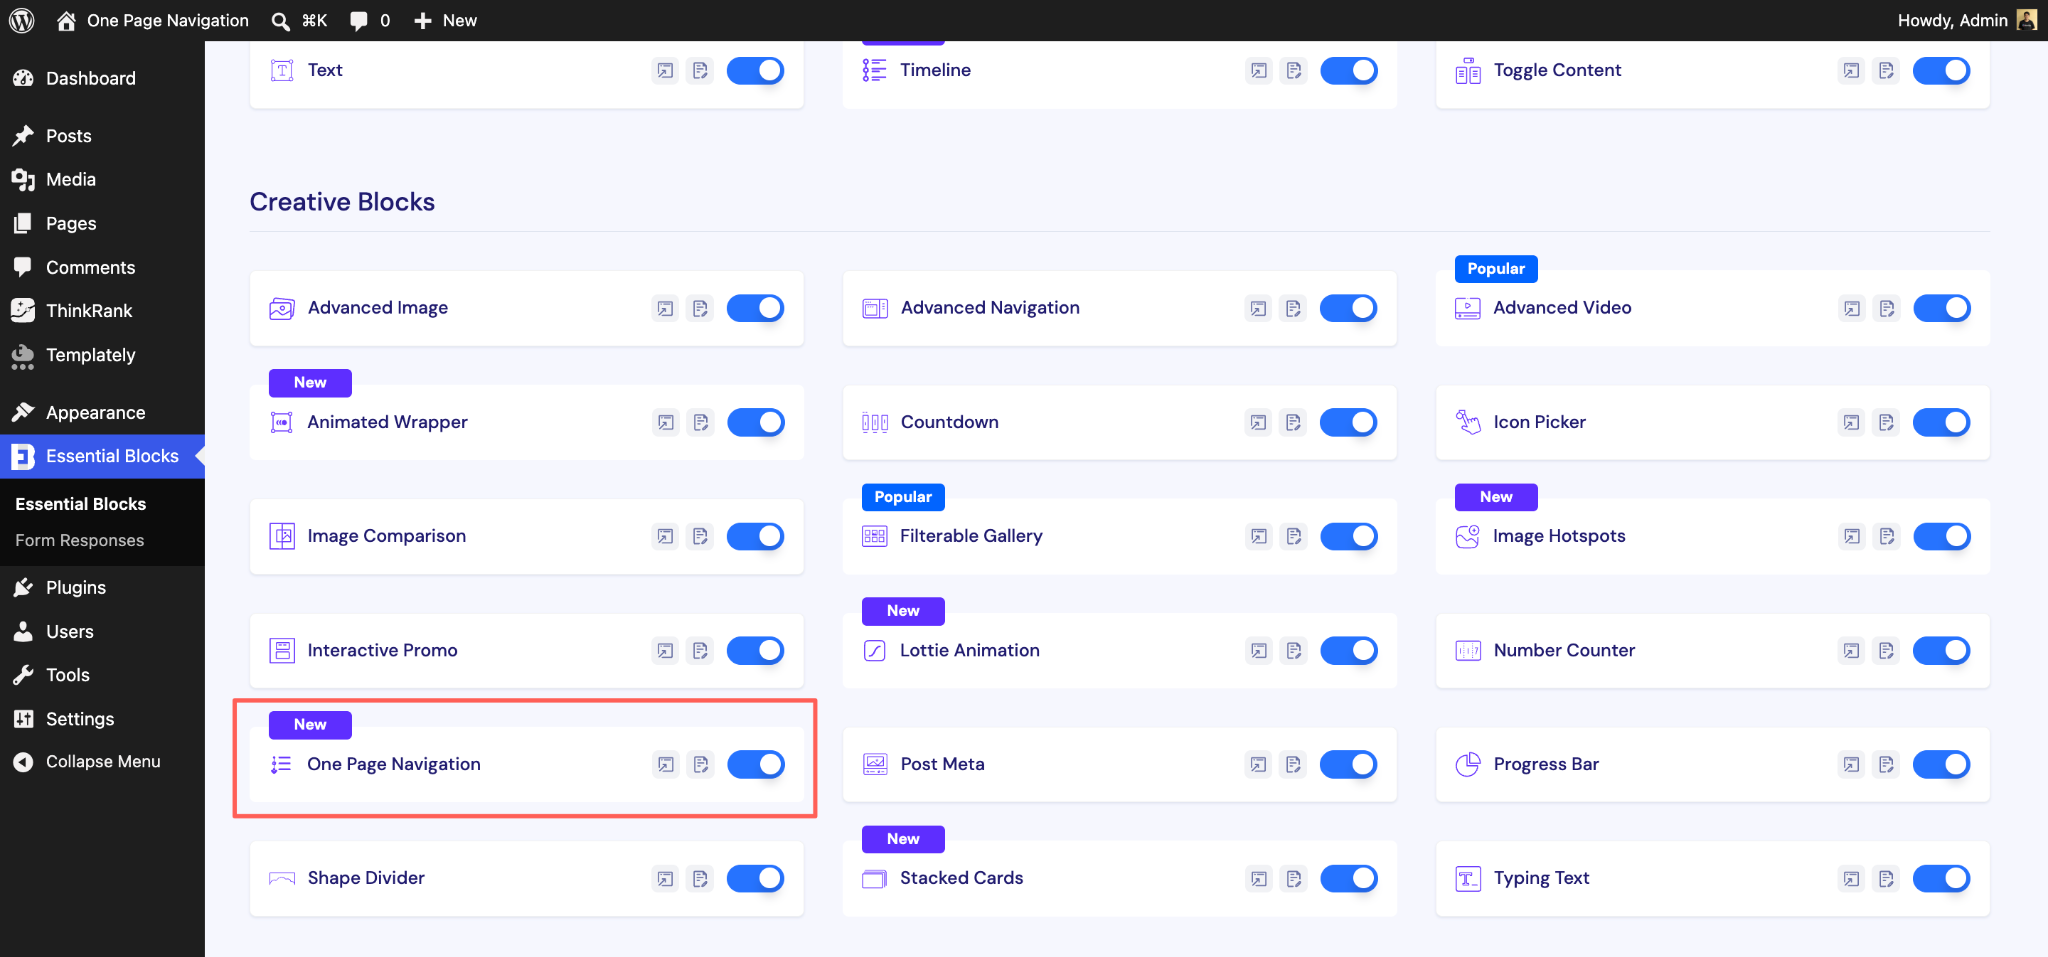
How to Configure One Page Navigation in Gutenberg? #
One Page Navigation works by connecting each menu item to a section on the same page. So the configuration happens in two parts: first you prepare the page sections, then you add the block and map the items to those sections.
Step 1: Give Every Section a Unique Section ID #
Open the page you want the navigator on and click the List View icon in the top toolbar. List View gives you a structured overview of the page, which makes it much easier to identify each section wrapper.
For example, select a section wrapper, open the Advanced panel in the block settings left sidebar and enter a unique value in the HTML Anchor field. This value becomes the Section ID that One Page Navigation links to. In the example below, the page sections are named banner, about, result, team, tickets, products and news, and each name appears next to its Wrapper block in List View.
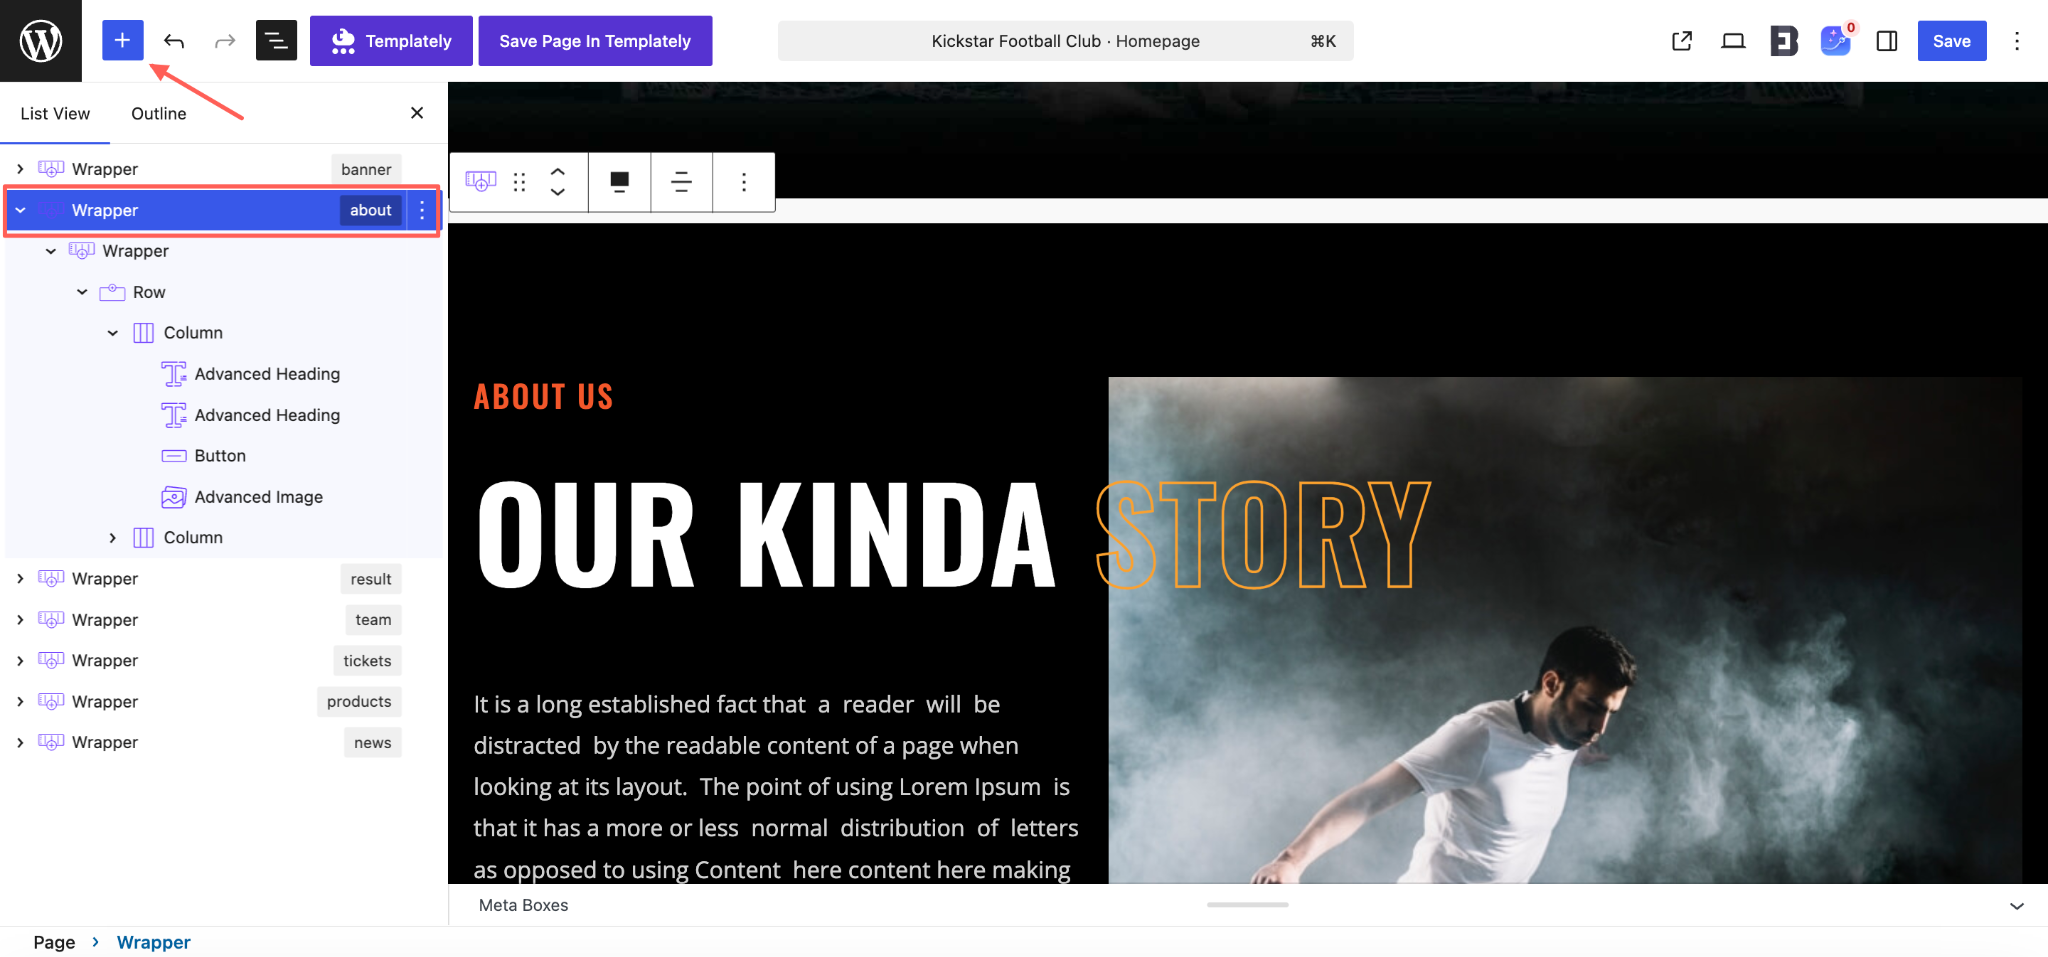
Step 2: Add the One Page Navigation Block #
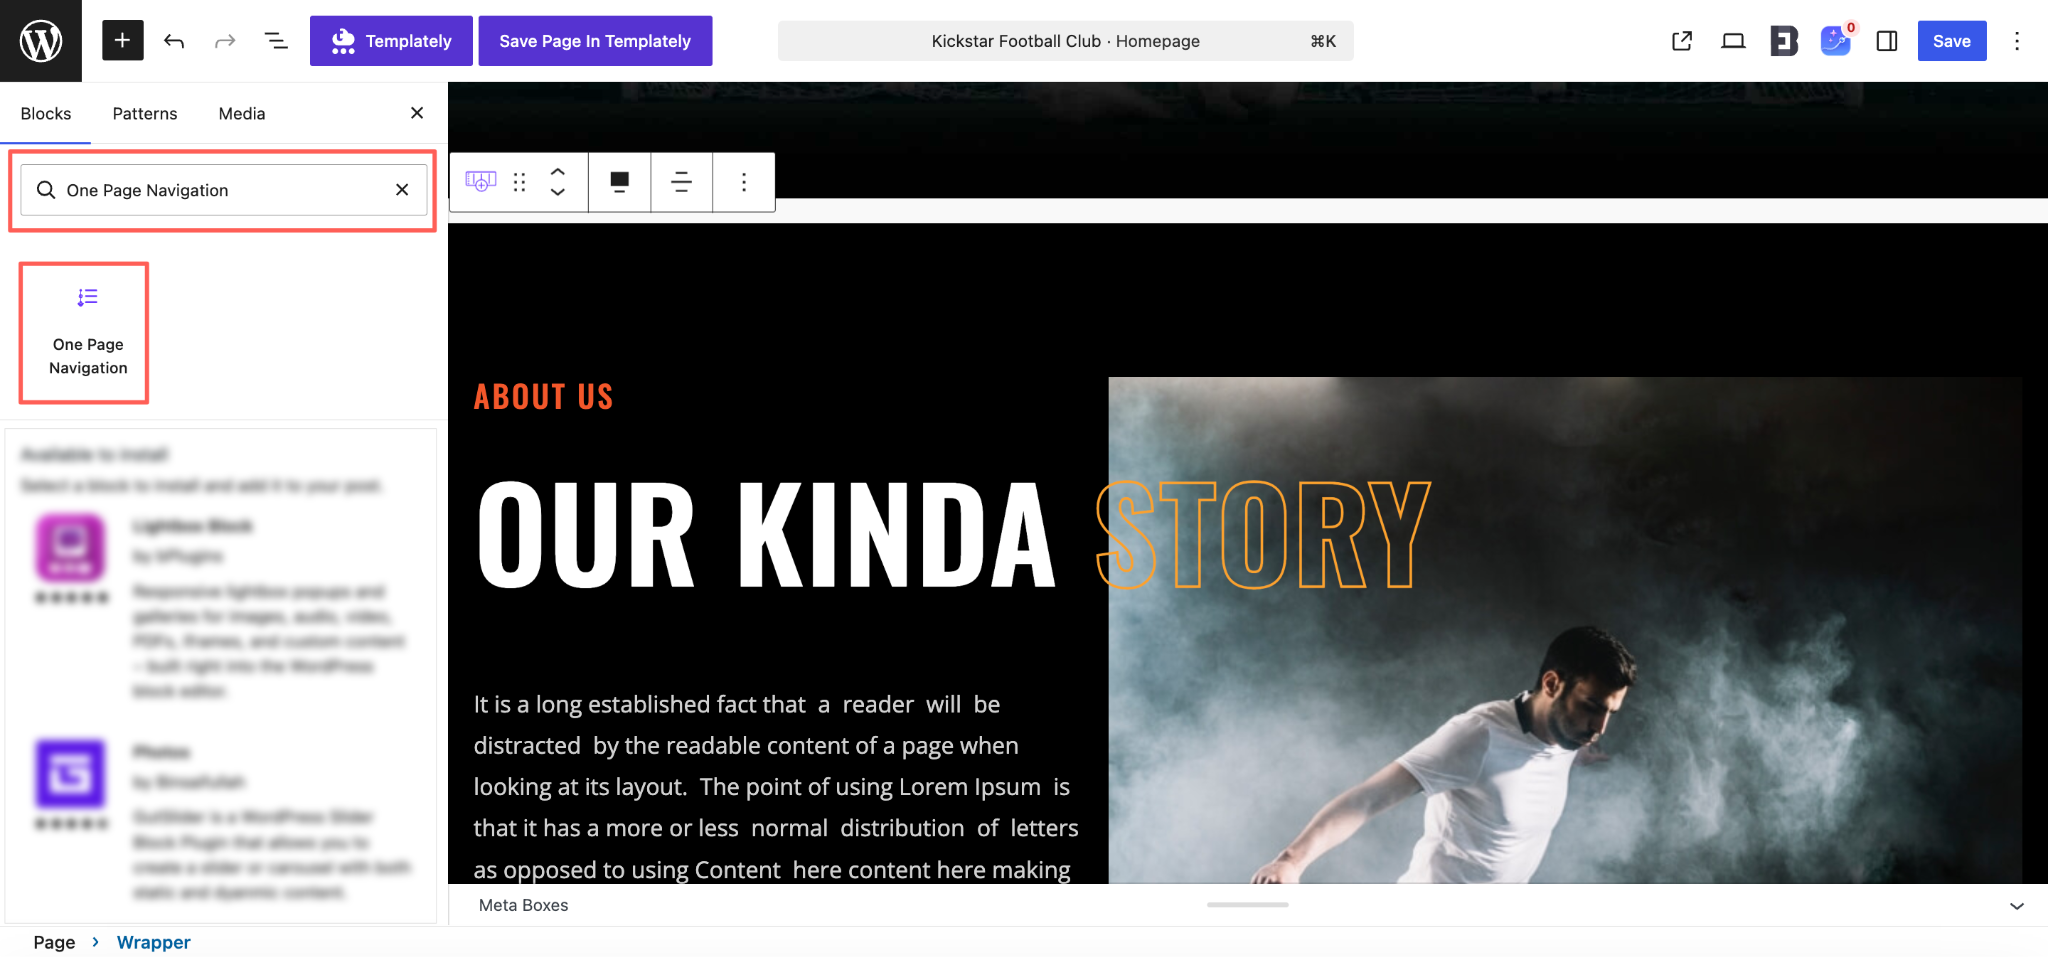
Click the plus (+) icon in the top-left corner of the editor to open the block inserter, then type “One Page Navigation” in the search field. Click the block or drag it onto the canvas to insert it.
Because the navigator is sticky and floats above your content, its exact position in the block order does not affect where it appears on the front end. Placing it at the very top of the page simply makes it easier to select again later.
Step 3: How to Configure One Page Navigation Settings #
The Navigation Items panel is where you build the menu itself. Each item represents one section of your page.
- Click Add Item to create a new menu entry.
- Open an item to set its label and the Section ID it should scroll to. Match the ID exactly to the HTML Anchor you assigned in Step 1.
- Drag items using the handle on the right to reorder them so they follow the reading order of your page.
- Remove any item you no longer need directly from the list.
Here, the items Banner, About, Result and Team line up with the matching wrappers visible in List View, which is the quickest way to double-check your mapping.
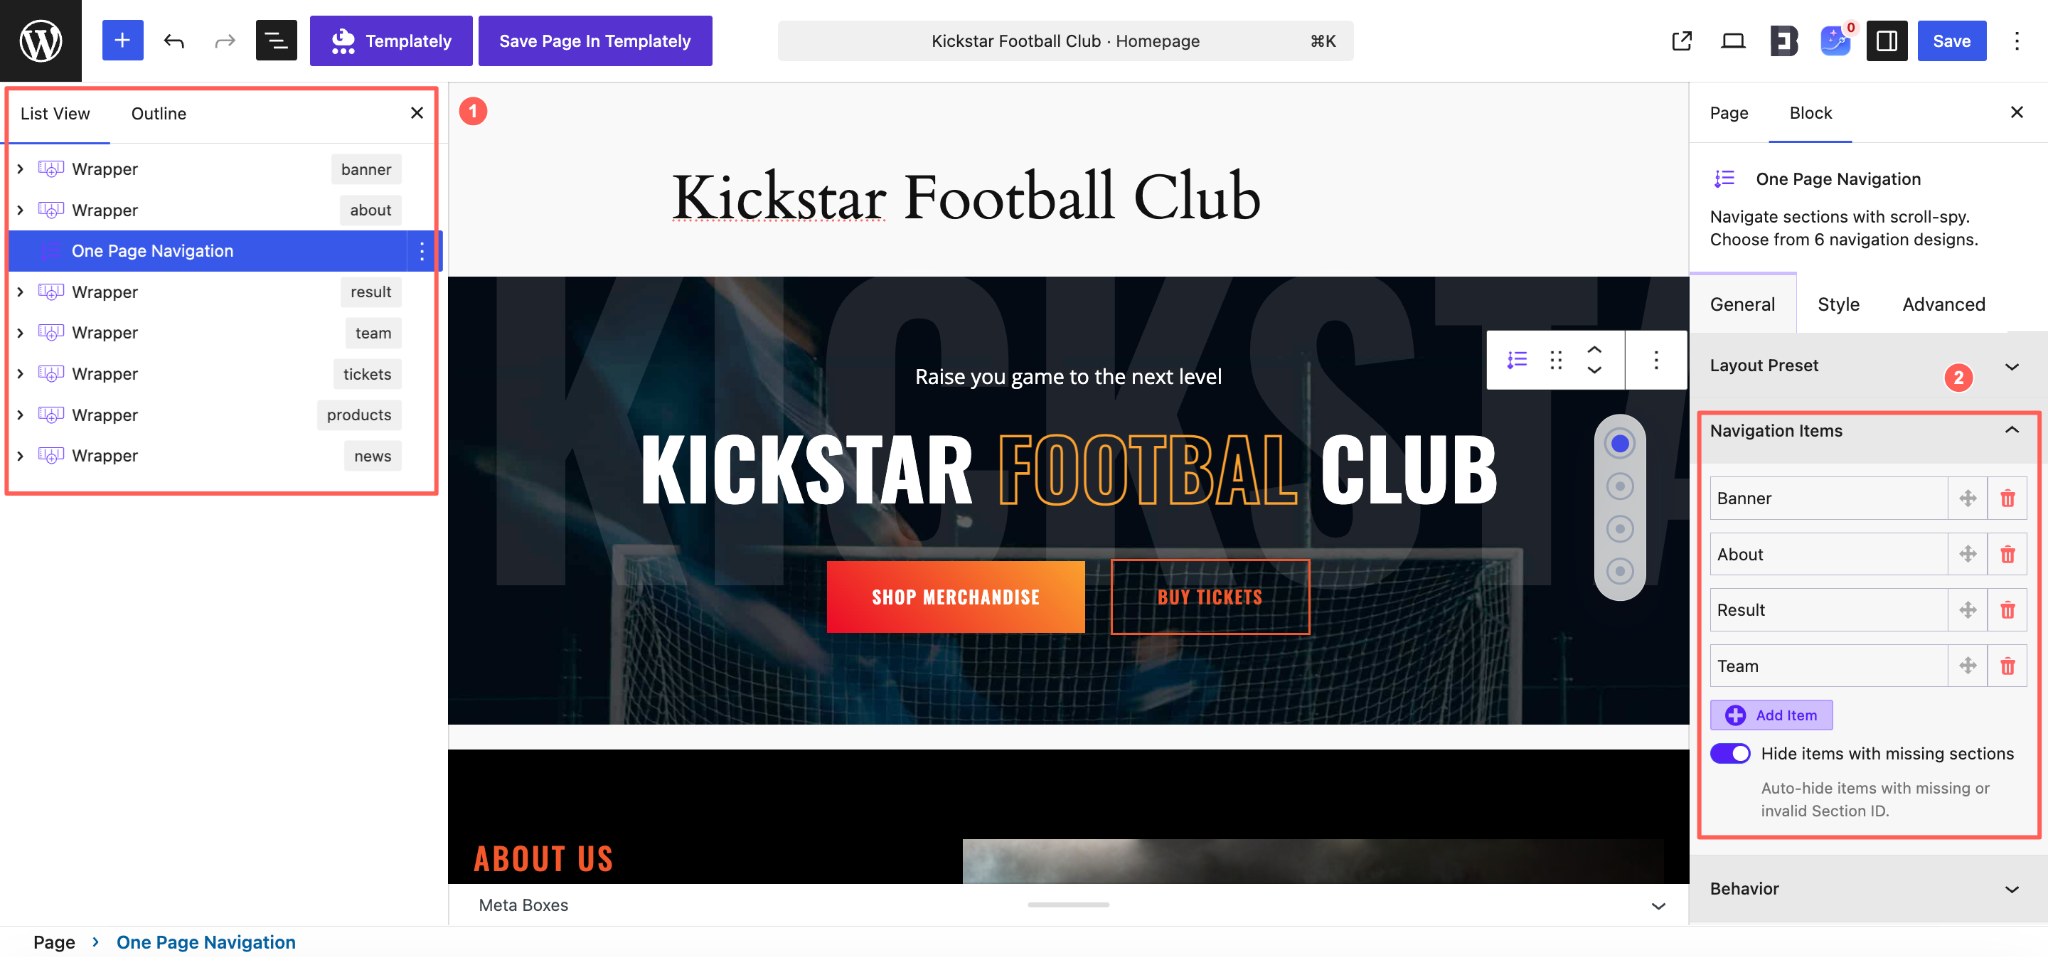
Just under the list, you will find Hide items with missing sections. Turn this on and the block automatically hides any menu item whose Section ID is missing or invalid. It is a useful safeguard on pages you edit often, because a deleted section will no longer leave a dead link in the navigator.
General #
With the block selected, open the General tab in the right sidebar. It contains three panels: Layout Preset, Navigation Items and Behavior.
Layout Preset #
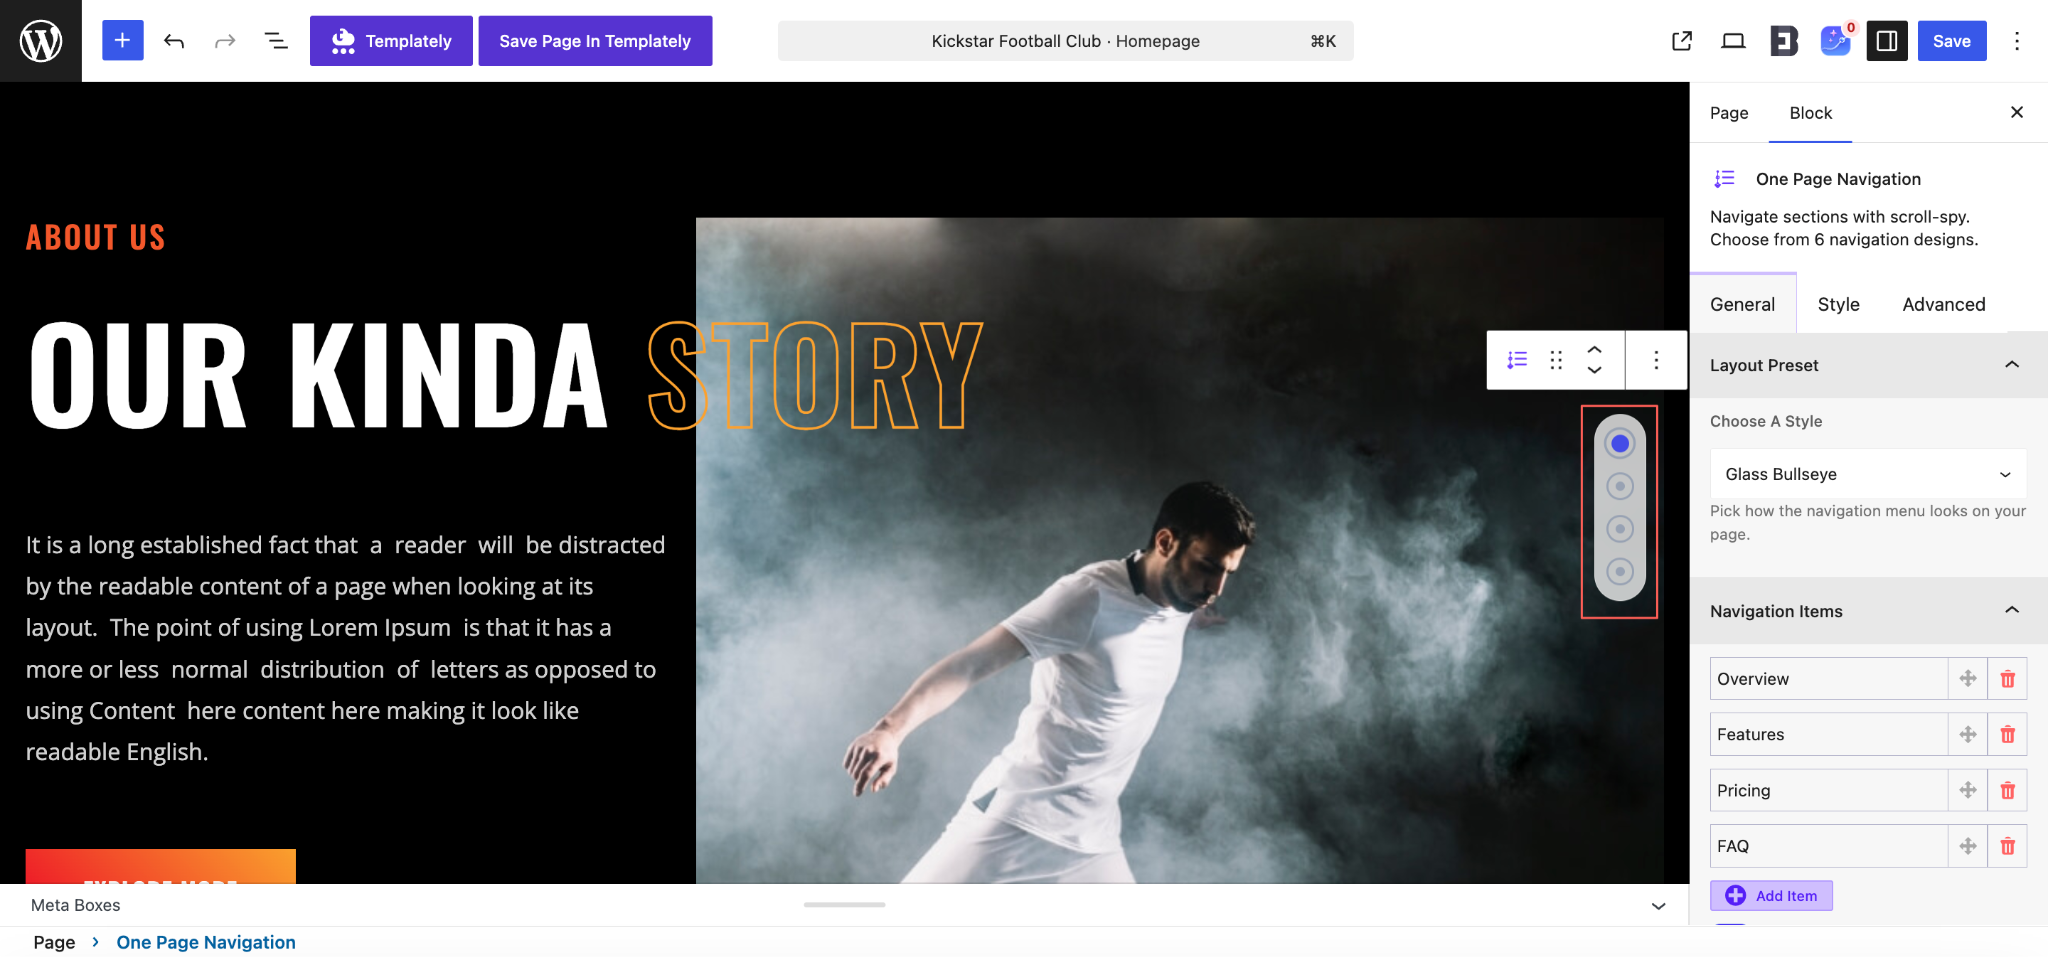
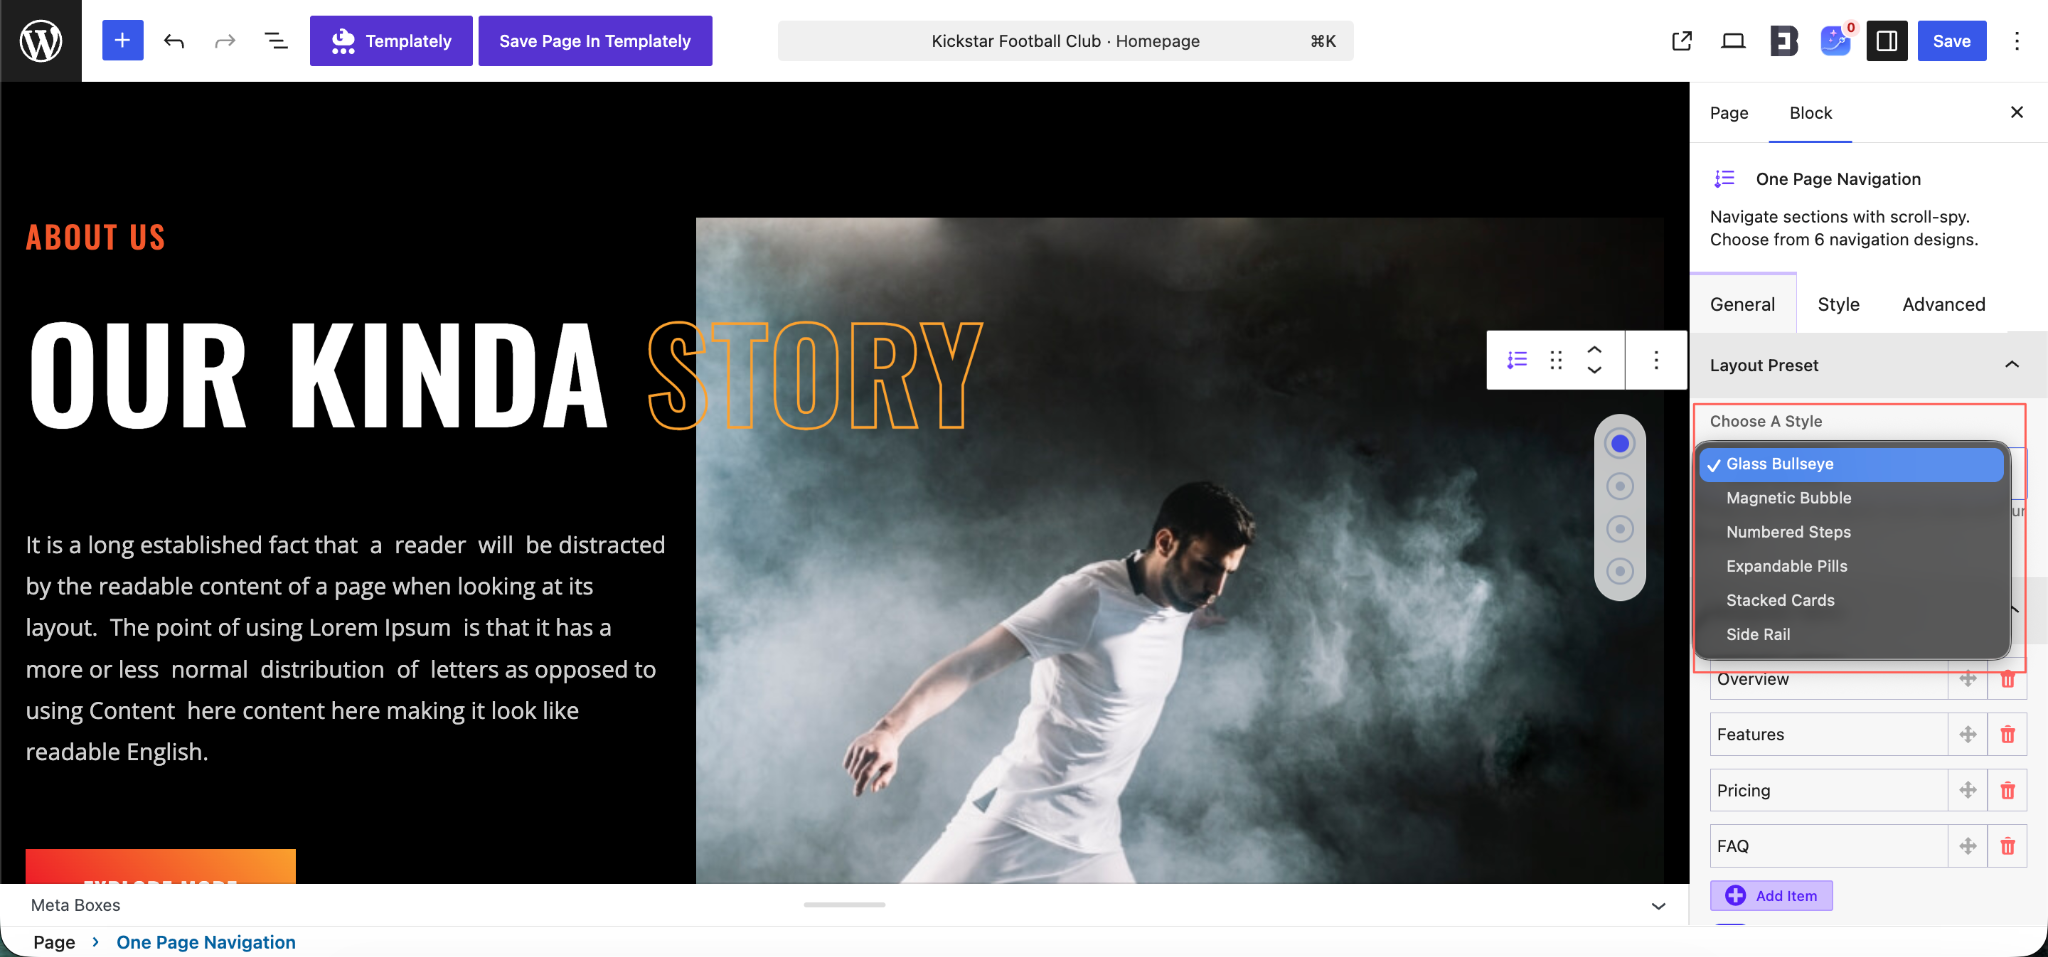
The Choose A Style dropdown controls how the navigation menu looks on your page. Selecting an option updates the navigator instantly on the canvas, so you can compare designs before you publish.
Six presets ship with the block:
- Glass Bullseye: a frosted, glass-style indicator with a progress ring around the active item. A strong match for modern, image-heavy pages.
- Magnetic Bubble: soft rounded bubbles that pull focus toward the section currently in view.
- Numbered Steps: numbers each section in order, which suits guided or sequential pages such as onboarding and how-it-works layouts.
- Expandable Pills: compact pills that expand to reveal the full section label on hover.
- Stacked Cards: card-style items stacked vertically for a bolder, more prominent menu.
- Side Rail: a slim vertical rail with minimal markers, ideal when you want navigation to stay unobtrusive.
Behavior #
The Behavior panel controls how the navigator moves and where it sits on the screen.
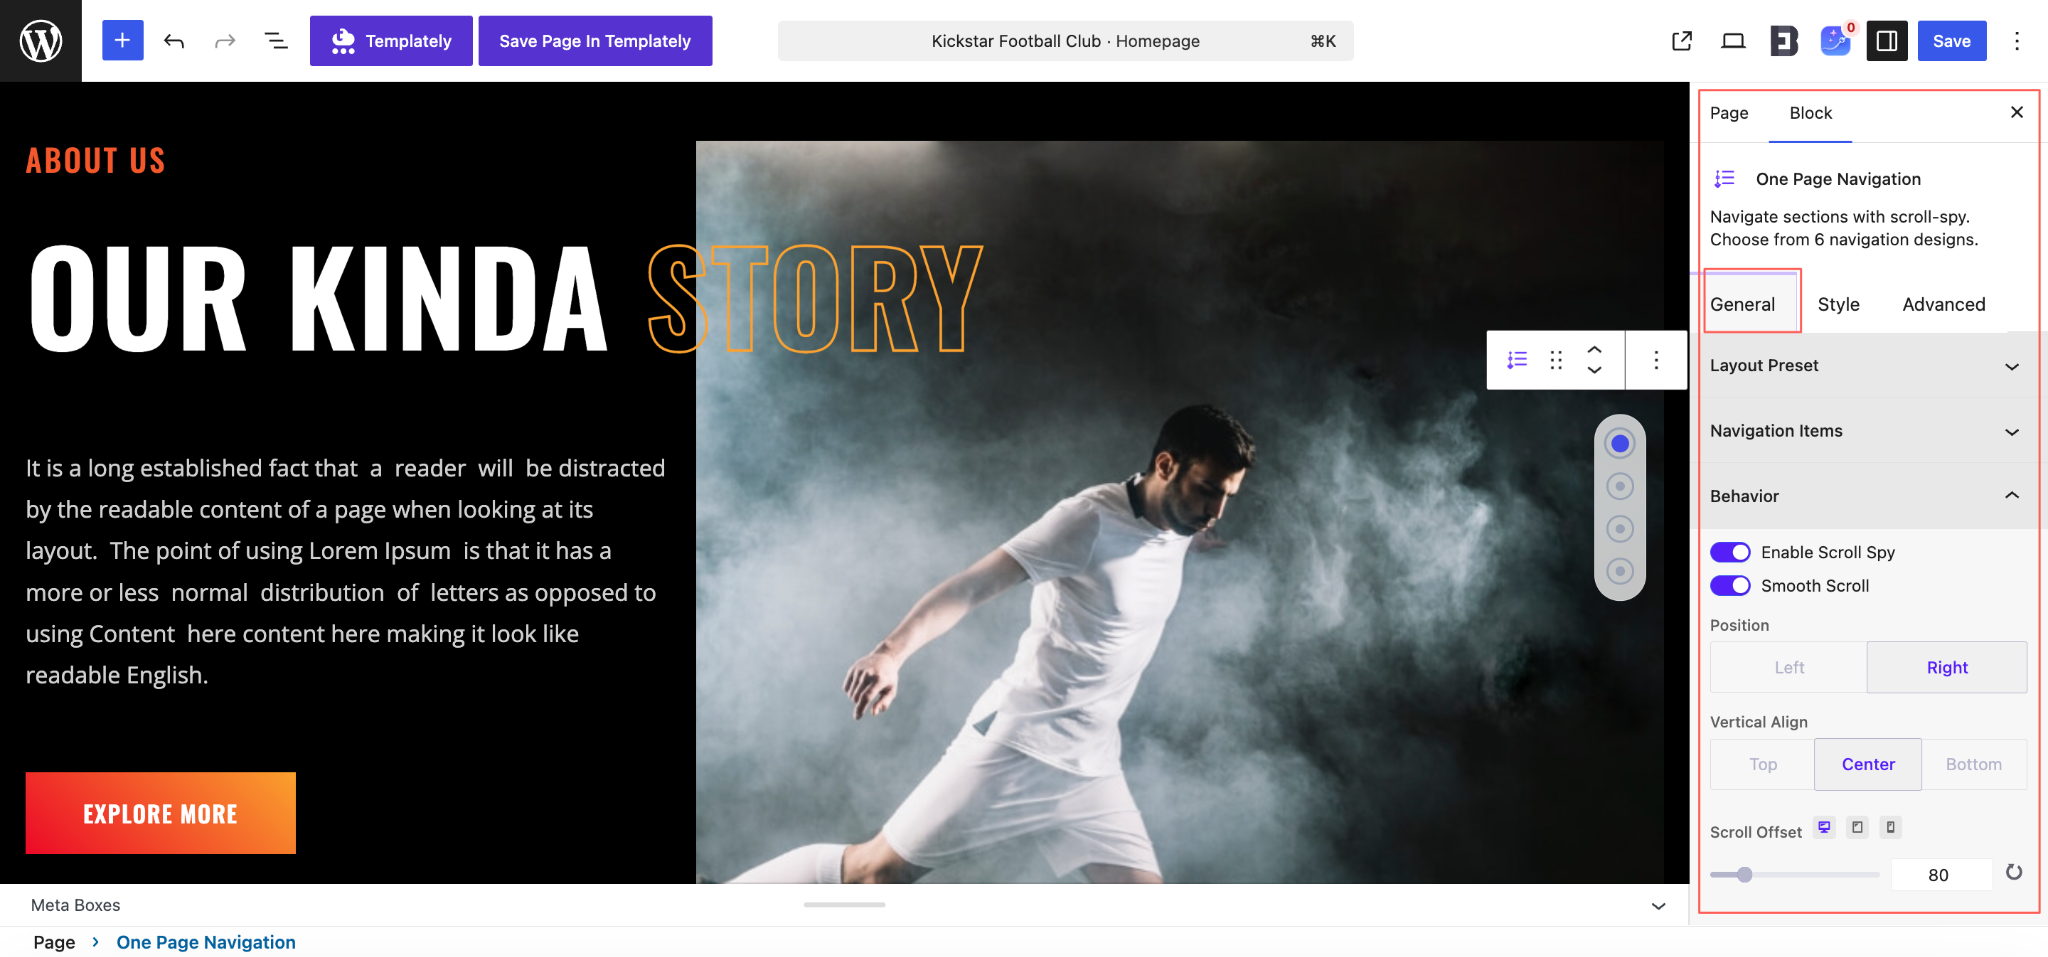
- Enable Scroll Spy: highlights the menu item that matches the section currently in the viewport, so visitors always know where they are on the page.
- Smooth Scroll: animates the jump between sections instead of snapping instantly, which feels far more polished on long pages.
- Position: places the navigator on the left or the right edge of the screen. Pick the side that stays clear of your key visuals and call-to-action buttons.
- Vertical Align: anchors the menu to the top, center, or bottom of the viewport.
- Scroll Offset: sets how many pixels above a section the page should stop, measured in pixels and set to 80 by default. Increase it if you use a sticky header; otherwise the header will cover your section titles. The device icons next to the label let you set a different offset for desktop, tablet and mobile.
Style #
Switch to the Style tab to bring the navigator in line with your brand palette and typography.
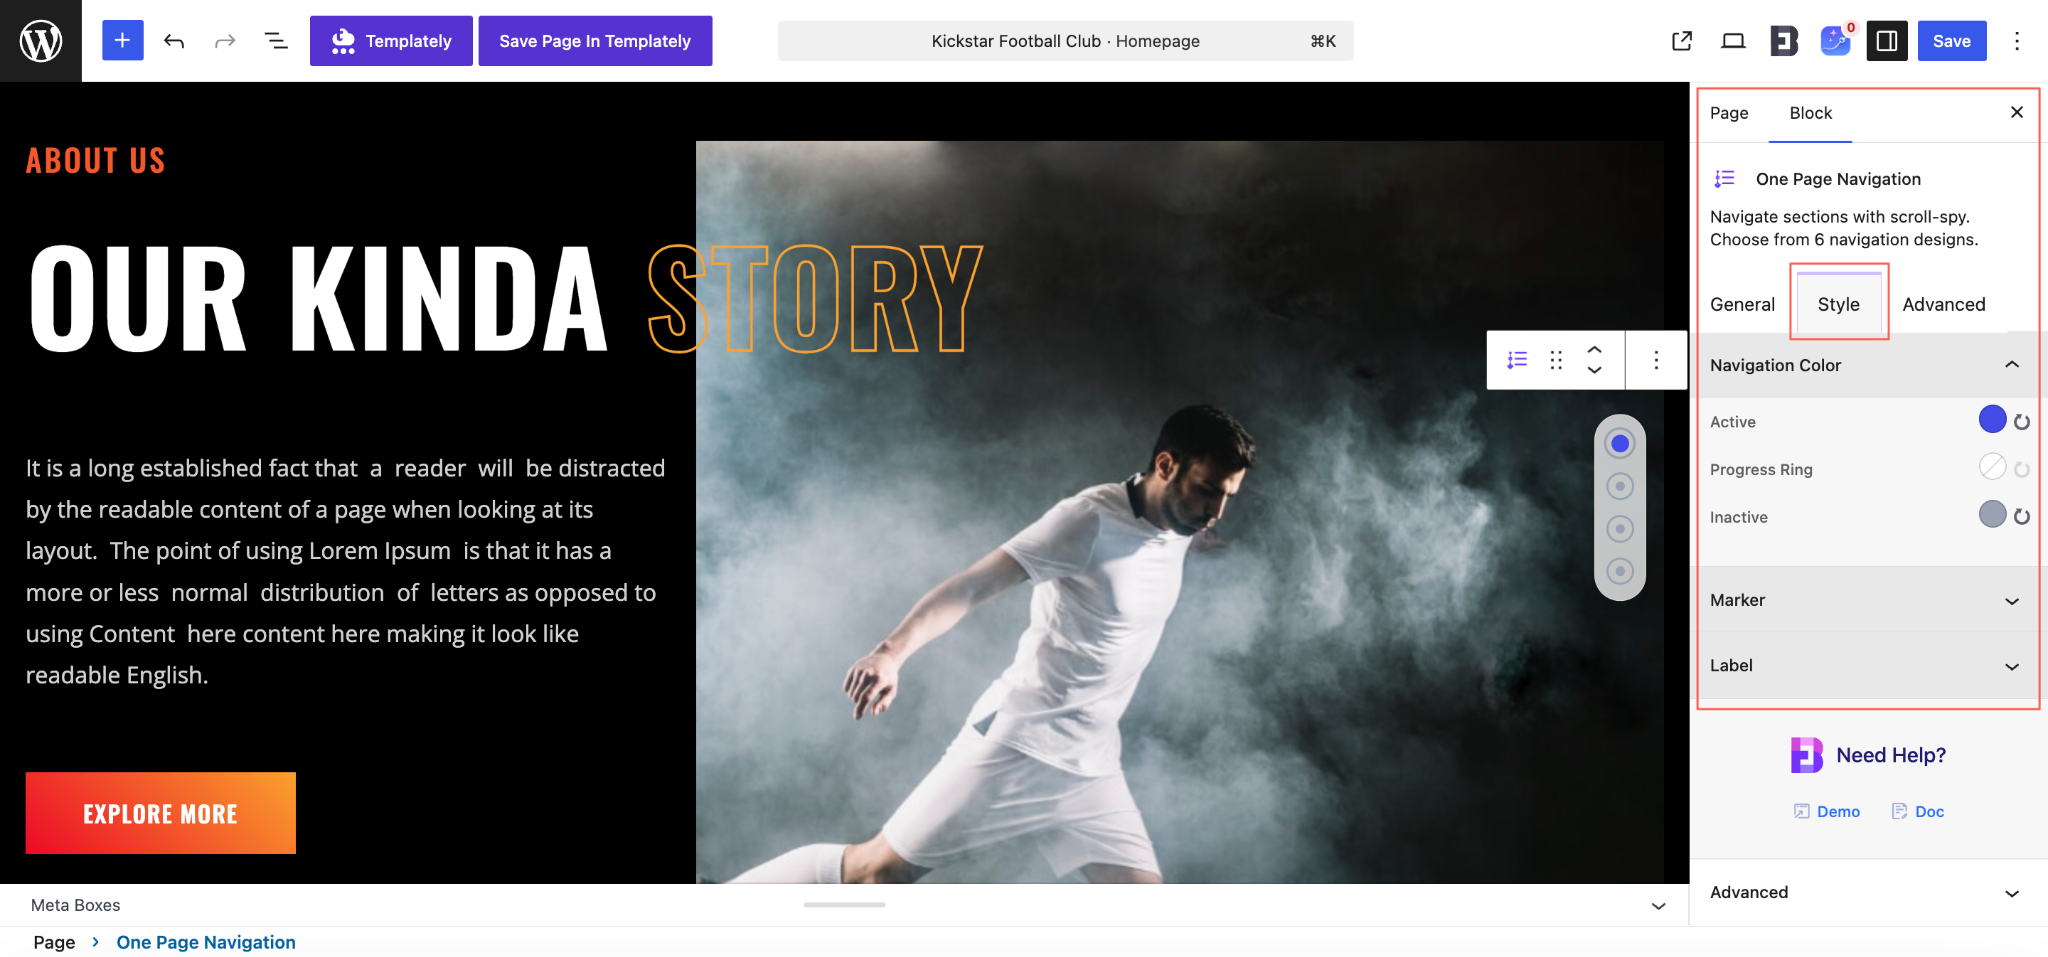
- Navigation Color: set the Active color for the item currently in view, the Progress Ring color that tracks scroll progress and the Inactive color for the remaining items. Keeping a clear contrast between active and inactive states is what makes the navigator readable at a glance.
- Marker: style the indicator itself, including its size, spacing and shape depending on the preset you selected.
- Label: control the typography, color and spacing of the item labels so they match the rest of your page.
Advanced #
The Advanced tab gives you the same fine-grained controls available across Essential Blocks, so you can align the navigator with your overall design system and user experience.
These settings include Visibility Options, Margin & Padding, Background, Border & Shadow, Liquid Glass Effect, Responsive Control, Animation, Interactive Animation, Conditional Display and Custom CSS.
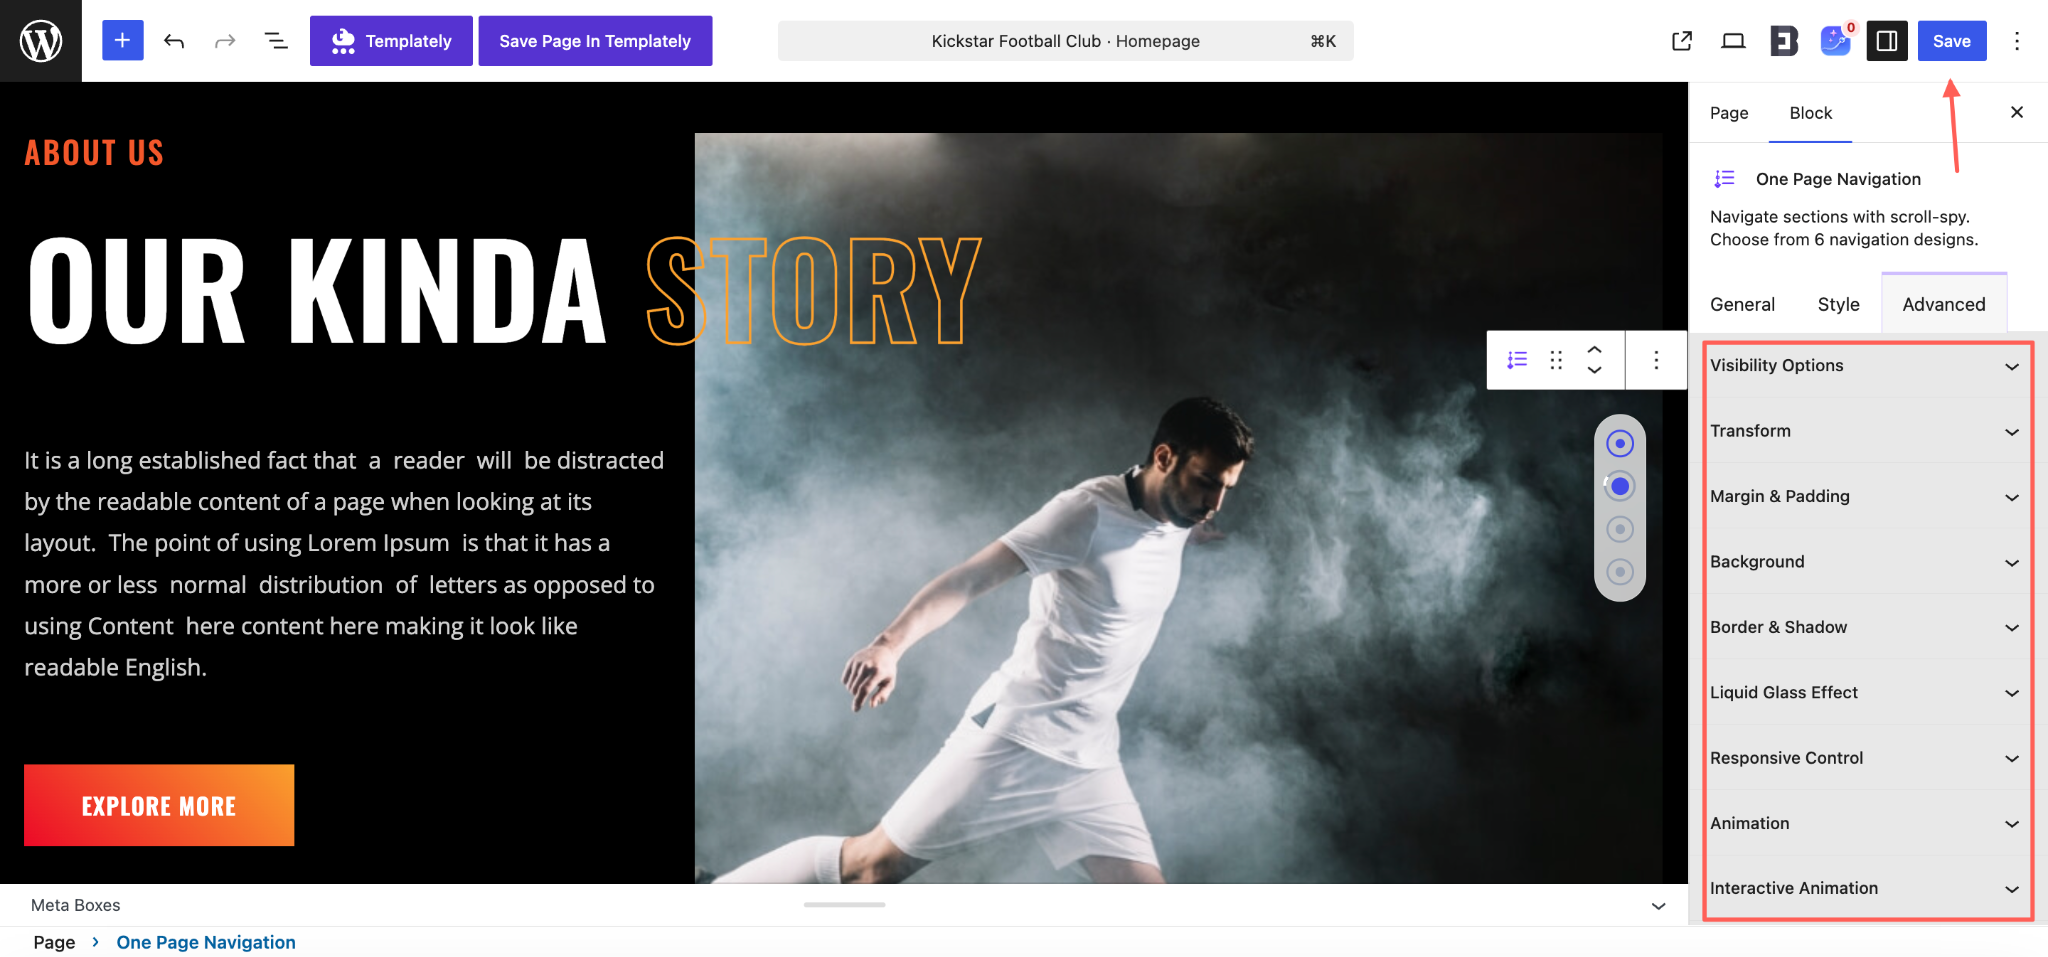
Once you are done customizing, click ‘Save’ or ‘Publish’ at the top and preview your changes on the front end. Scroll through the page to confirm that every menu item highlights the correct section and that the scroll offset clears your header.
Final Outcome #
By following this guide, you have learned how to add One Page Navigation to your WordPress website. With the Essential Blocks plugin, you can turn any long-scrolling page into a smooth, professional one-page experience without touching a line of code.
Getting stuck? Feel free to Contact Our Support for further assistance.


