With EB Advanced Image block, you can showcase your brand image in an astonishing manner with versatile styles and hover effects. This responsive block from Essential Blocks can also help you to boost user engagement and increase pique their interest.
Follow this step-by-step guide to display interactive images With EB Advanced Image in Gutenberg.
How To Activate EB Advanced Image Block? #
First, install and activate Essential Blocks for the Gutenberg plugin into your WordPress dashboard. Essential blocks come with modular control which gives you the freedom to enable only using blocks.
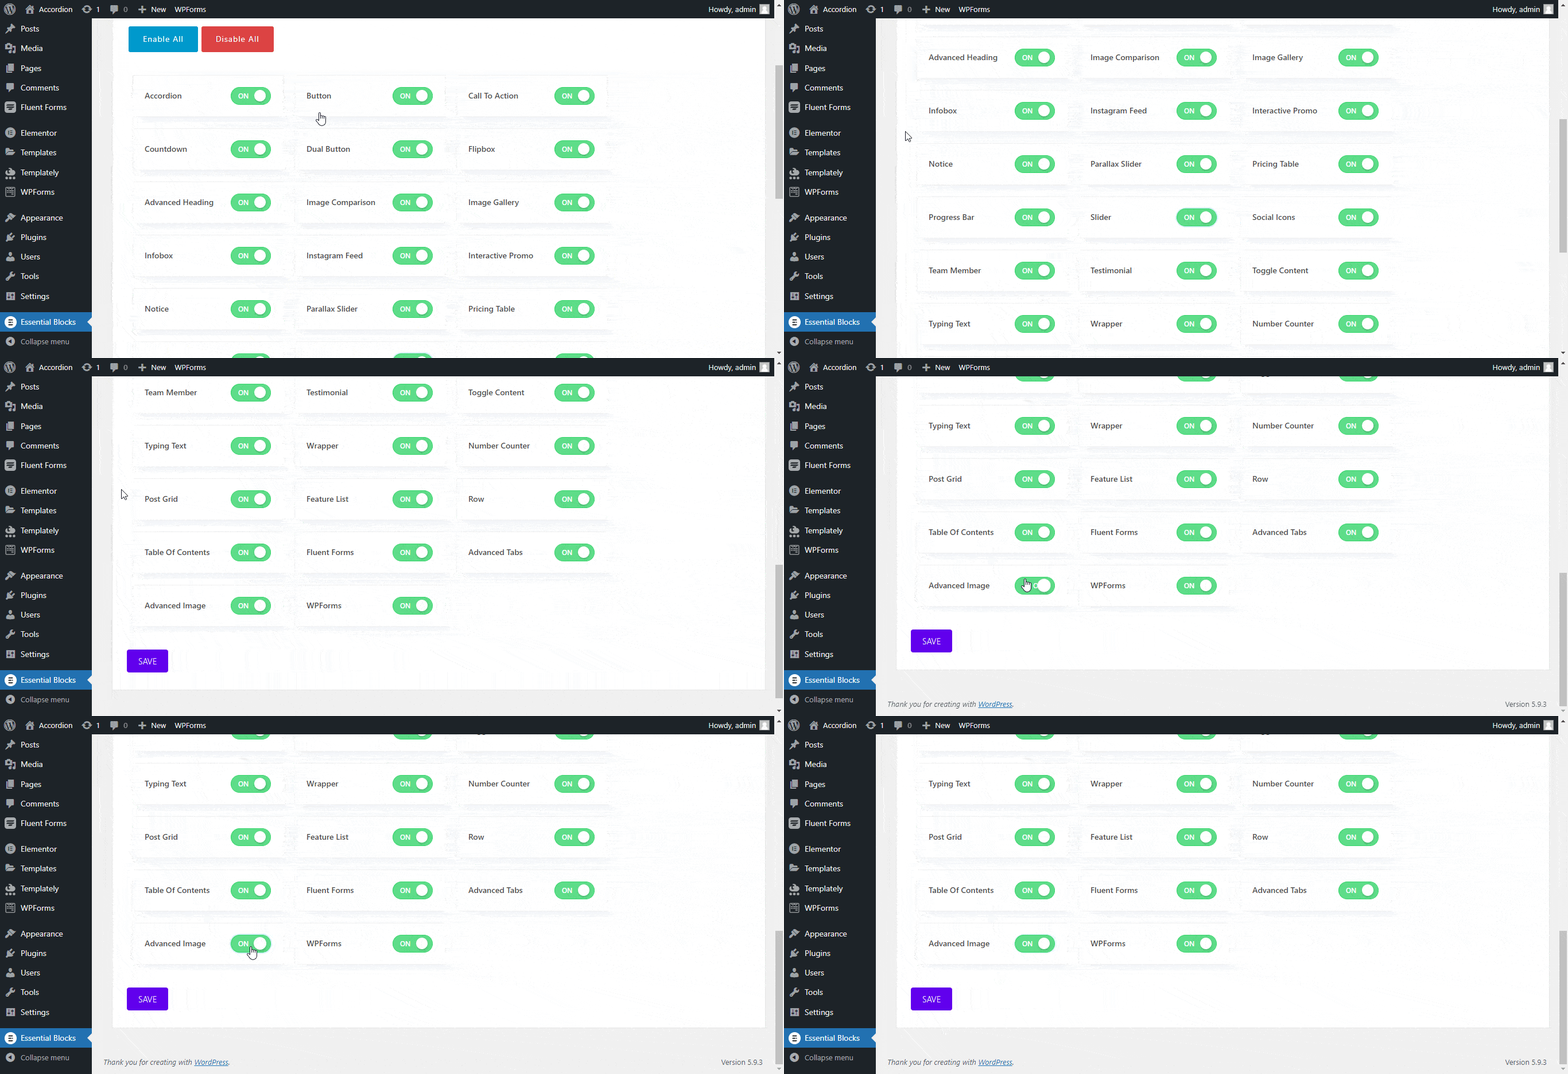
To activate EB Advanced Image block, navigate to Essential Blocks → Blocks. Then, toggle to enable this ‘Advanced Image’ block. After that, click on the ‘Save’ button.
How To Insert Advanced Image Block In Gutenberg? #
Now open a new page or existing page from the WordPress dashboard. Press the ‘+’ icon, type ‘Advanced Image’, and just click on the block. It will successfully appear on your main editing page.
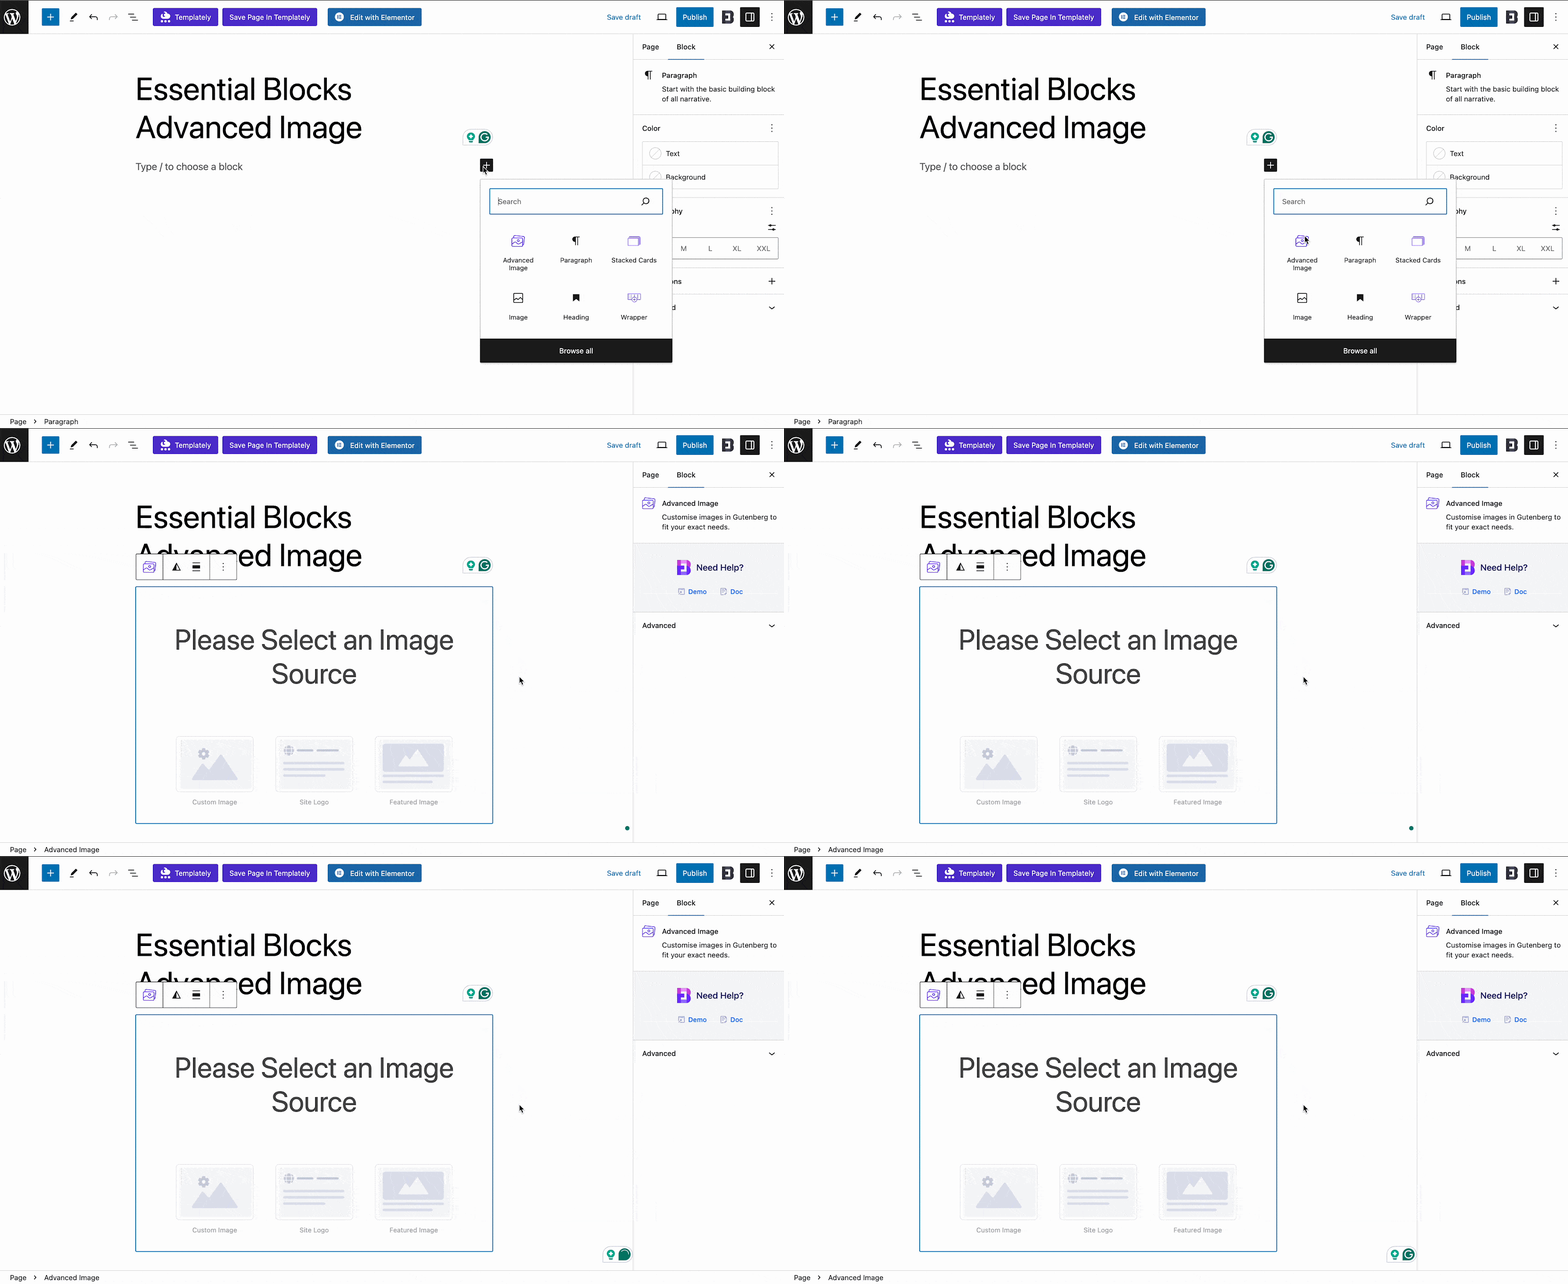
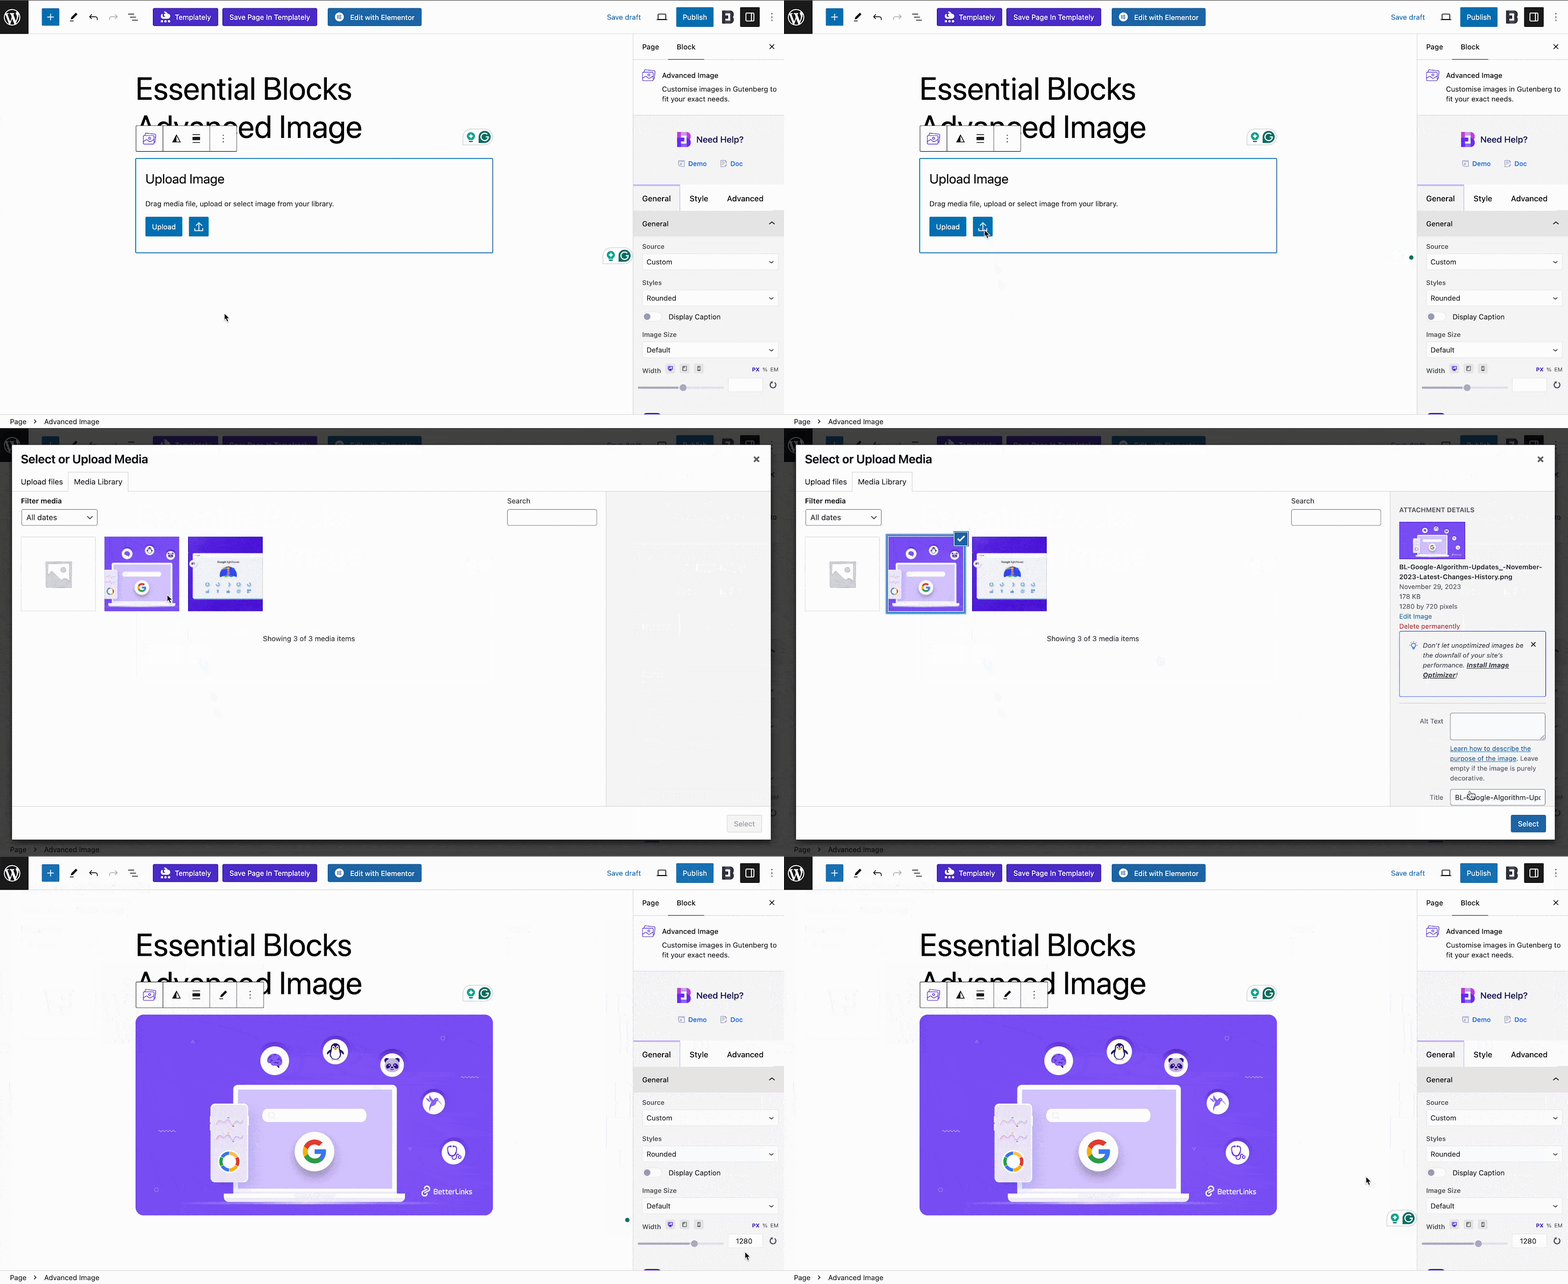
After you have added the Advanced Image Block, you will have 3 options available. You can set your Custom Image as the way you want. Simply upload the Image that suits your site’s needs.
The second option is the Site Logo. If you have already added your site custom logo, it will be automatically added. Otherwise, you can add your custom one.
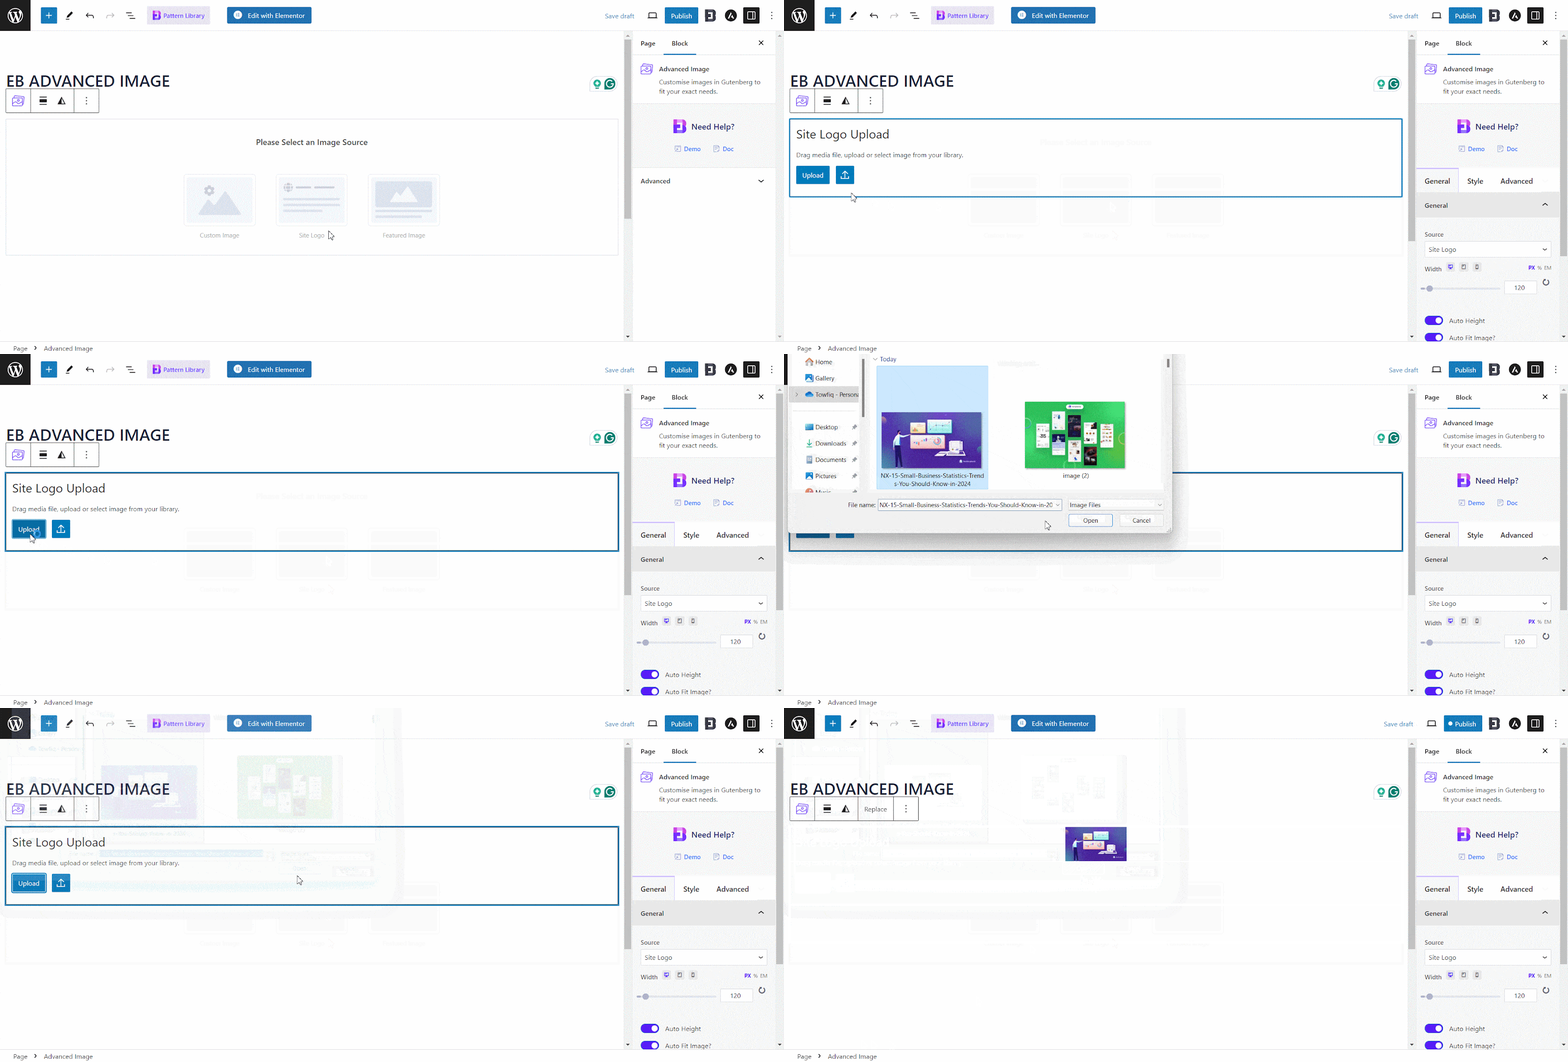
You can adjust the Site logo image from the General settings of the right sidebar as your preferences.
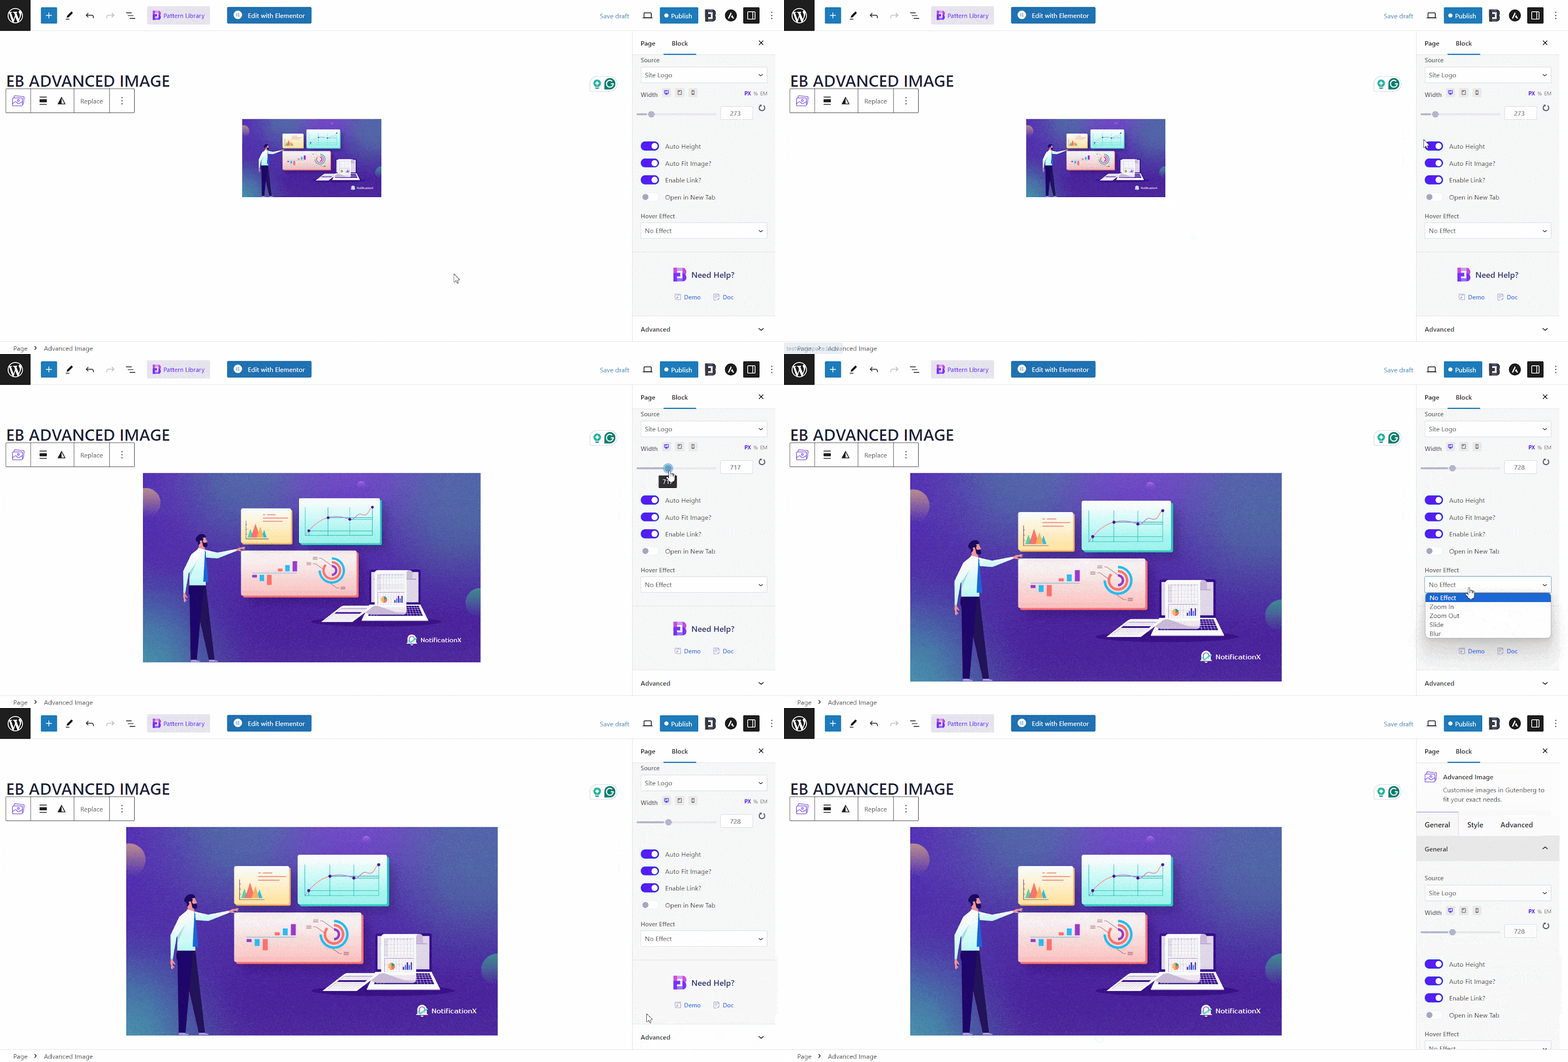
Your final option will be the Featured Image. Make sure to set a Featured Image on your page or post. It will automatically detect your image.
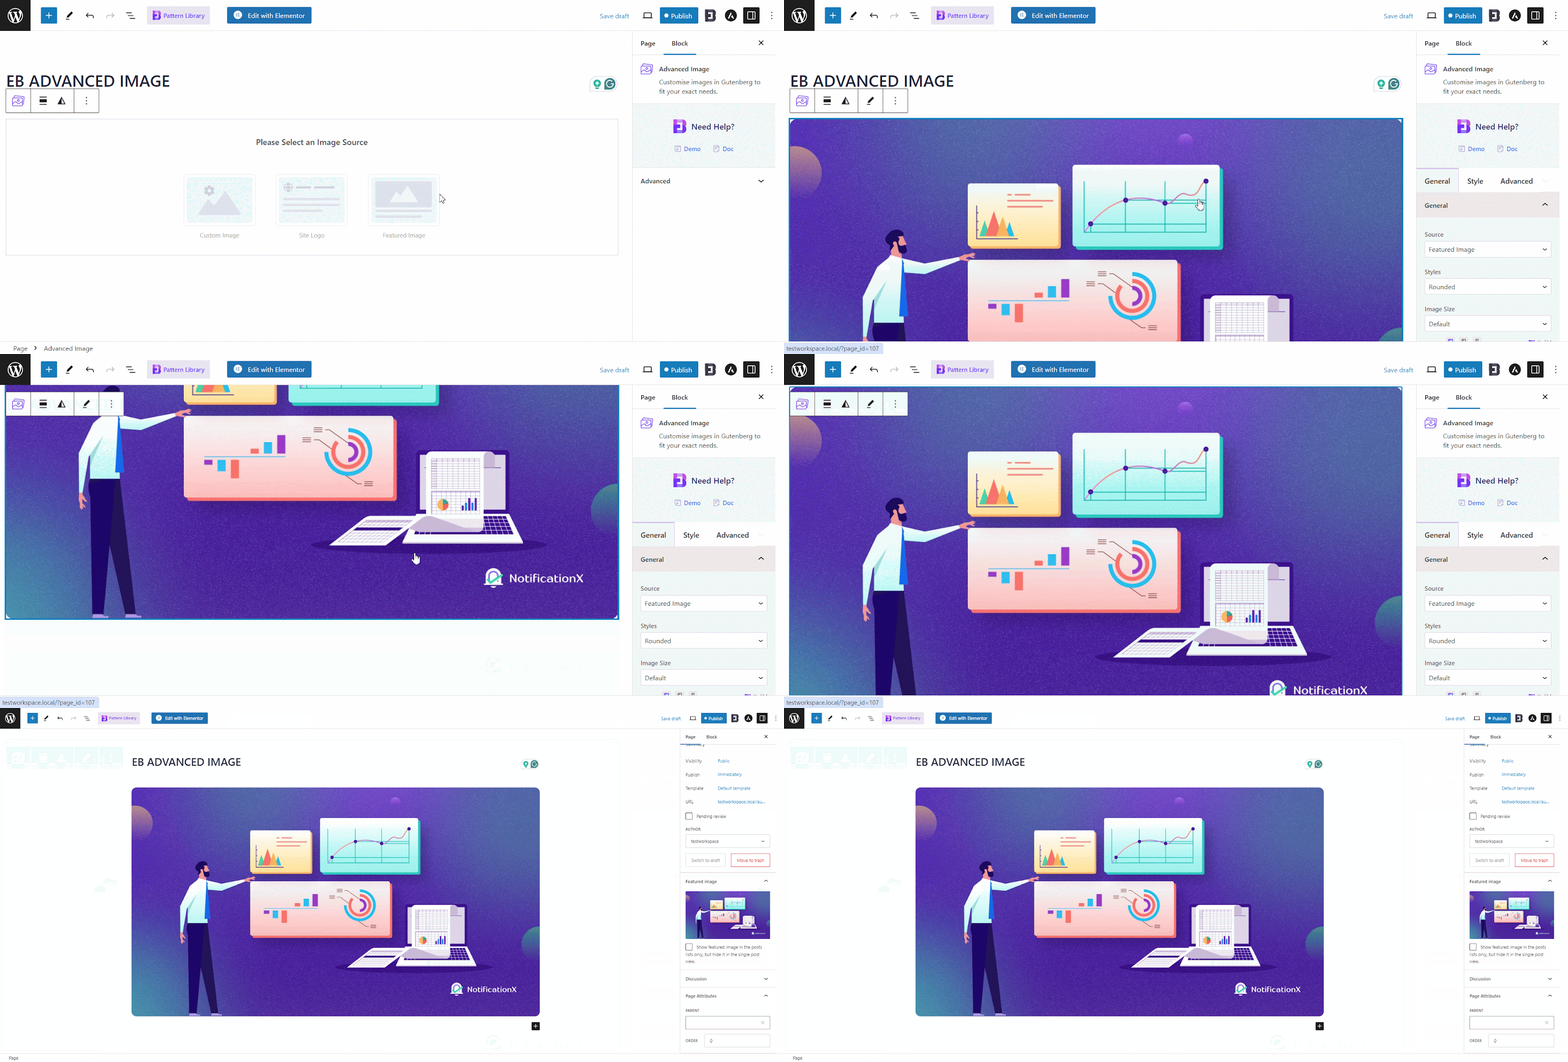
You can adjust the featured image from the General settings of the right sidebar. Here you can choose the styles of the image, sizes and adjust more settings as your preferences.
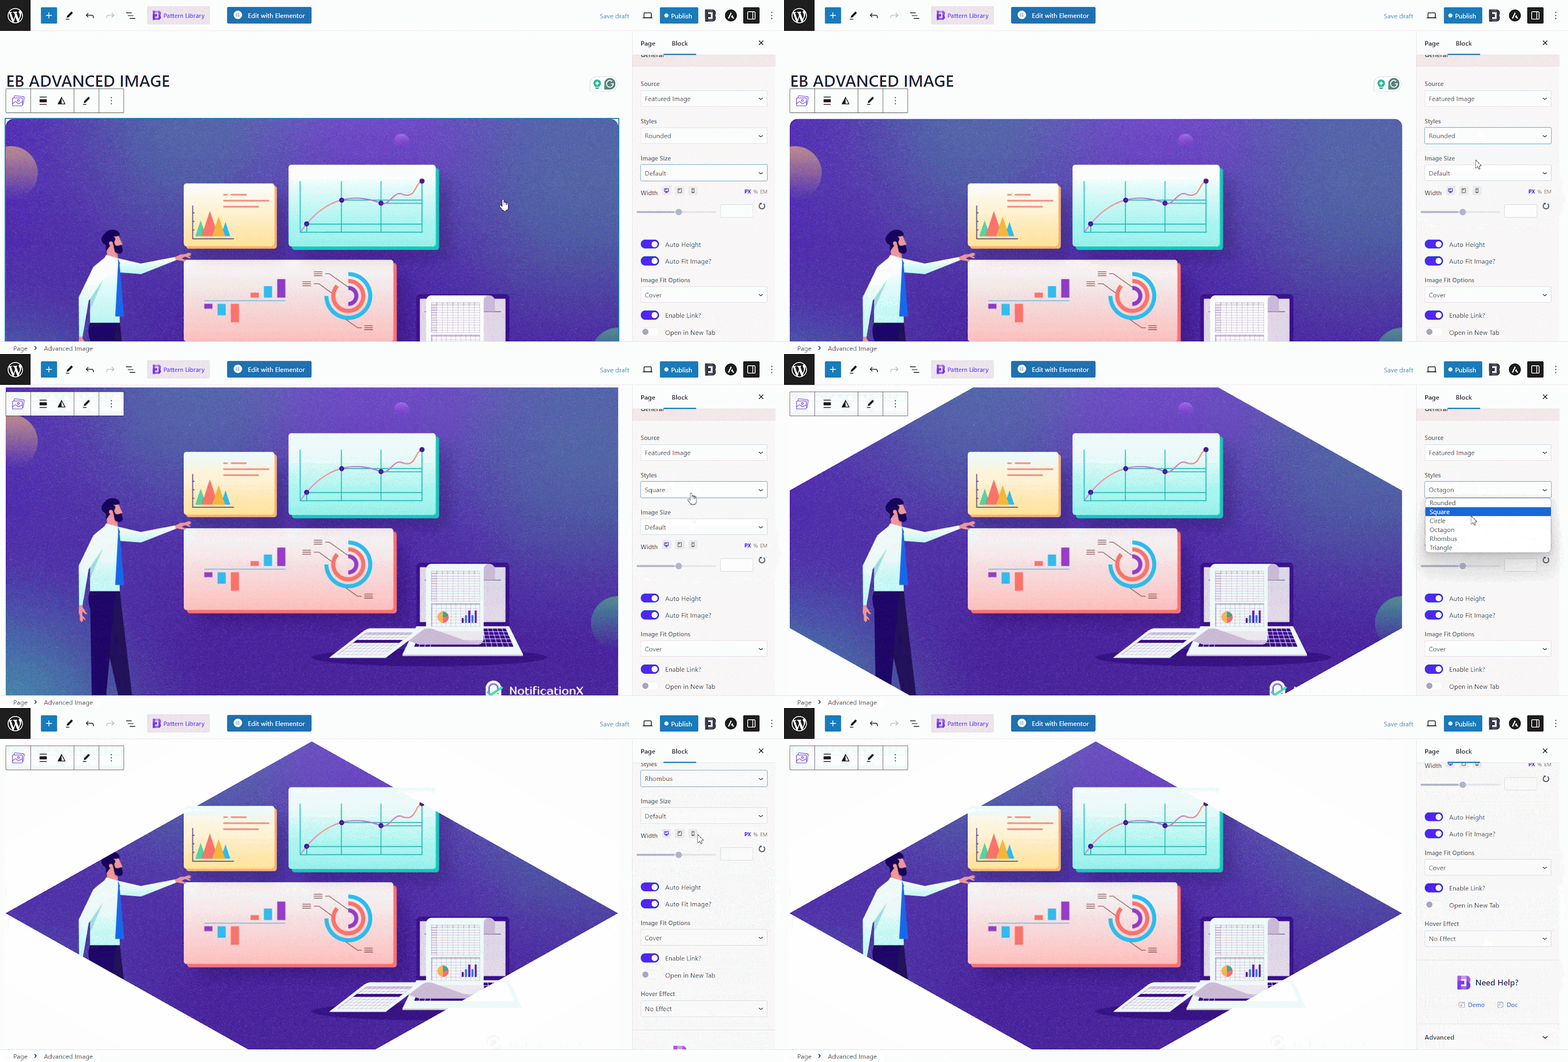
General #
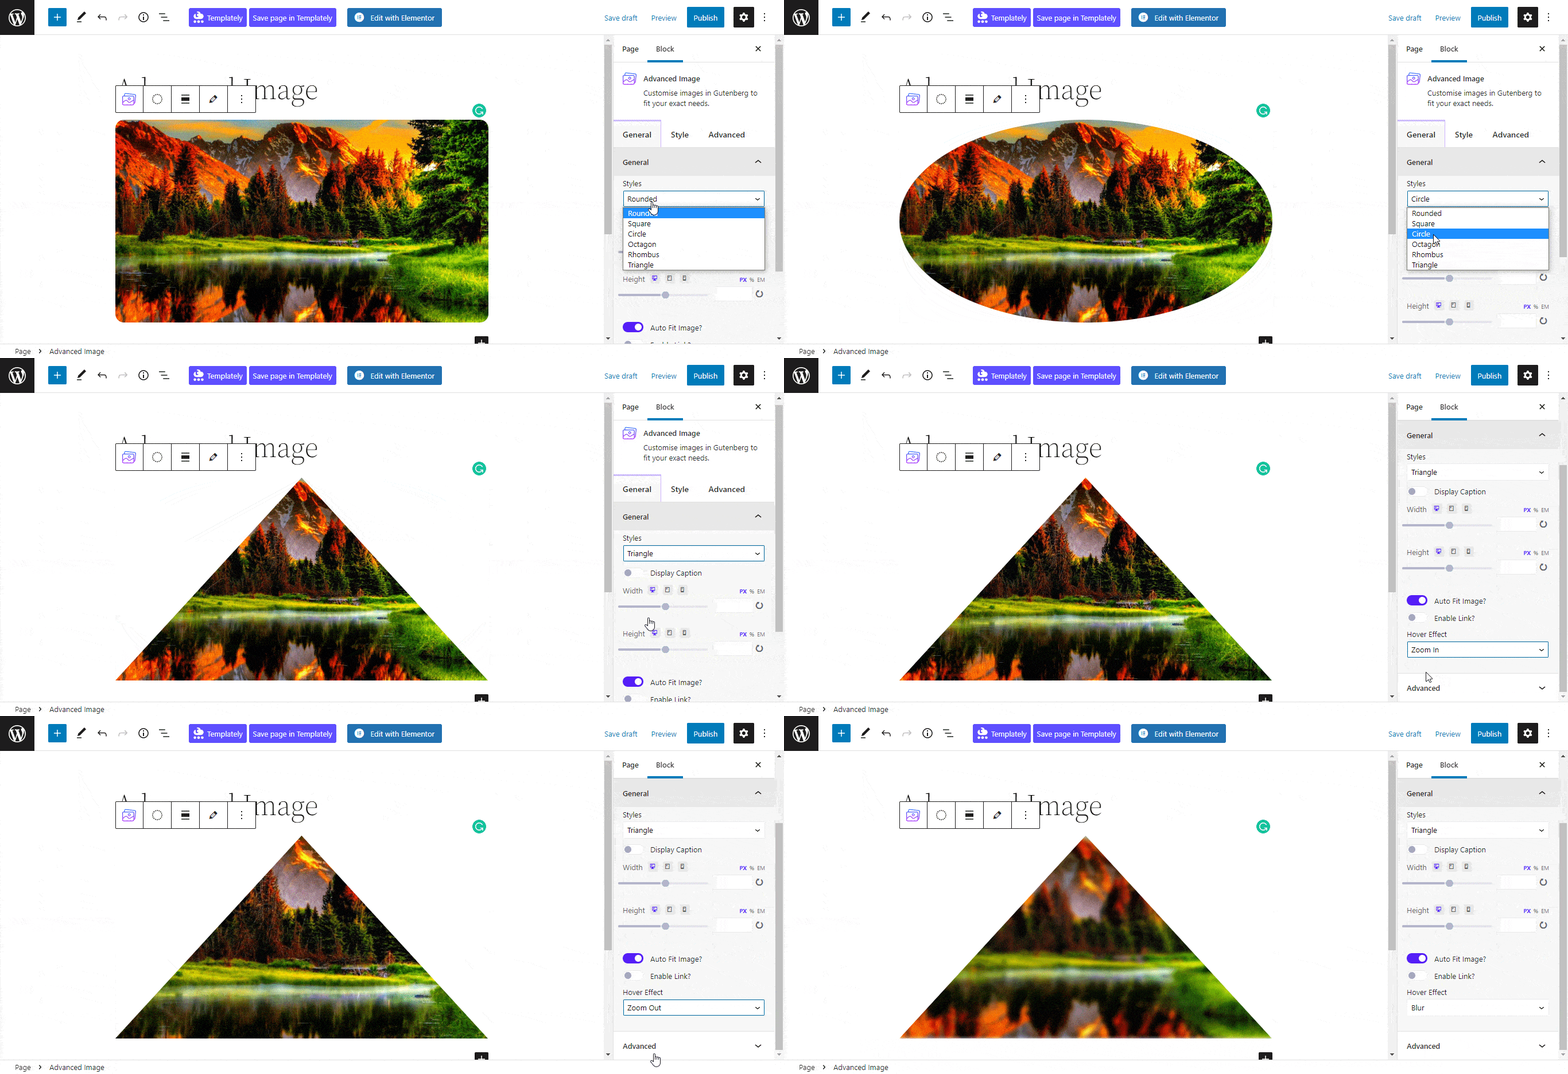
Navigate to the Block→ General tab, under this tab you can customize your image Style between 6 styles and apply Hover Effect on the respective image. You can also Auto Fit your image and enable any additional link you prefer.
Style #
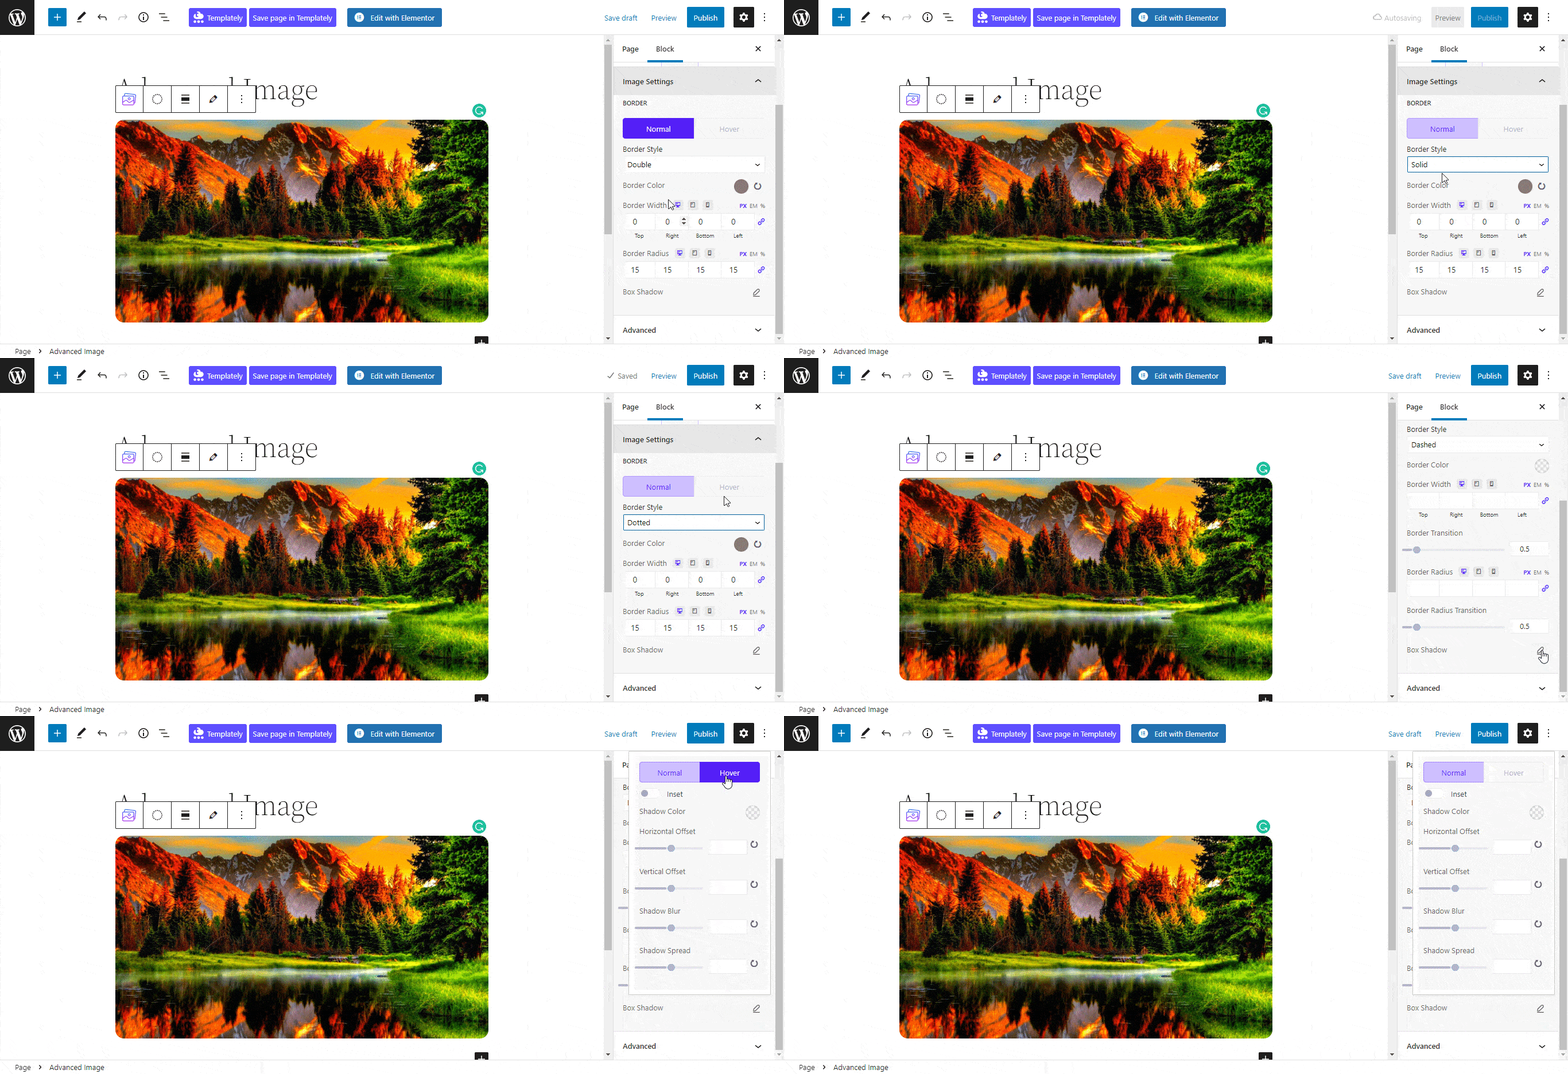
To configure your Image Settings, navigate to ‘Style’ → ‘Image Settings.’ Under this tab, you can change your border between Normal & Hover style also along with adjusting the offset, blur, shadow spread, etc under the Border Shadow option.
Advanced #
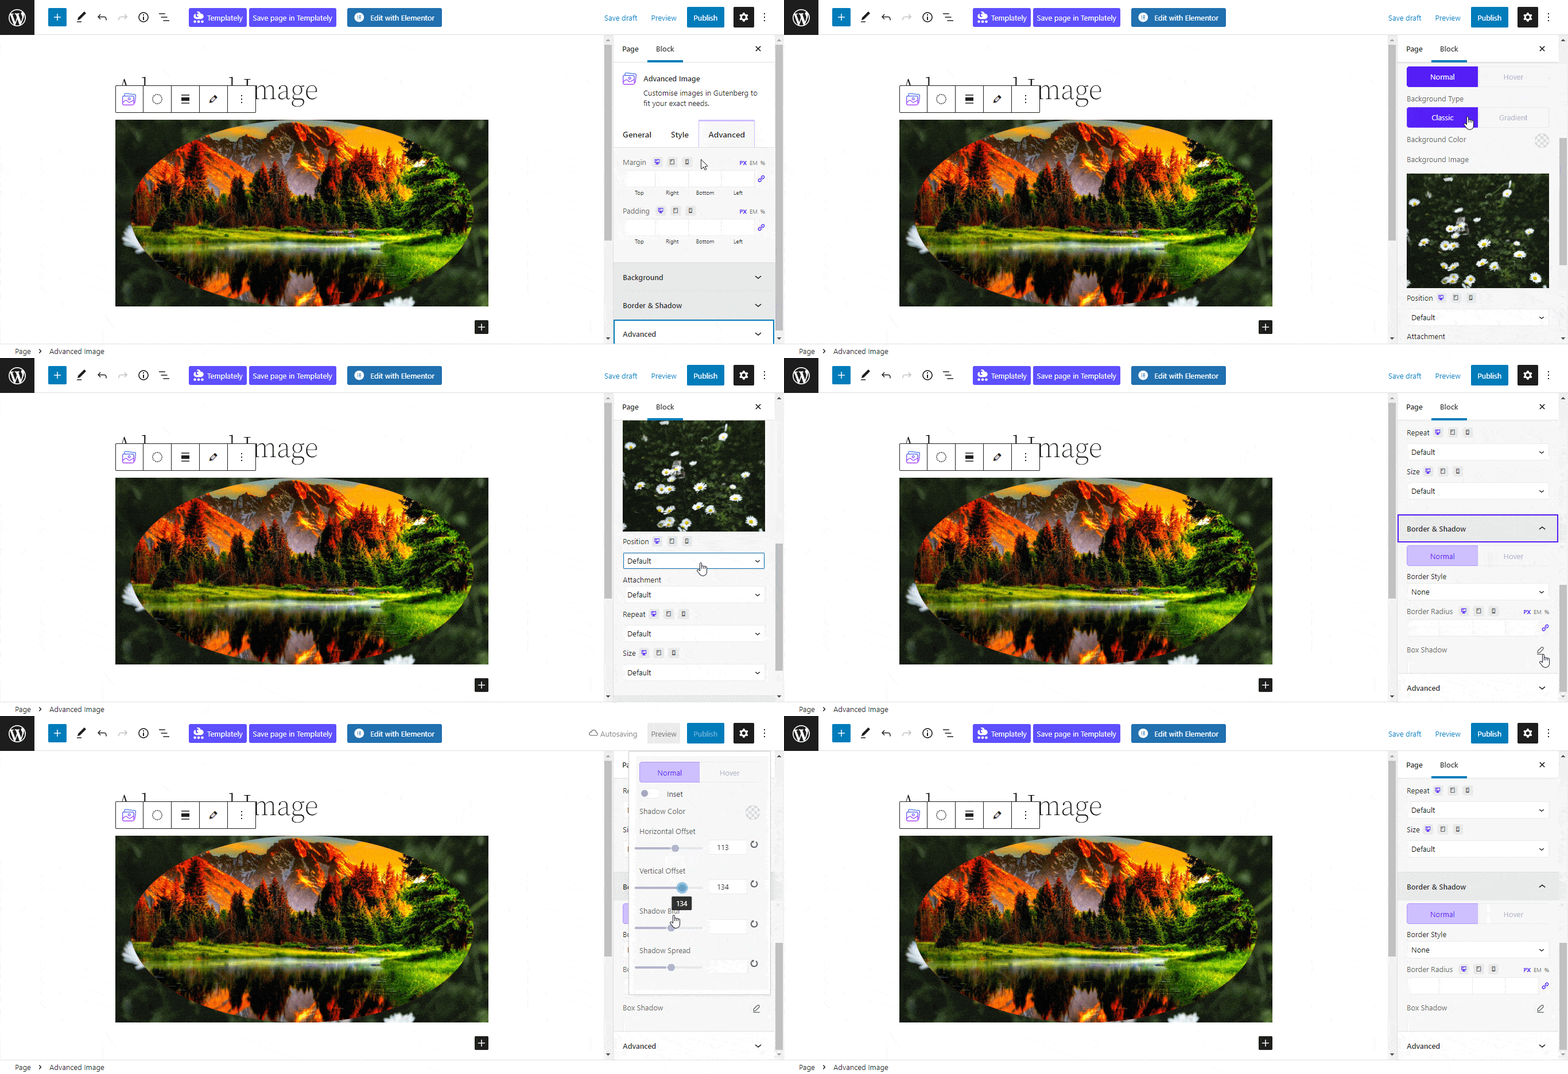
To configure the advanced settings of this block navigate to ‘Block’ → ‘Advanced.’ From there you can change the Margin & Padding of your image for proper placement. Under the Background tab, you can upload any picture you want.
You can also choose between the Normal or Hover effect for your image as well as apply 8 Border Styles and versatile Box Shadow option to make your block beautiful.
Final Outcome #
By following these simple steps you can easily style and customize your EB Advanced Image block in Gutenberg.
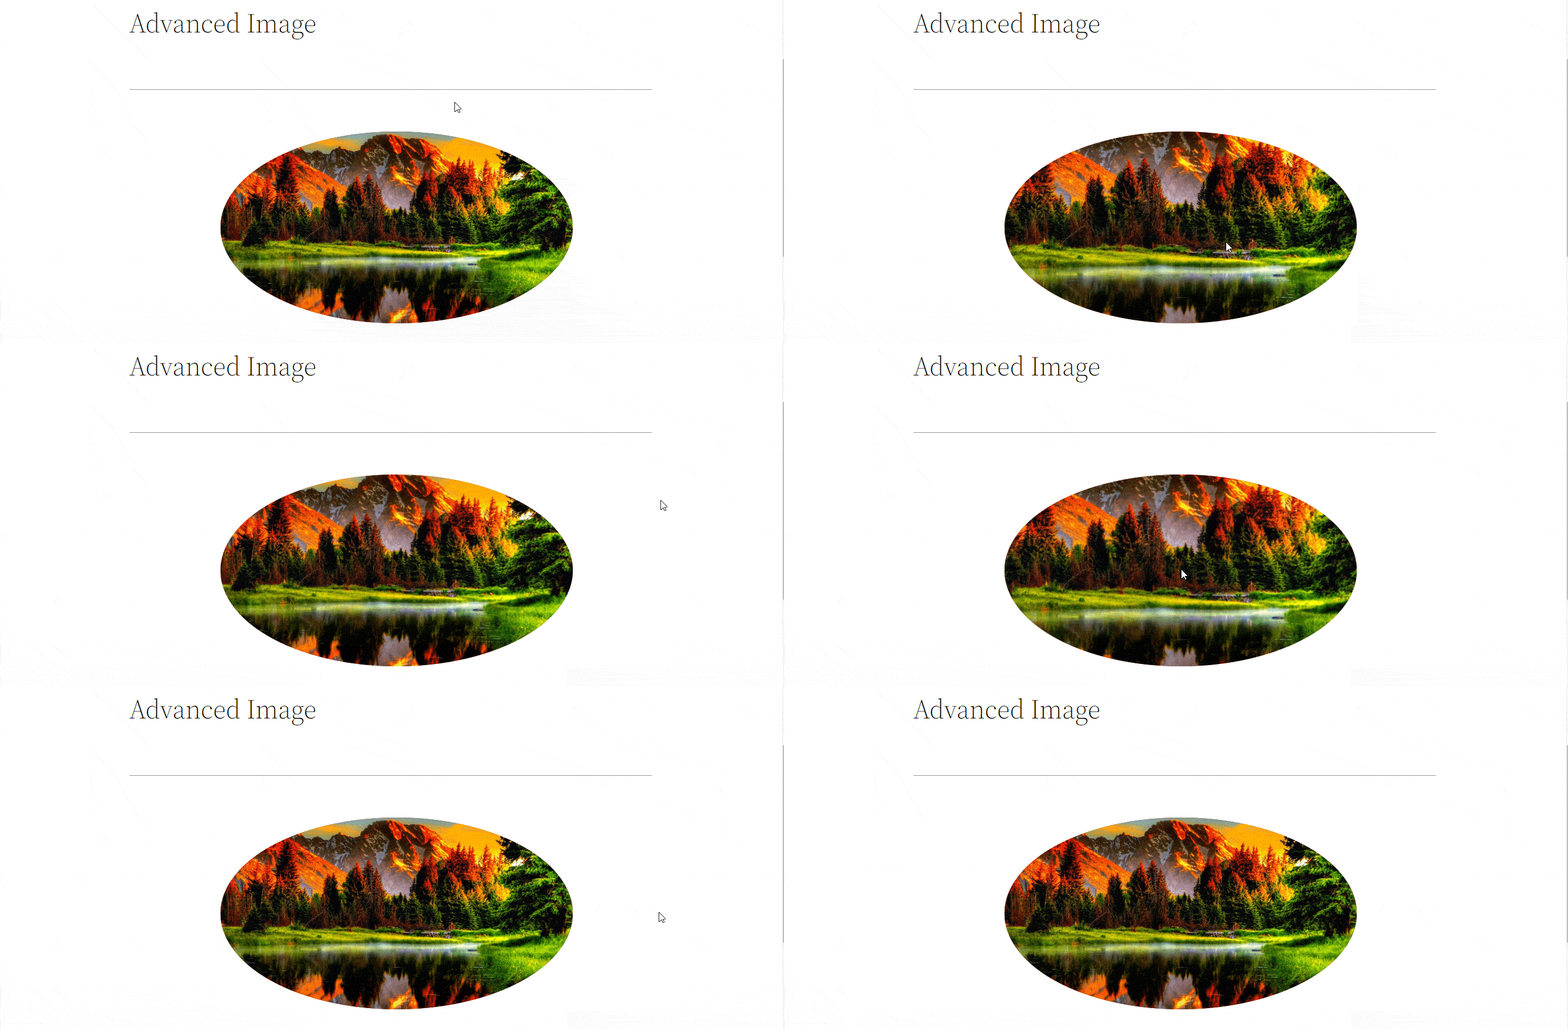
This is how to design and configure an EB Advanced Image block in Gutenberg easily.
Getting Stuck? Feel free to contact our support team for further assistance.


