With the EB Openverse block, you can use free images, royalty-free images, CC-licensed images, etc on your WordPress site in one click. And the best thing about Openverse block is that all files can be used free of charge. EB Openverse block lets you add images with stunning layouts, animation effects, and much more.
Follow the step-by-step guidelines to add Essential Blocks Openverse to your website.
How To Activate Essential Blocks Openverse? #
To activate EB Openverse, navigate to ‘Essential Blocks → ‘Blocks’ from the WordPress dashboard. Then, toggle to enable this ‘Openverse’ block. After that, click on the ‘Save’ button.
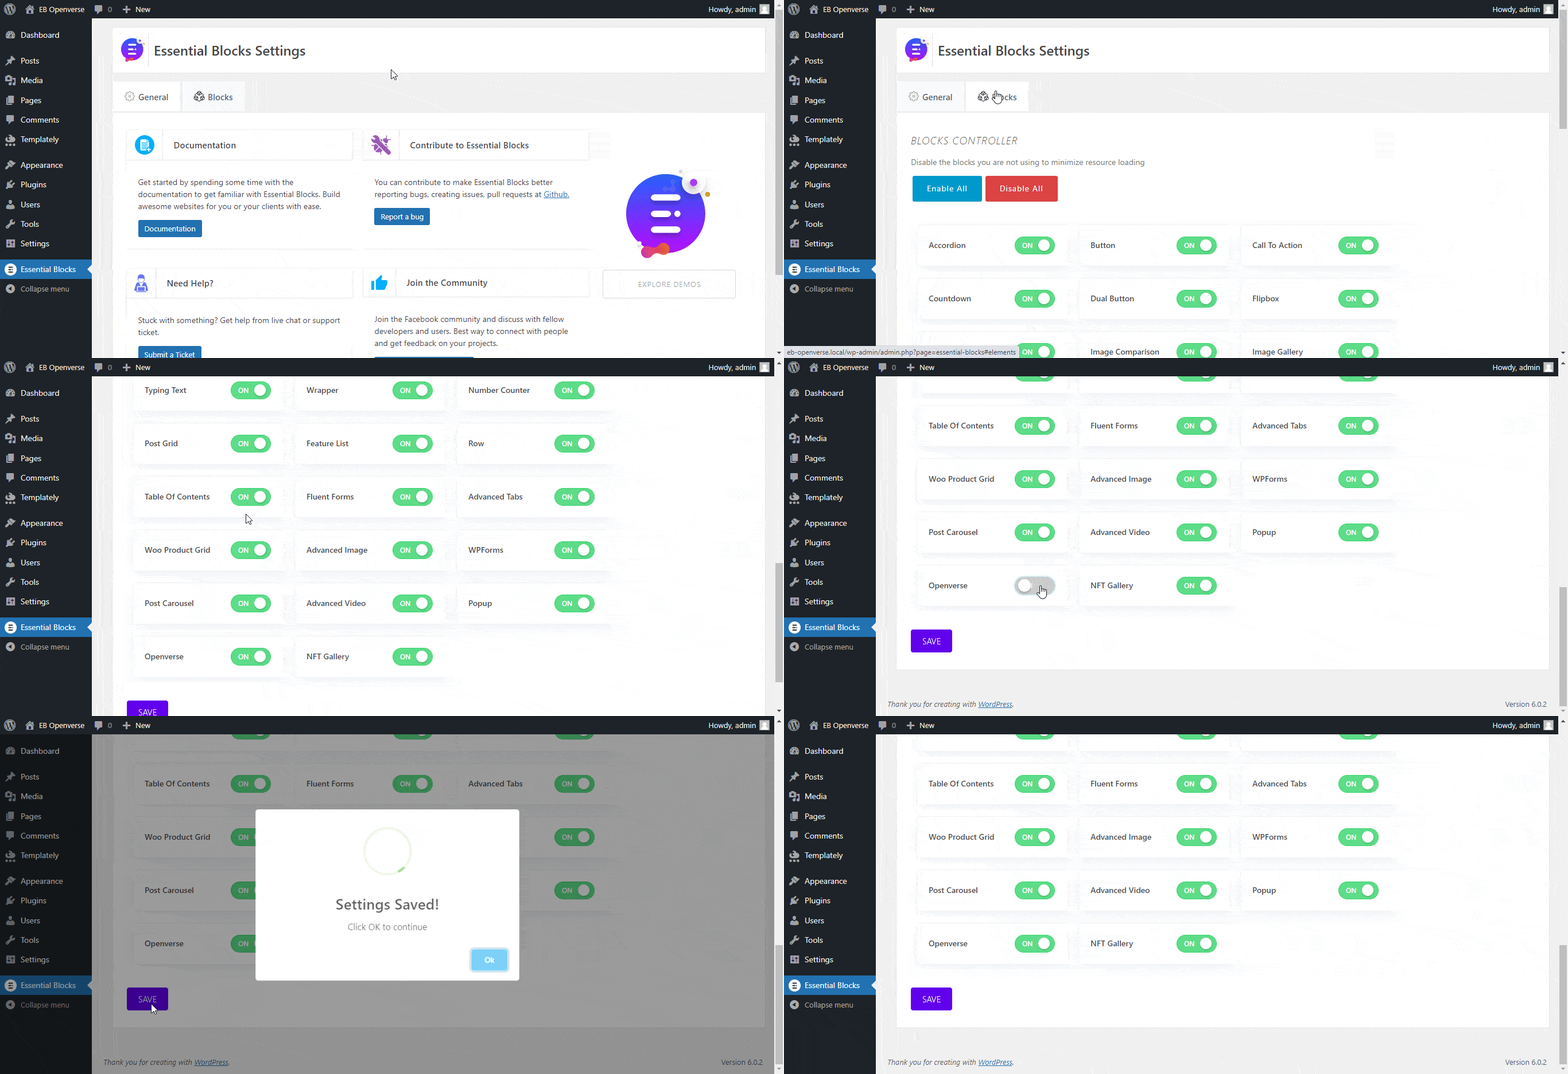
How To Configure Essential Blocks Openverse? #
First, navigate to WordPress dashboard Page → ‘Add New’ and create a new one or select the page if you already have a created one where you want to add the Openverse block.
To add an Openverse block, click on the ‘+’ icon. Find Essential Blocks ‘Openverse’ block from the search bar. Simply click on the block and it will be added instantly.
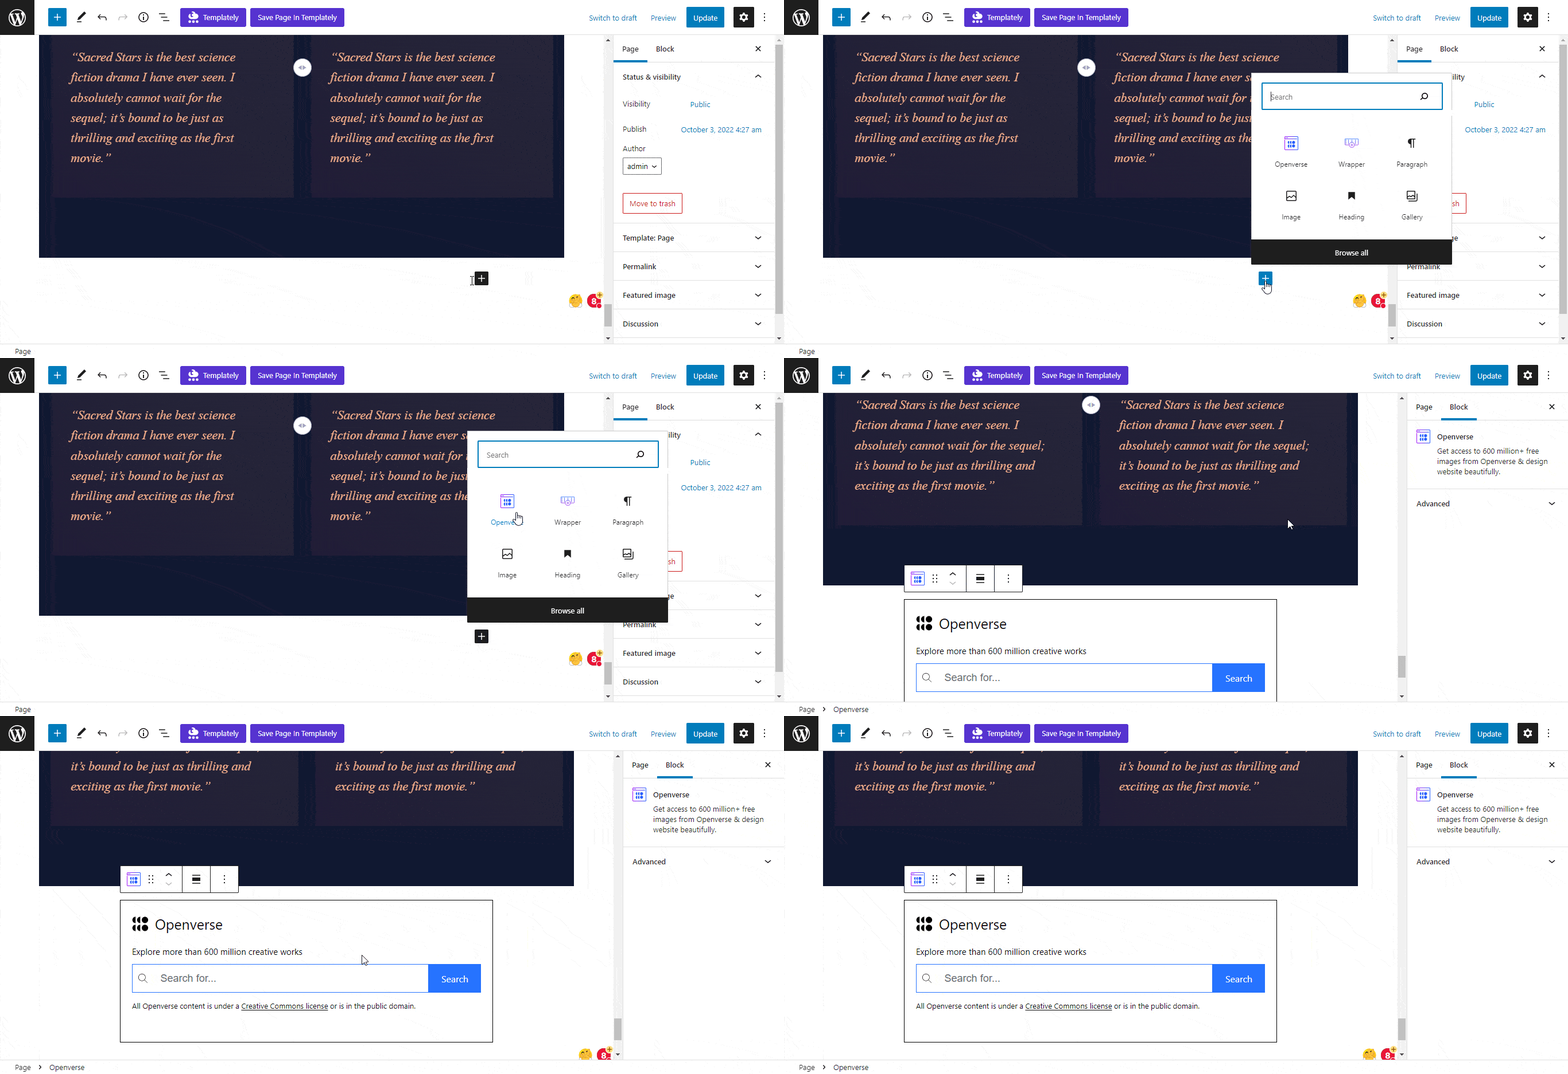
Alternatively, you can click on the ‘+’ icon, search ‘Openverse’ at the search bar, and get the block. Simply drag and drop the block as shown.

Generate API Key For Your Openverse Block #
After you have successfully added the Openverse block on the page, you will have two mandatory fields on the block. You have to provide your Email address and Project name to generate the Openverse API key for your site
Note: Your project name should be unique. If it matches your other existing project then you will get an error.

After adding the email and project name, you have to verify the email. If not, then you will be considered anonymous. As anonymous, your search limit will be 100 requests/day and 5 requests/hr. For authorized clients, the rate limit is 10000 requests per day and 100 requests per minute.
We have successfully generated our API key for the Openverse block. Now on the search field, go for any image you want and add them instantly to your page.
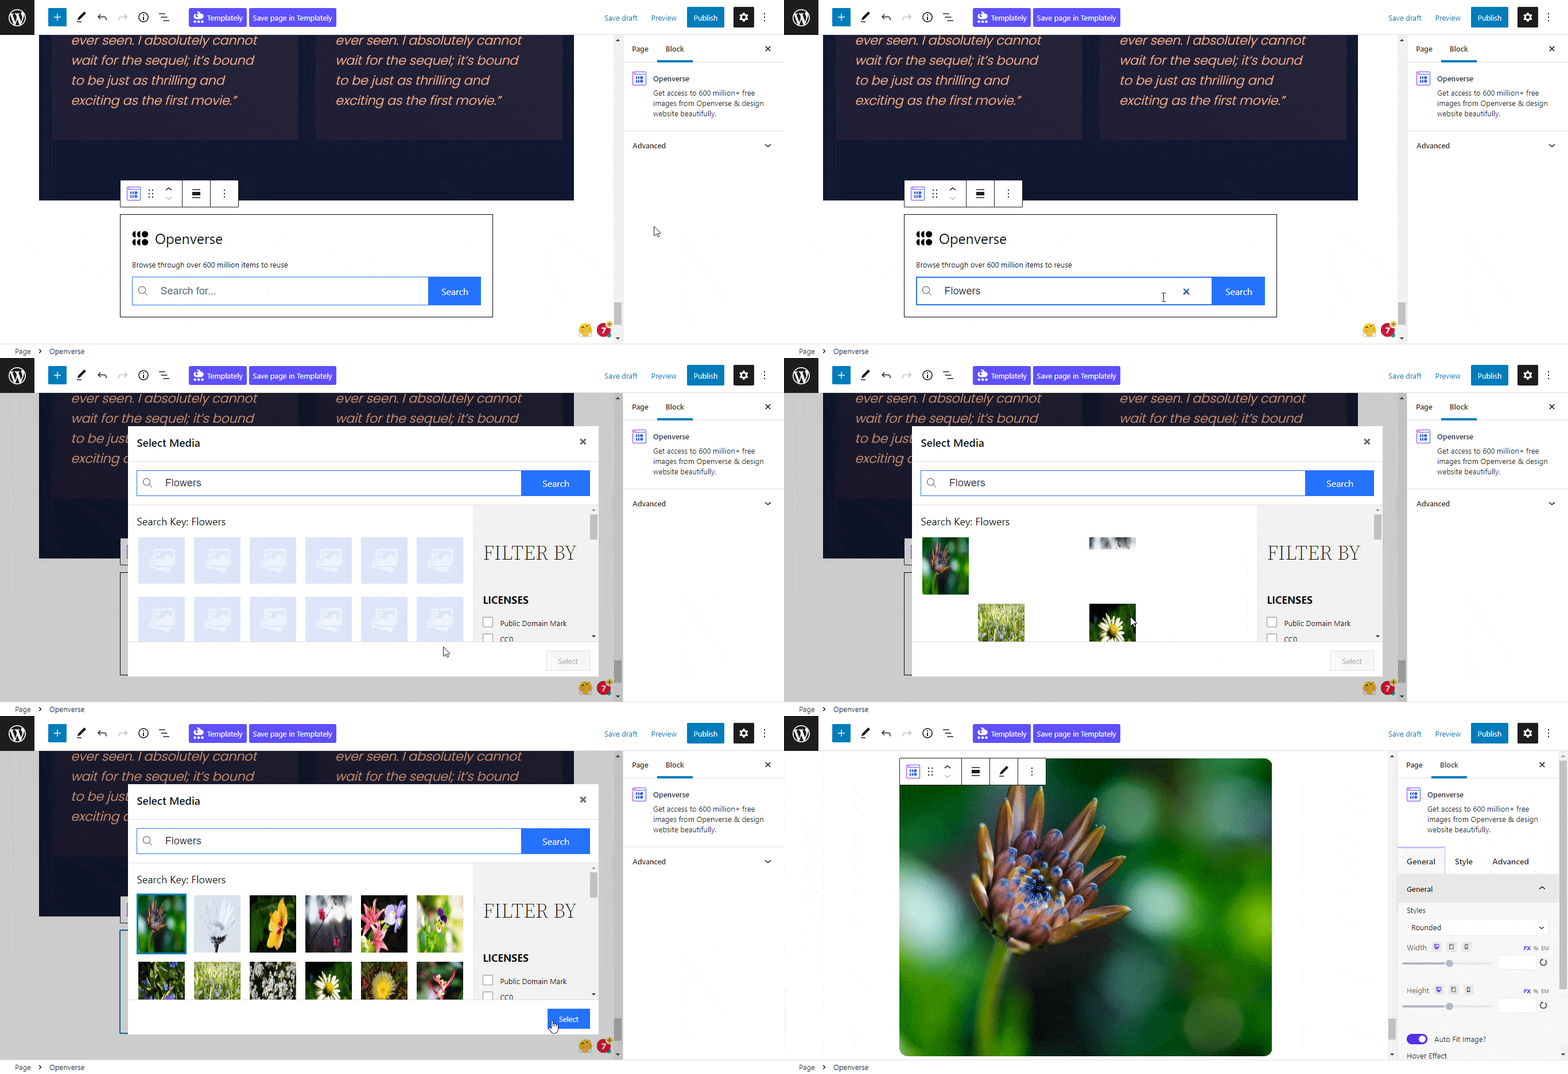
Now, click on the ‘Settings’ icon. A side panel will appear on the right side of your page. From here you can configure and personalize the content and appearance of the EB Openverse.

General #
Go to the ‘General’ tab to customize the content. Here you can configure the overall preview of the Openverse block with styles, effects, attribution, etc.
First, you can pick 6+ beautiful styles for your images, such as Rounded, Square, Circle, and much more. Apply proper ‘Width’ and ‘Height’ to perfectly set your image on any page. You can also enable the ‘Auto Fit Image’ option to auto-fit your image on-site.
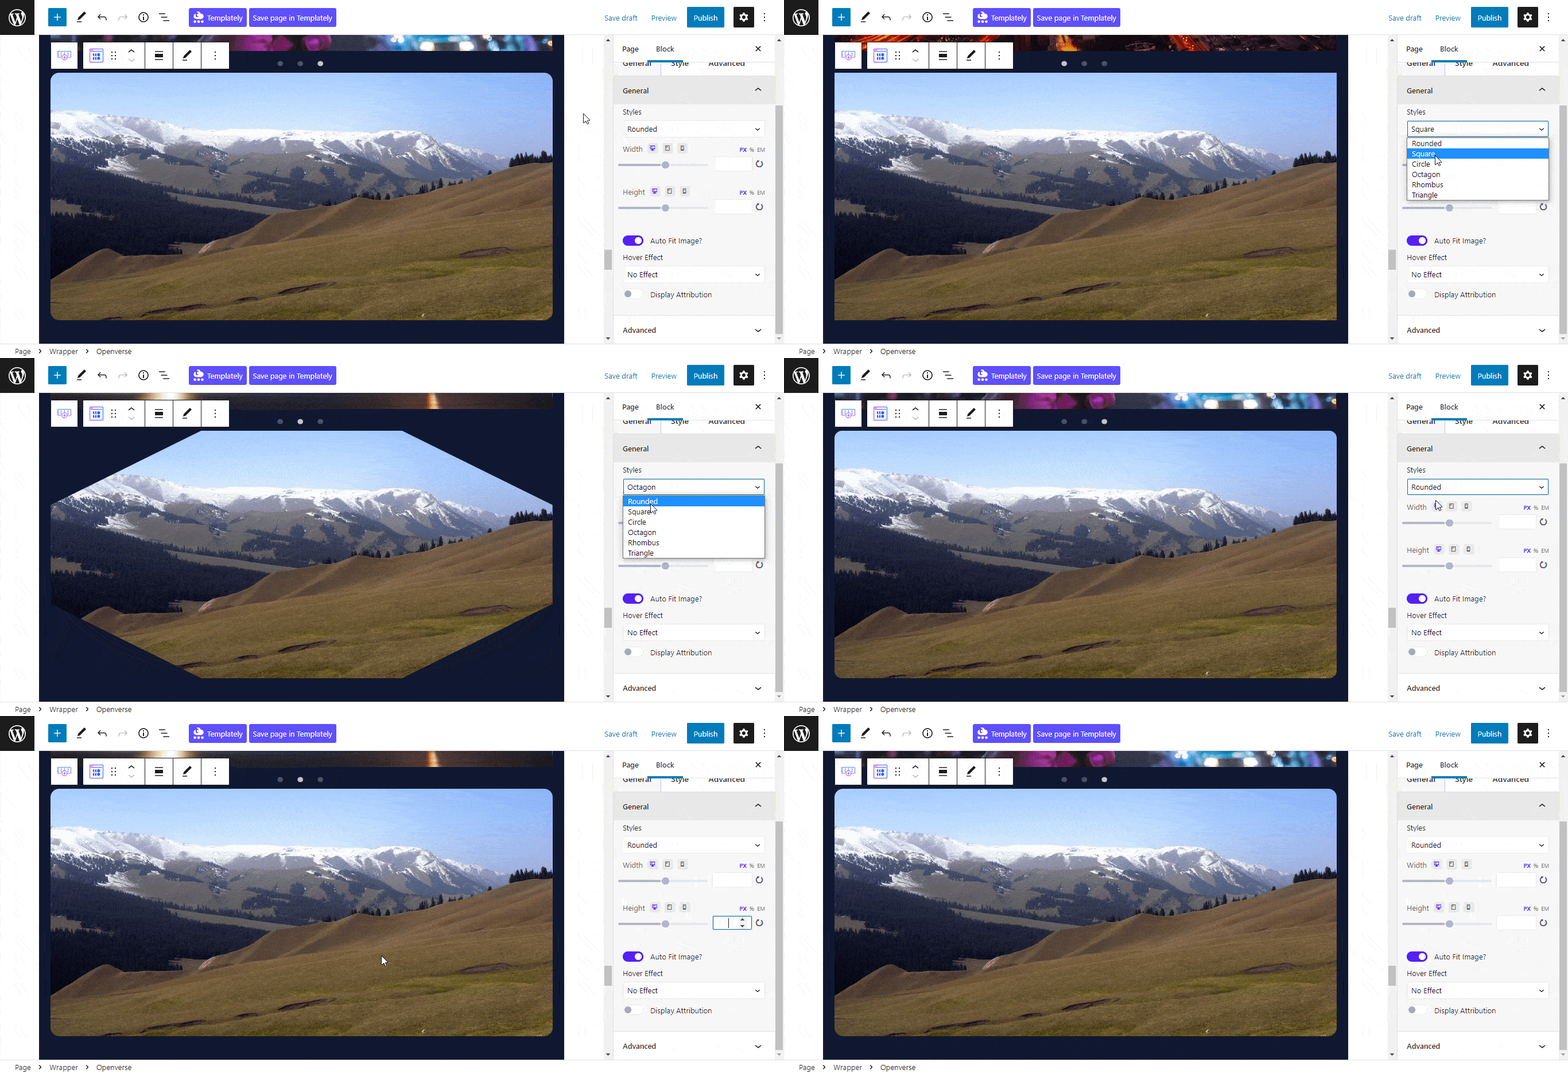
EB Ovenverse block has some gorgeous ‘Hover Effect’ for you to choose from. Enable the ‘Display Attribution’ option to showcase the image information in a detailed manner. Easily choose between two attribution styles to display the attribution stylishly. And as an attribute style, the image author name & image name will be displayed.
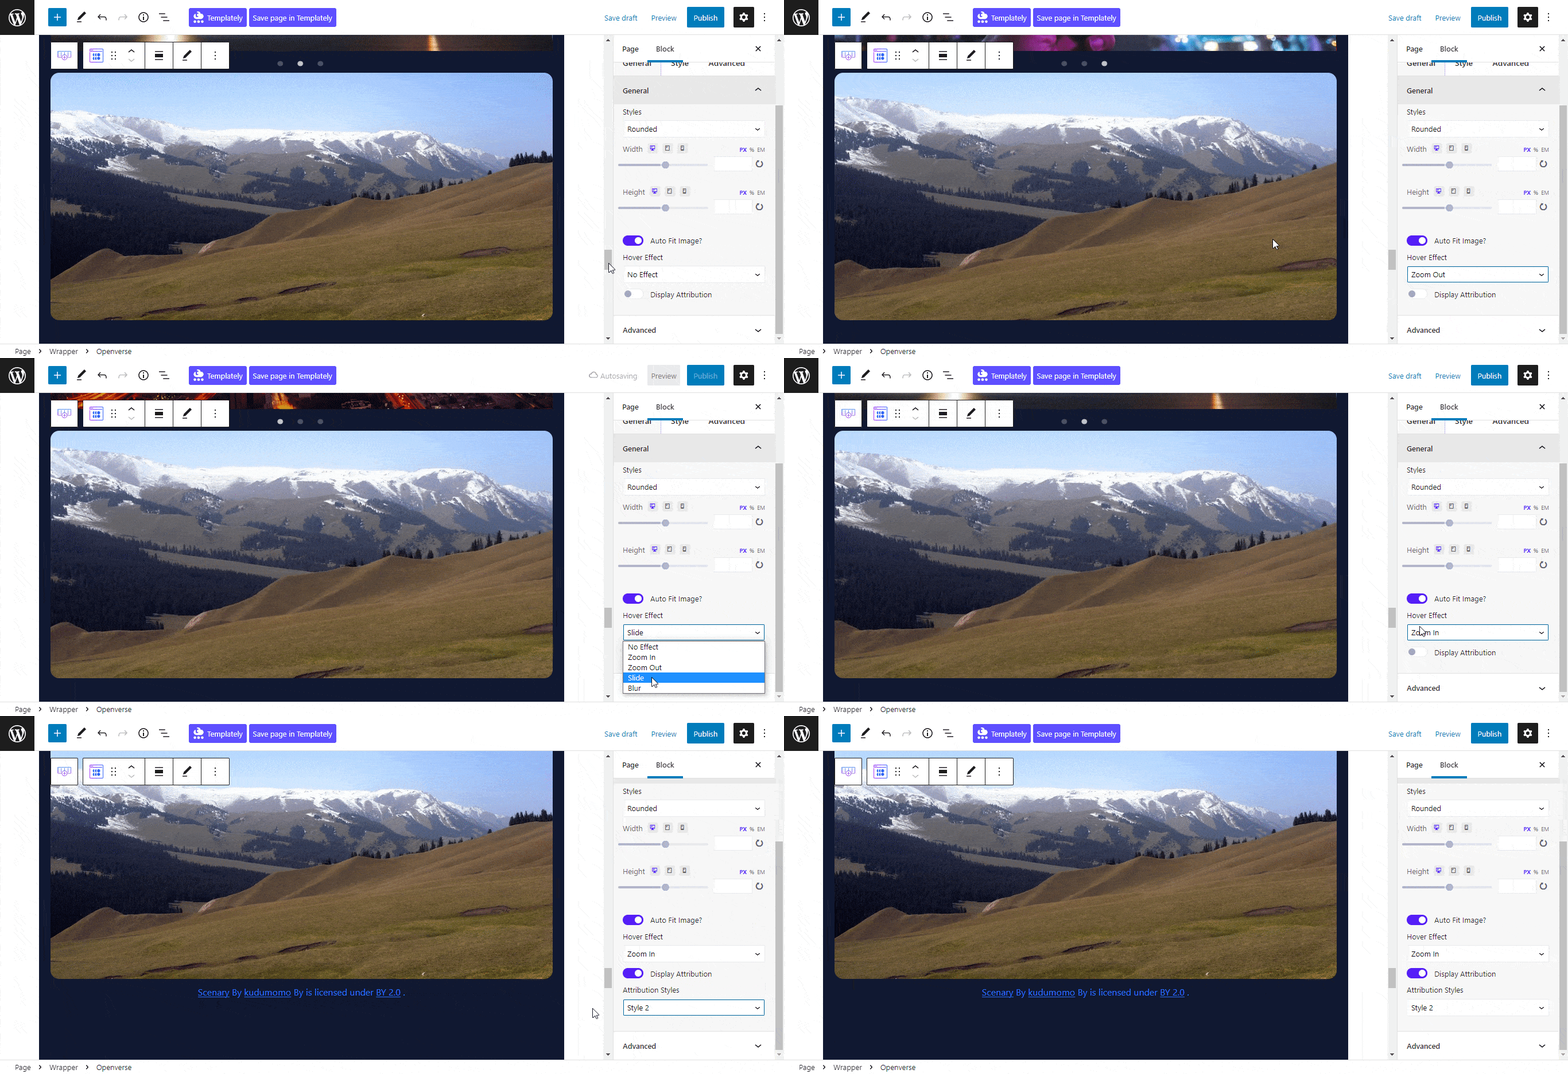
Styles #
Under the ‘Image Settings’ tab, you can customize your block ‘Border’, ‘Border Style’, ‘Box Shadow’ etc without any complexity.
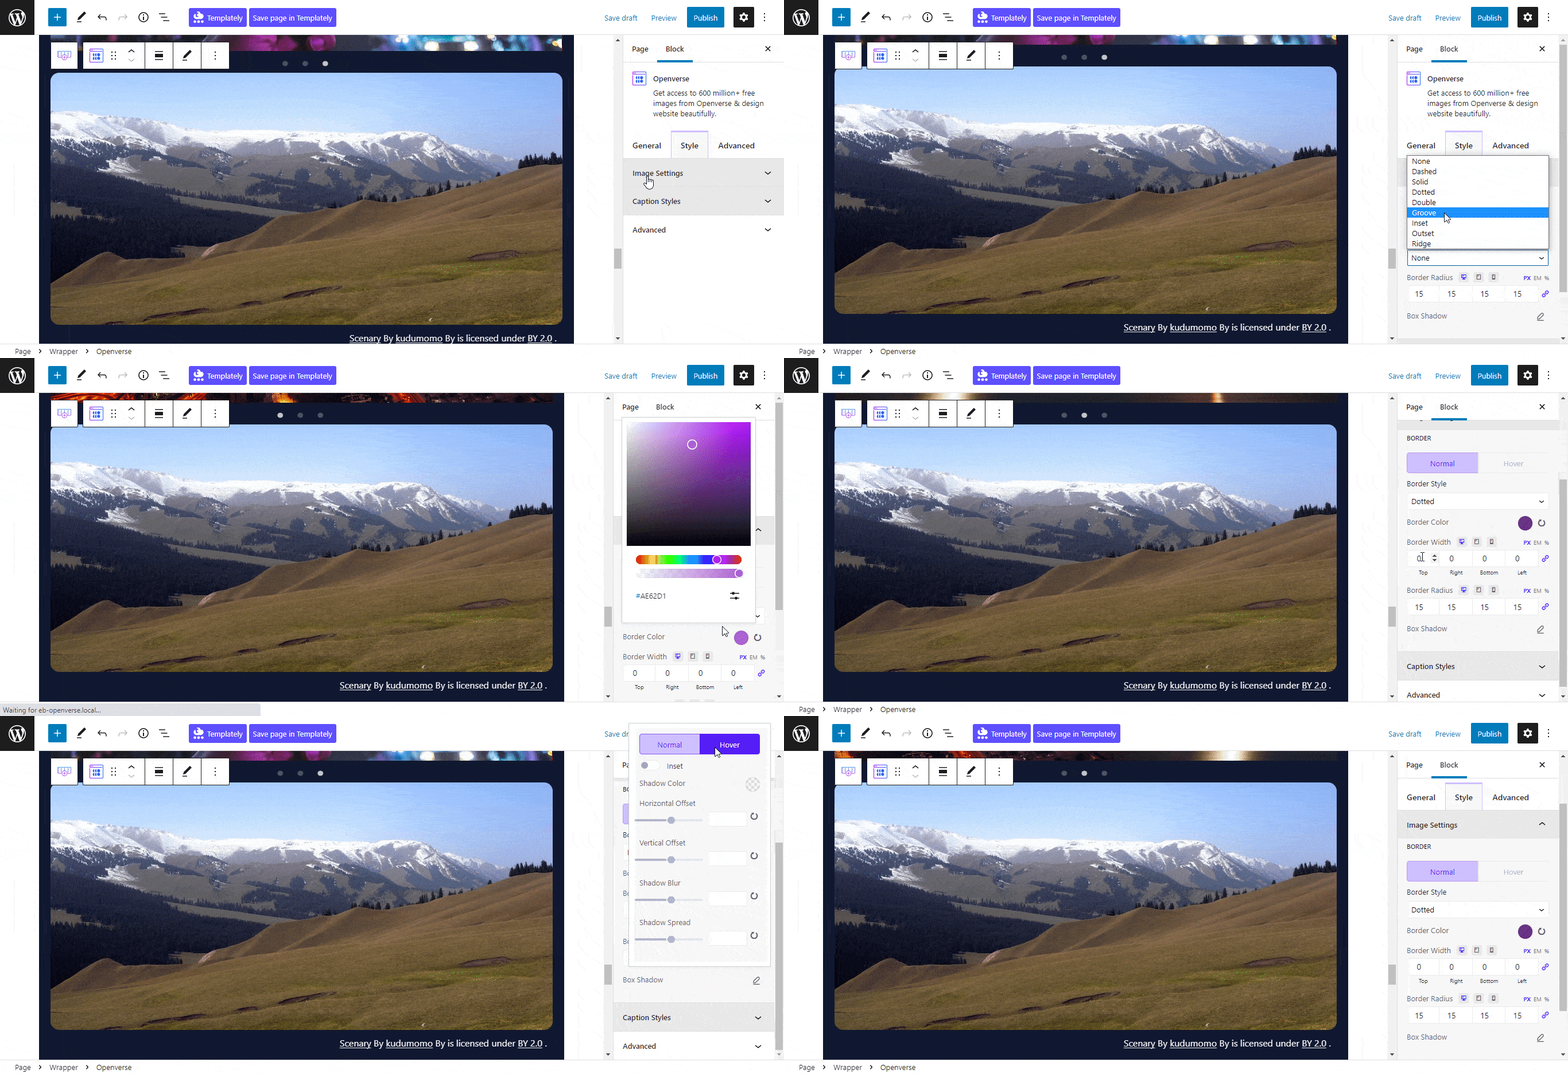
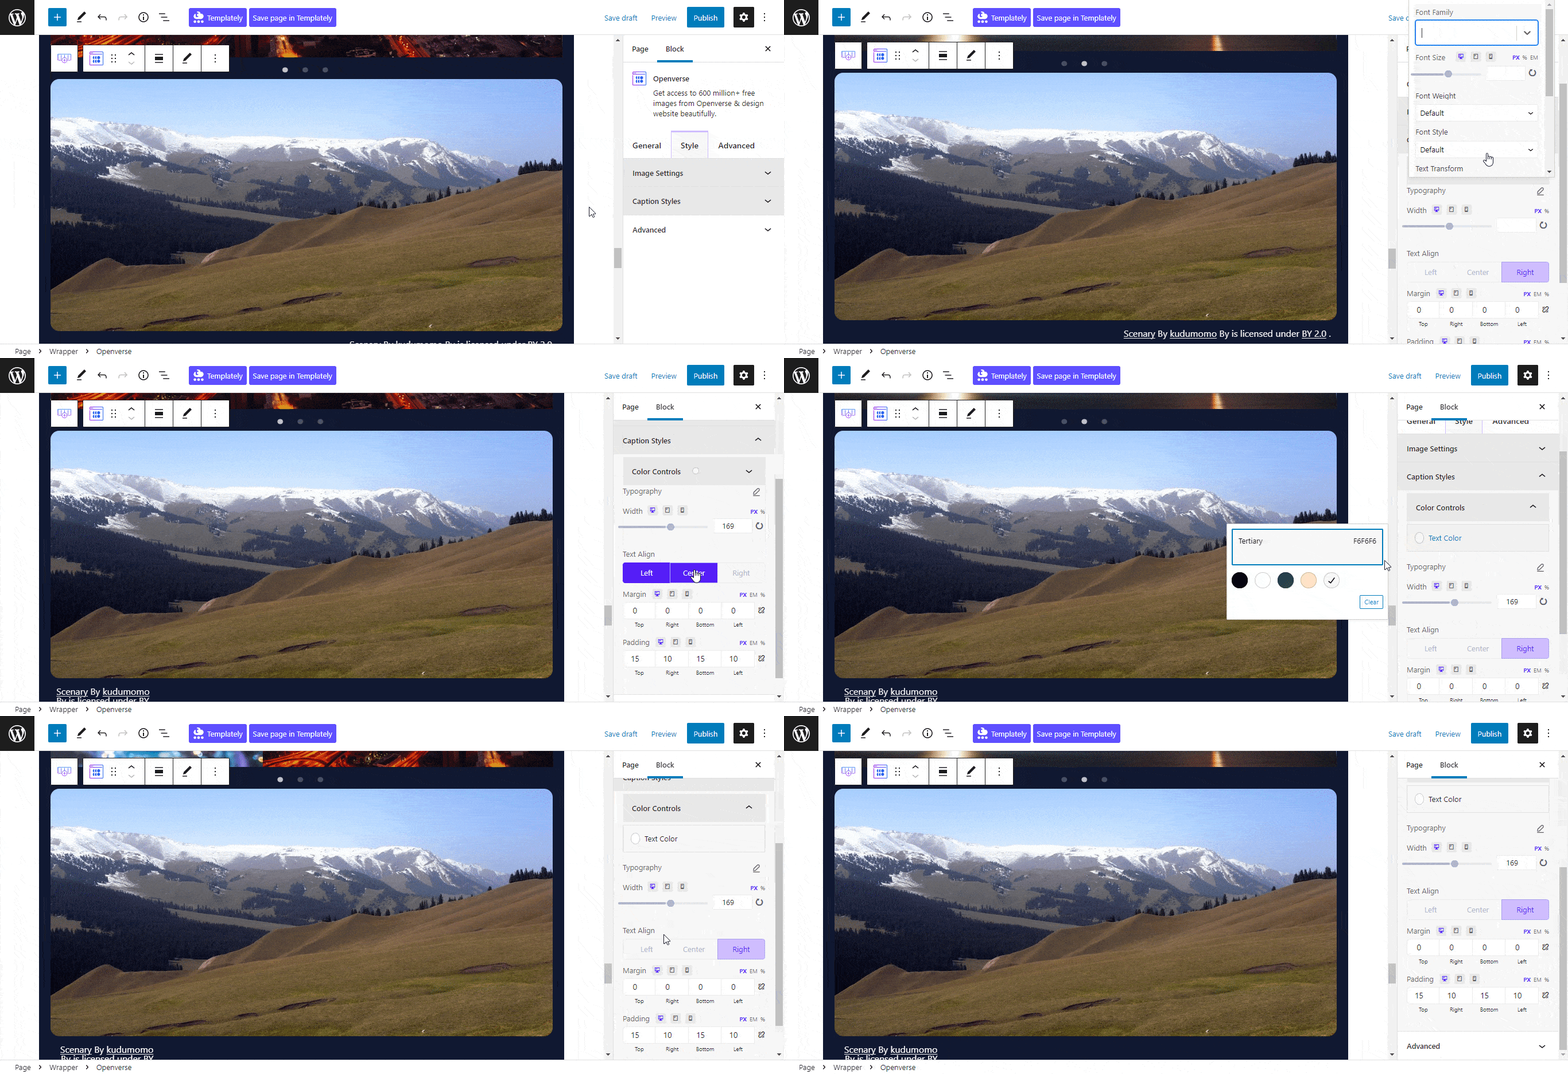
To change the appearance of your caption, click on the ‘Caption Styles’ tab. Here you can change the overall ‘Color Controls’ of the Openverse block. You can pick any ‘Typography’ you want with proper ‘Text Align’, ‘Margin’, and ‘Padding’.
You can also change the ‘Text Color’ of your attributions with ‘Typography’, ‘Margin’, ‘Padding’, etc.
Advanced #
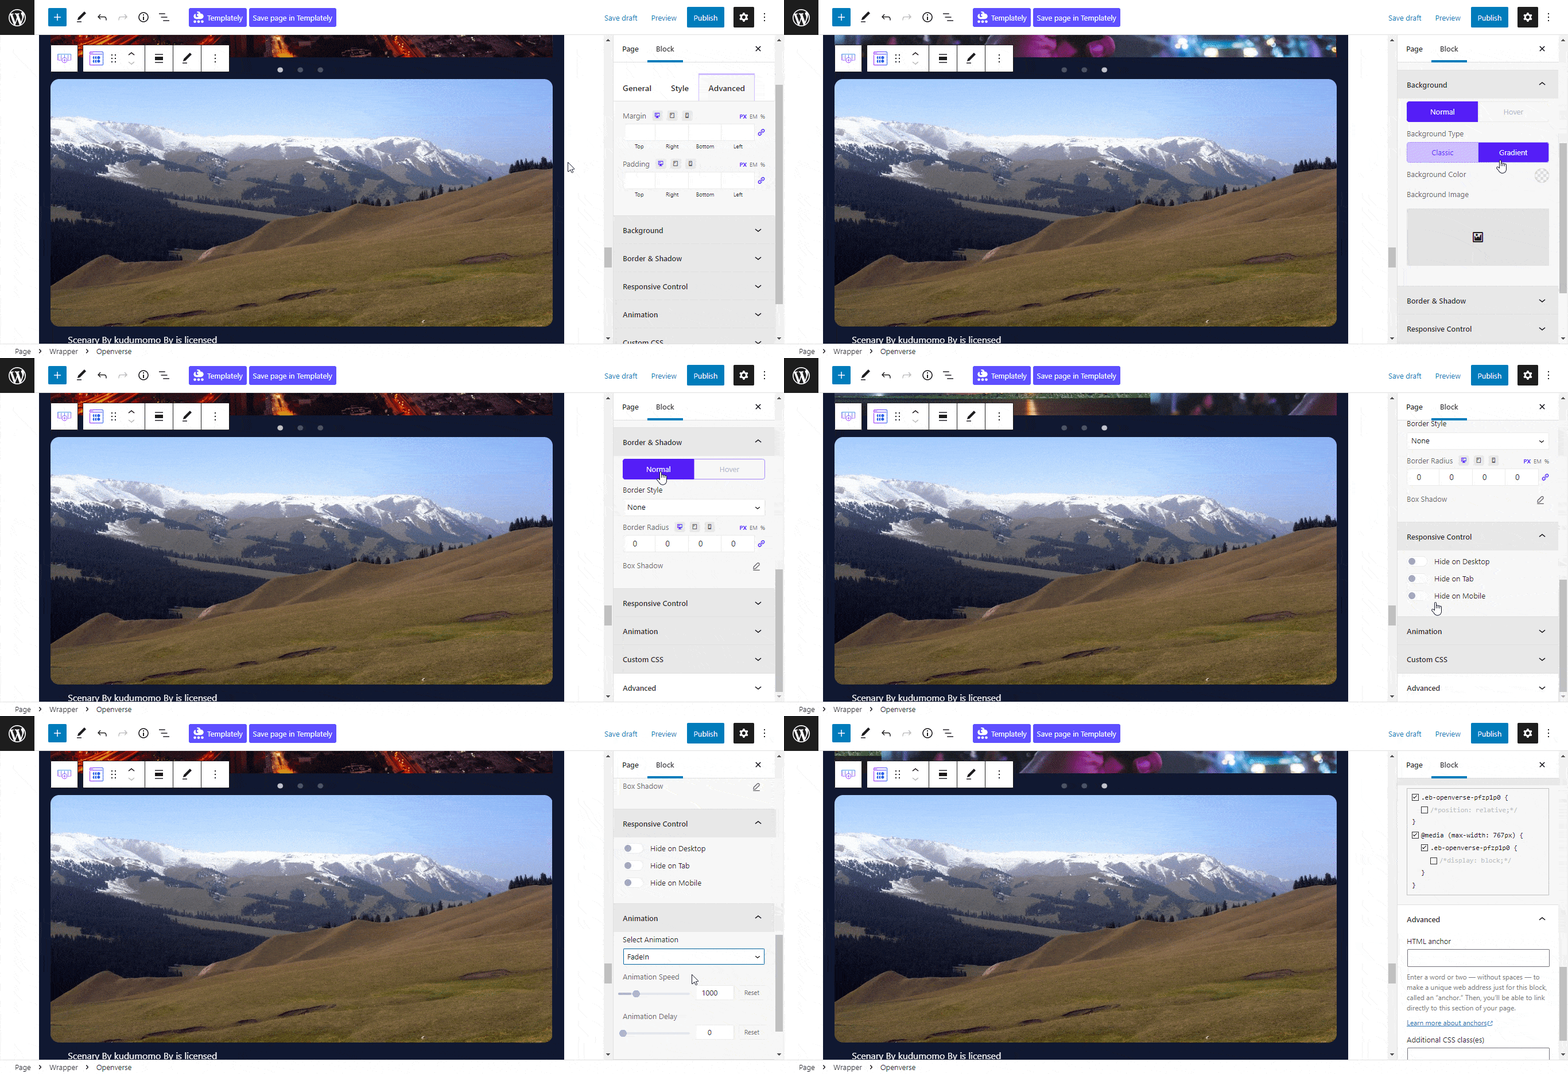
From the ‘Advanced’ tab, you will have many options for advanced customization. Here, you can customize Background type, Responsive Control, Animation, Custom CSS, etc. Multiple advanced block design customization options are also available there.
Final Outcome #
After making all the changes press the ‘Publish’ button and you can see your EB Openverse block. Following the simple and easy steps, you can add the EB Openverse block and style it in Gutenberg.
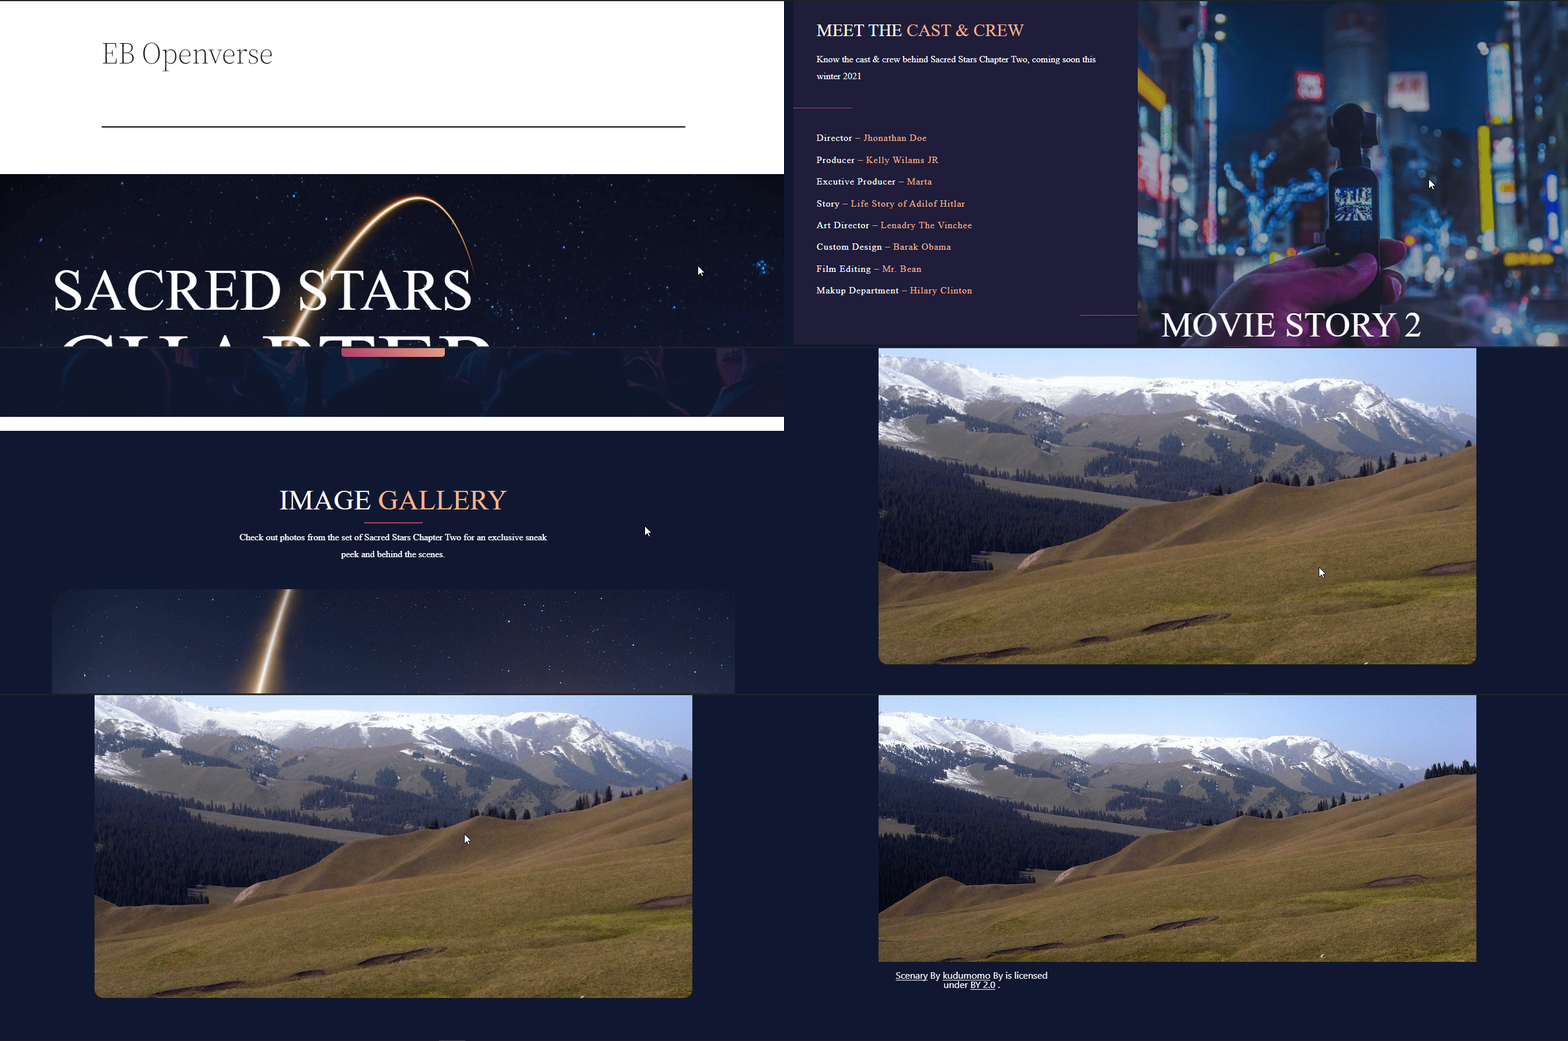
Here’s how you can easily set and design your EB Openverse in Gutenberg.
Got stuck? Feel free to contact our support for further assistance.


