The newly added EB Testimonial Slider from Essential Blocks provides a compact way to display feedback and testimonials of your happy customers with a visually appealing slider format. This way, you can engage more visitors, build trust, and convert visitors into potential customers.
Follow the step-by-step guidelines below to learn how to add and customize a Testimonial Slider on your website using Essential Blocks For Gutenberg.
How To Activate The EB Testimonial Slider? #
To activate the EB Testimonial Slider block, navigate to Essential Blocks → Blocks. Then, toggle to enable this ‘Testimonial Slider’ block.
Note: As the Essential Blocks Testimonial Slider block is premium, you need to install and activate Essential Blocks PRO on your website along with the free version to use all of the features.
How To Add Essential Blocks Testimonial Slider Block? #
From your WordPress dashboard, navigate to ‘Pages/Posts → Add New’ and create a new one, or open the page/post if you already have one created where you want to add the Testimonial Slider block.
To add the block, click the ‘+’ icon and find ‘Testimonial Slider’ in the search bar. Simply click on the block, and it will be added. At the start, two button options will appear as ‘Choose’ and ‘Start Blank’ for the testimonial layout.

Now, select the ‘Choose’ button and click on the ‘Click to insert’ button to add your preferred template from multiple options as your testimonial layout.

Configure Essential Blocks Testimonial Slider #
EB Testimonial Slider has multiple designs and customization options to display user reviews and testimonials visually appealingly. You can customize the presets, layout, content, and slider options with a few clicks.
General #
You will have two presets to choose from and meet your web page design needs. Both the preset styles have a button to enable/disable avatar, while you can choose to enable/disable the stacked slider with Style 1.
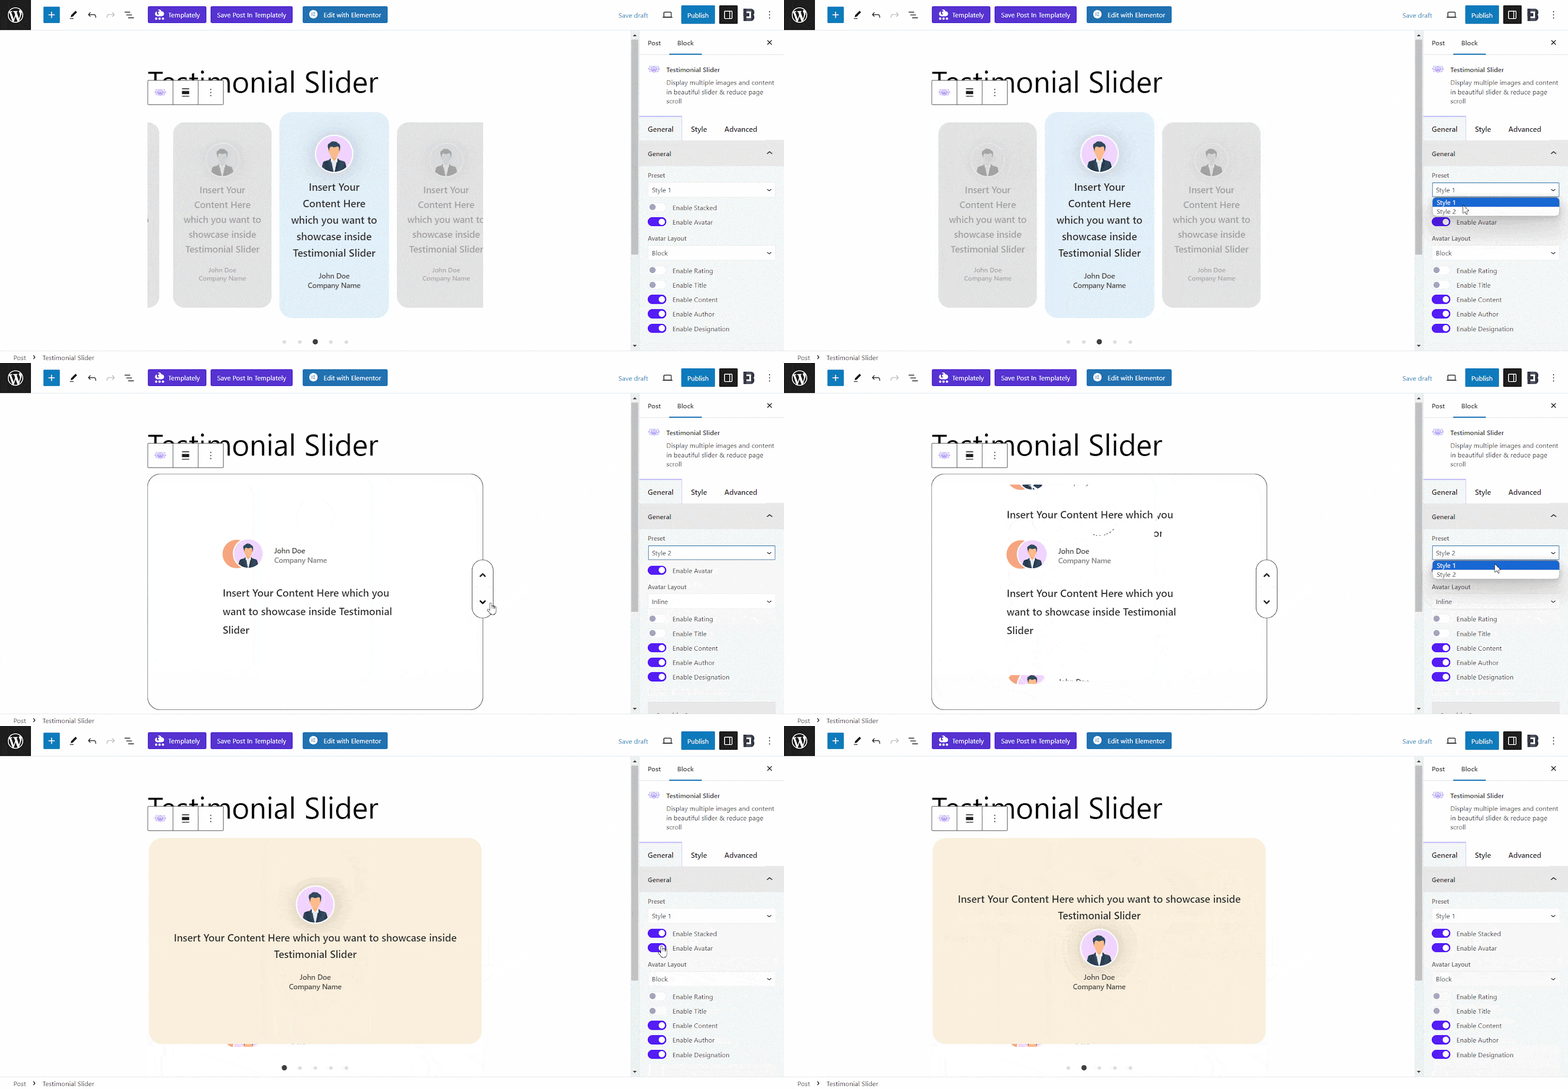
You can display the avatar in two ways: Inline or Block. Additionally, there are toggle buttons to enable/disable displaying the Rating, Title, Author, Content, and Designation. As the Sortable Content comes with a drag-and-drop option, you can reposition Avatar, Author, Content, and more as you find fit.
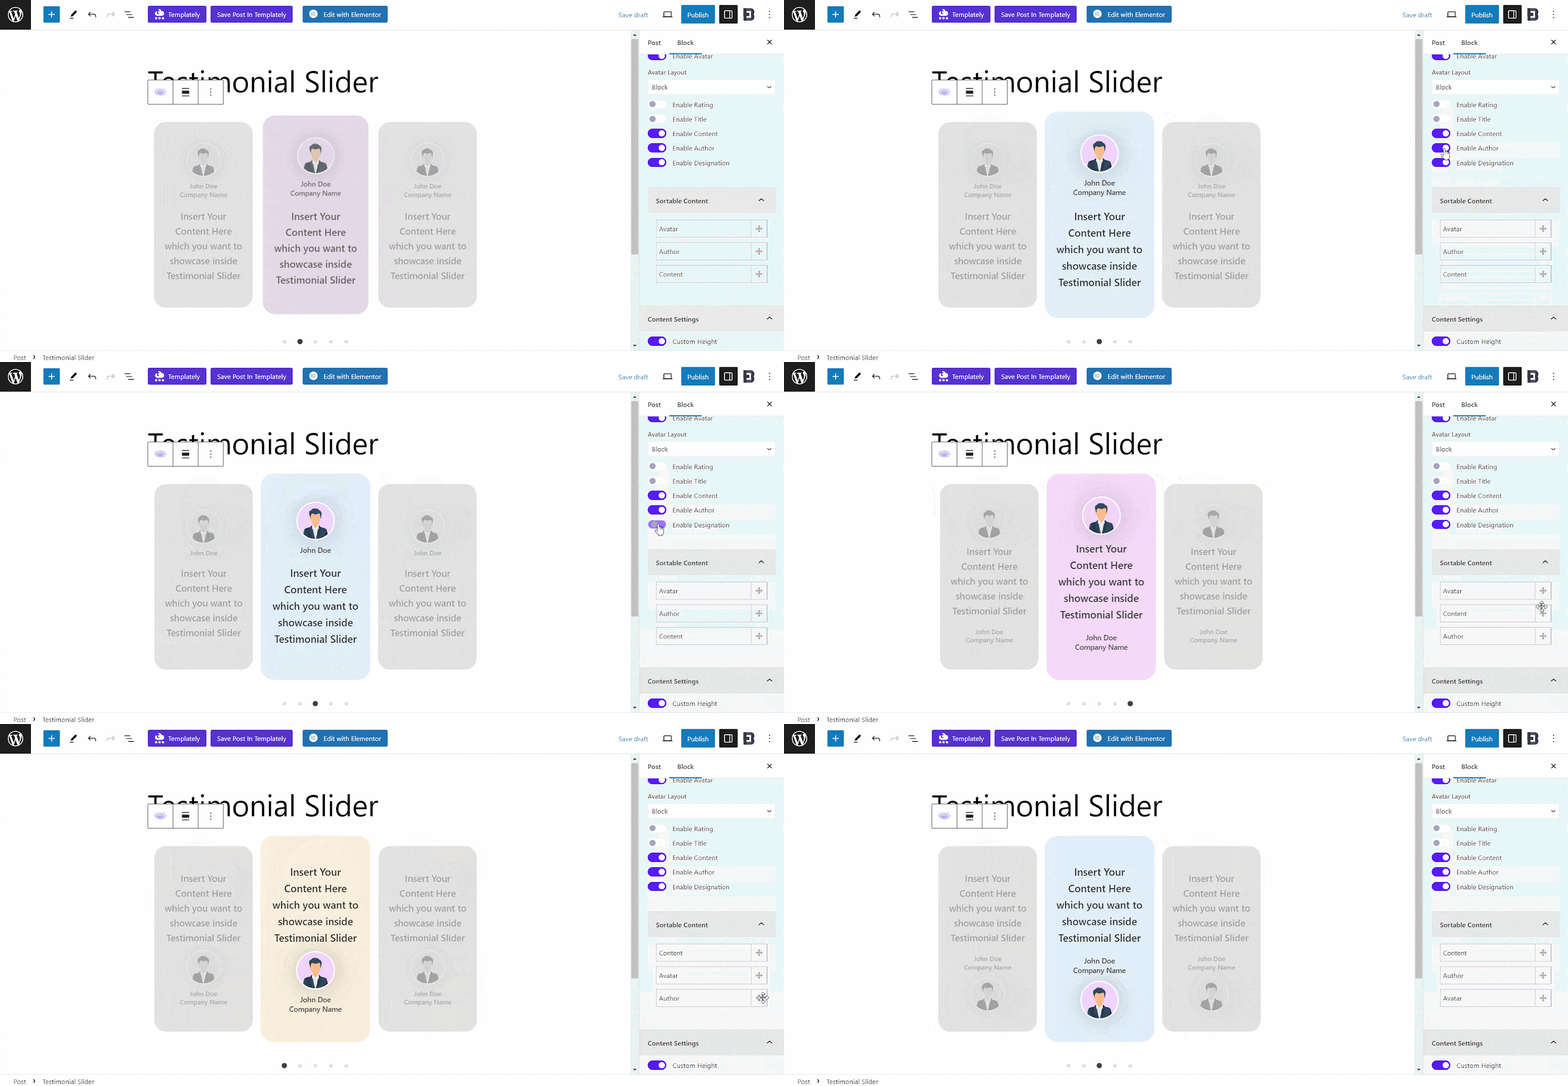
Content Settings #
On the Content Settings, you can enable Custom Height and choose your preferred height. You can also enable Individual Item Styling, add or remove items, reposition them, and customize each with multiple options.
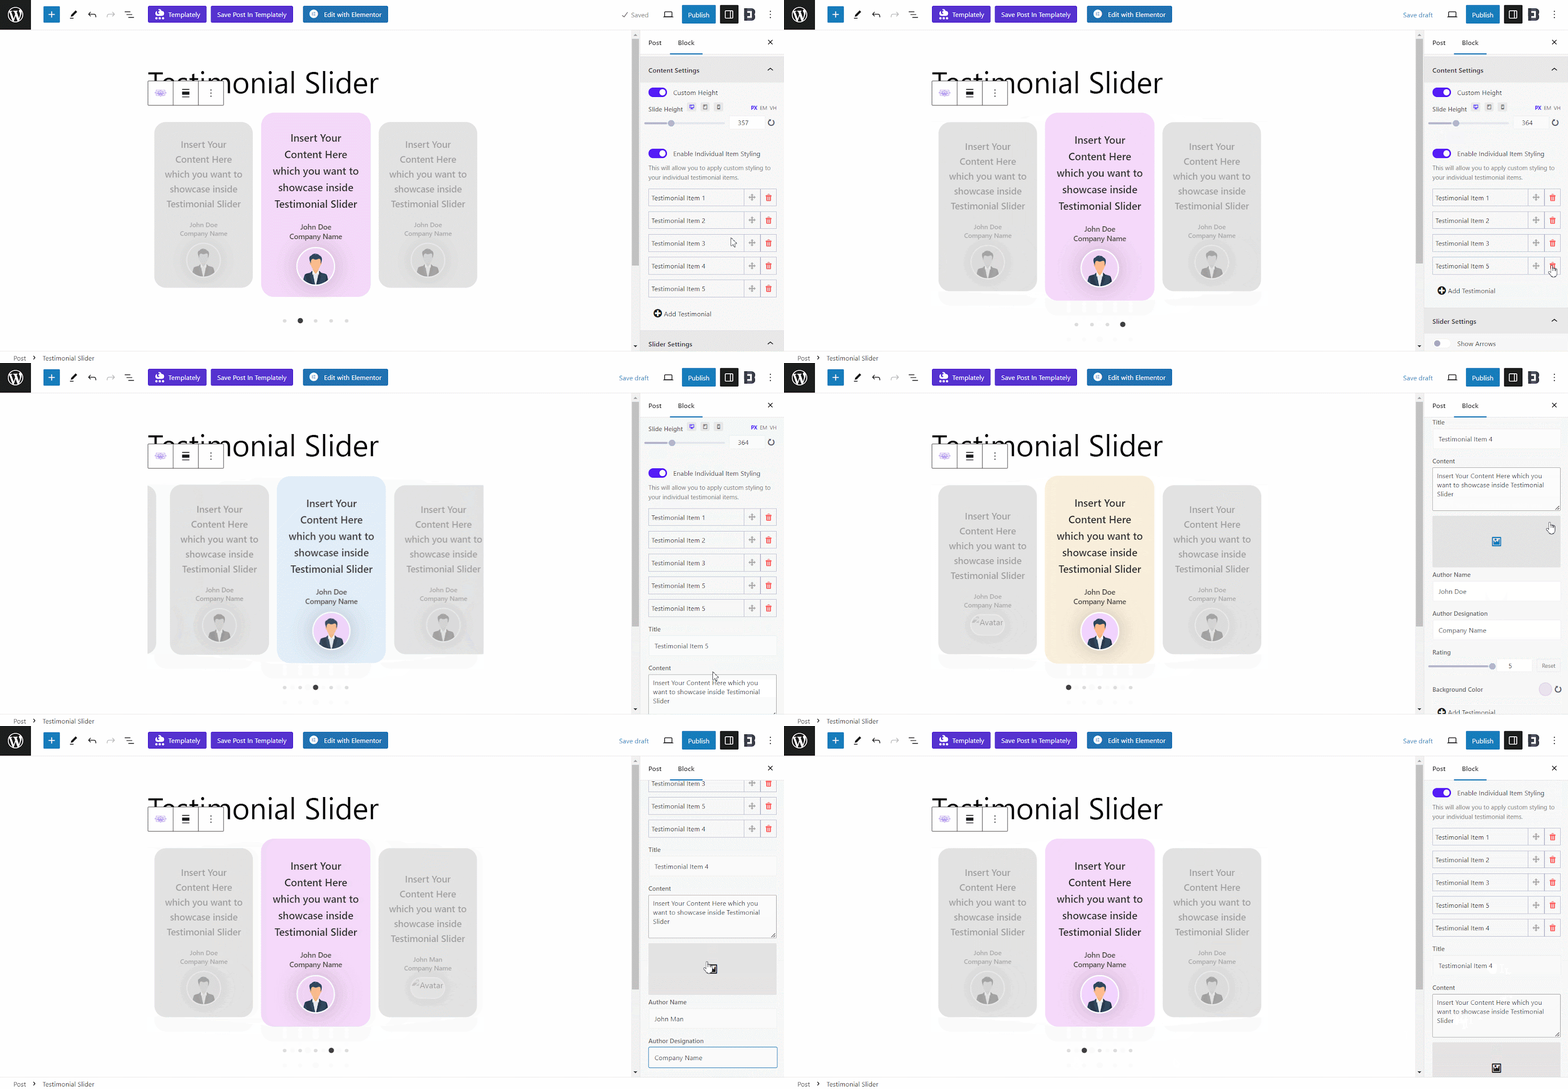
There are options to edit the Title, Content, Author Name, Designation, and Ratings and customize the image to meet your content needs.
Slider Settings #
On the Slider Settings tab, you can enable/disable the display of Arrows and icons, Adaptive heights, Autoplay, Dots, Vertical Slide, and Pause on Hover. Additionally, you can set values to control the number of Slides to Show, Autoplay Speed, and Animation Speed and select one from four different Dot Presets.
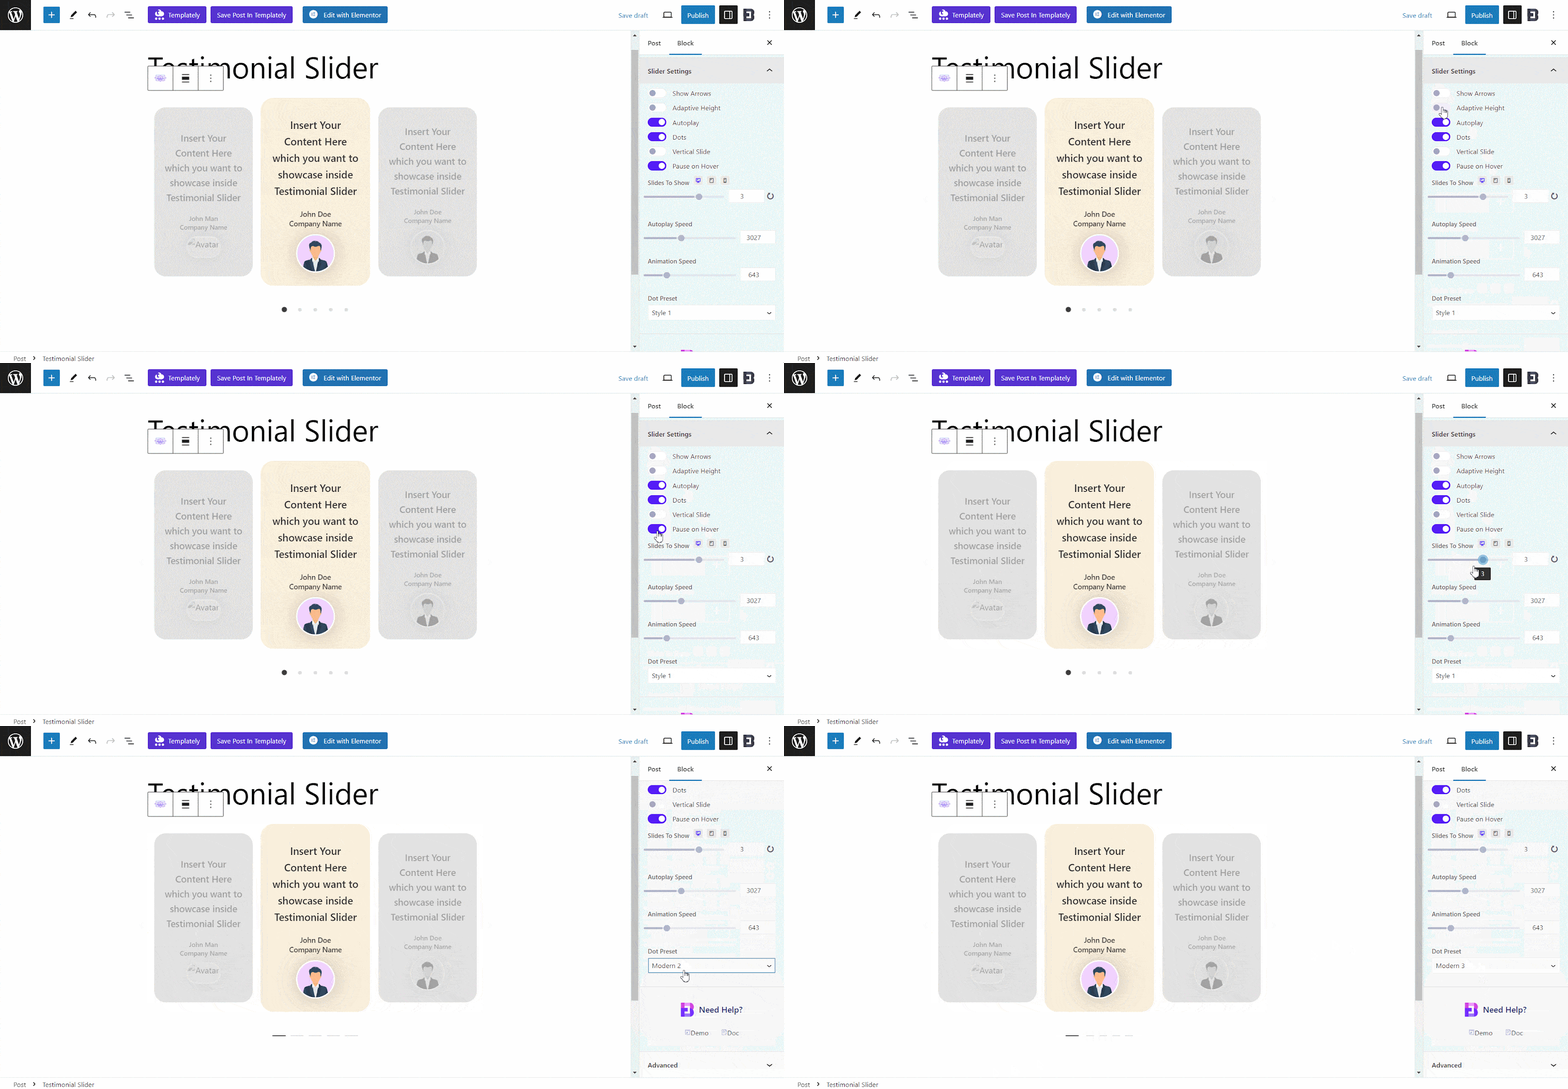
Style Tab #
The Style tab has options to customize the Slider’s alignment, content, and element background color, typography, and more. For the Slider Item, you can adjust the slider gap, alignment, background color, hover, and styling options for Border & Shadow.
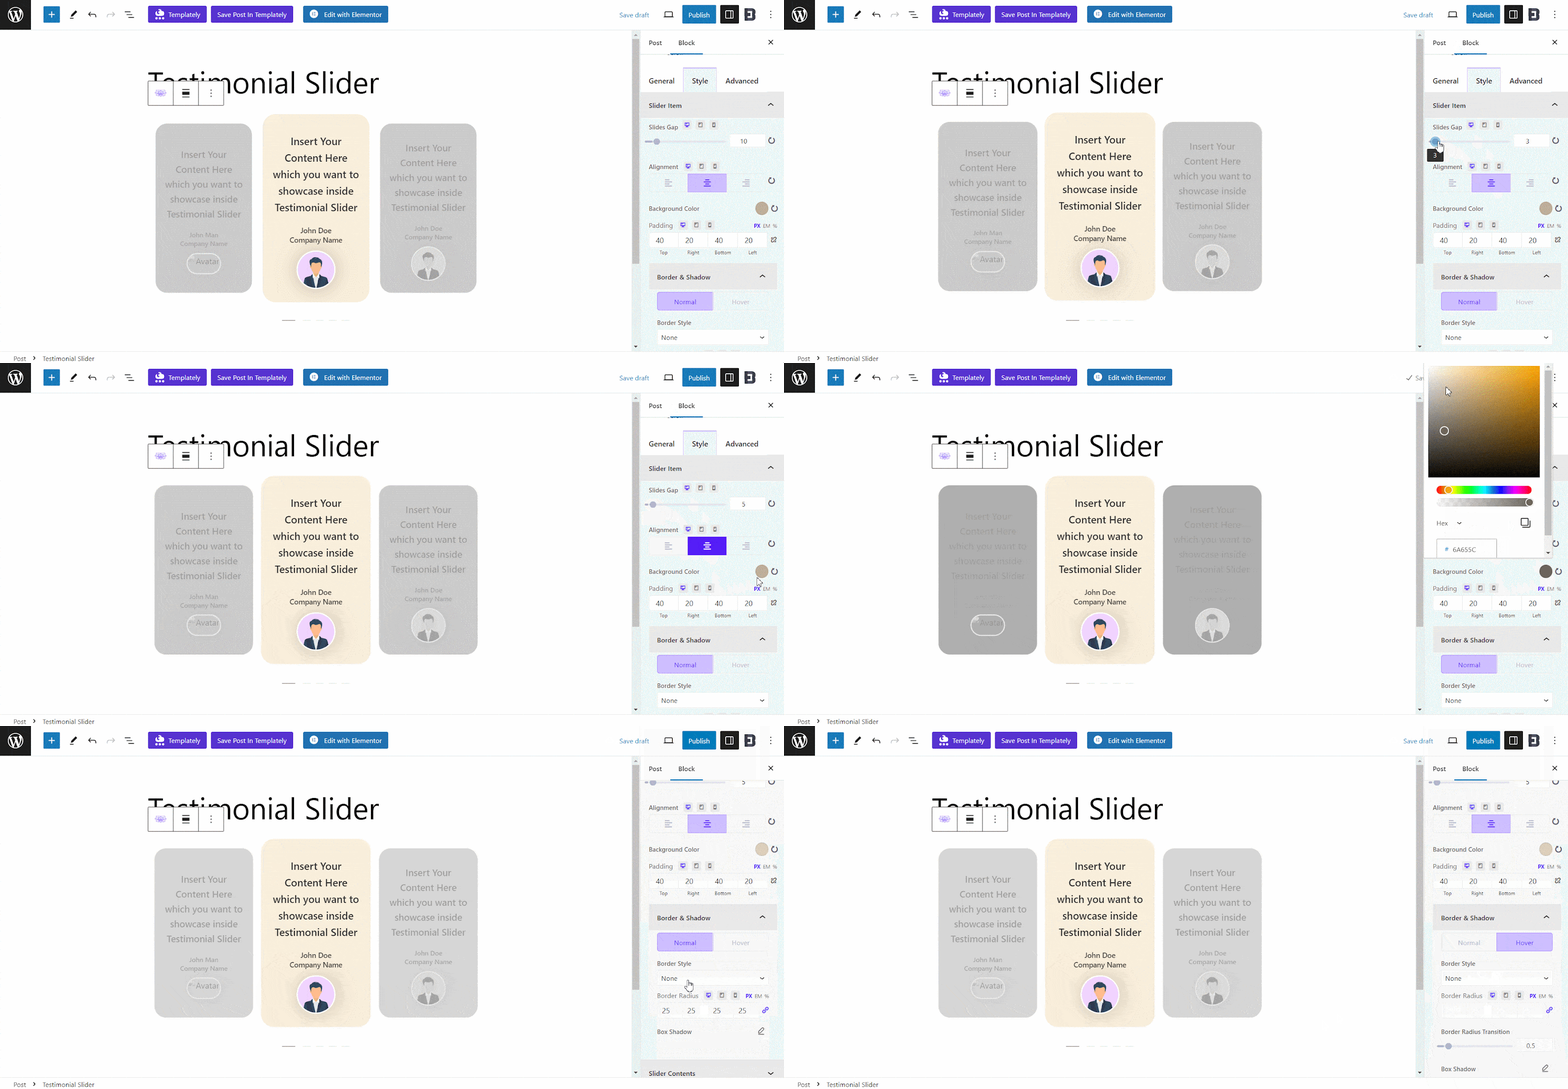
The Slider Contents tab comes with the customization options of color, typography, and other elements for Title, Content, Author, Avatar, and Rating.
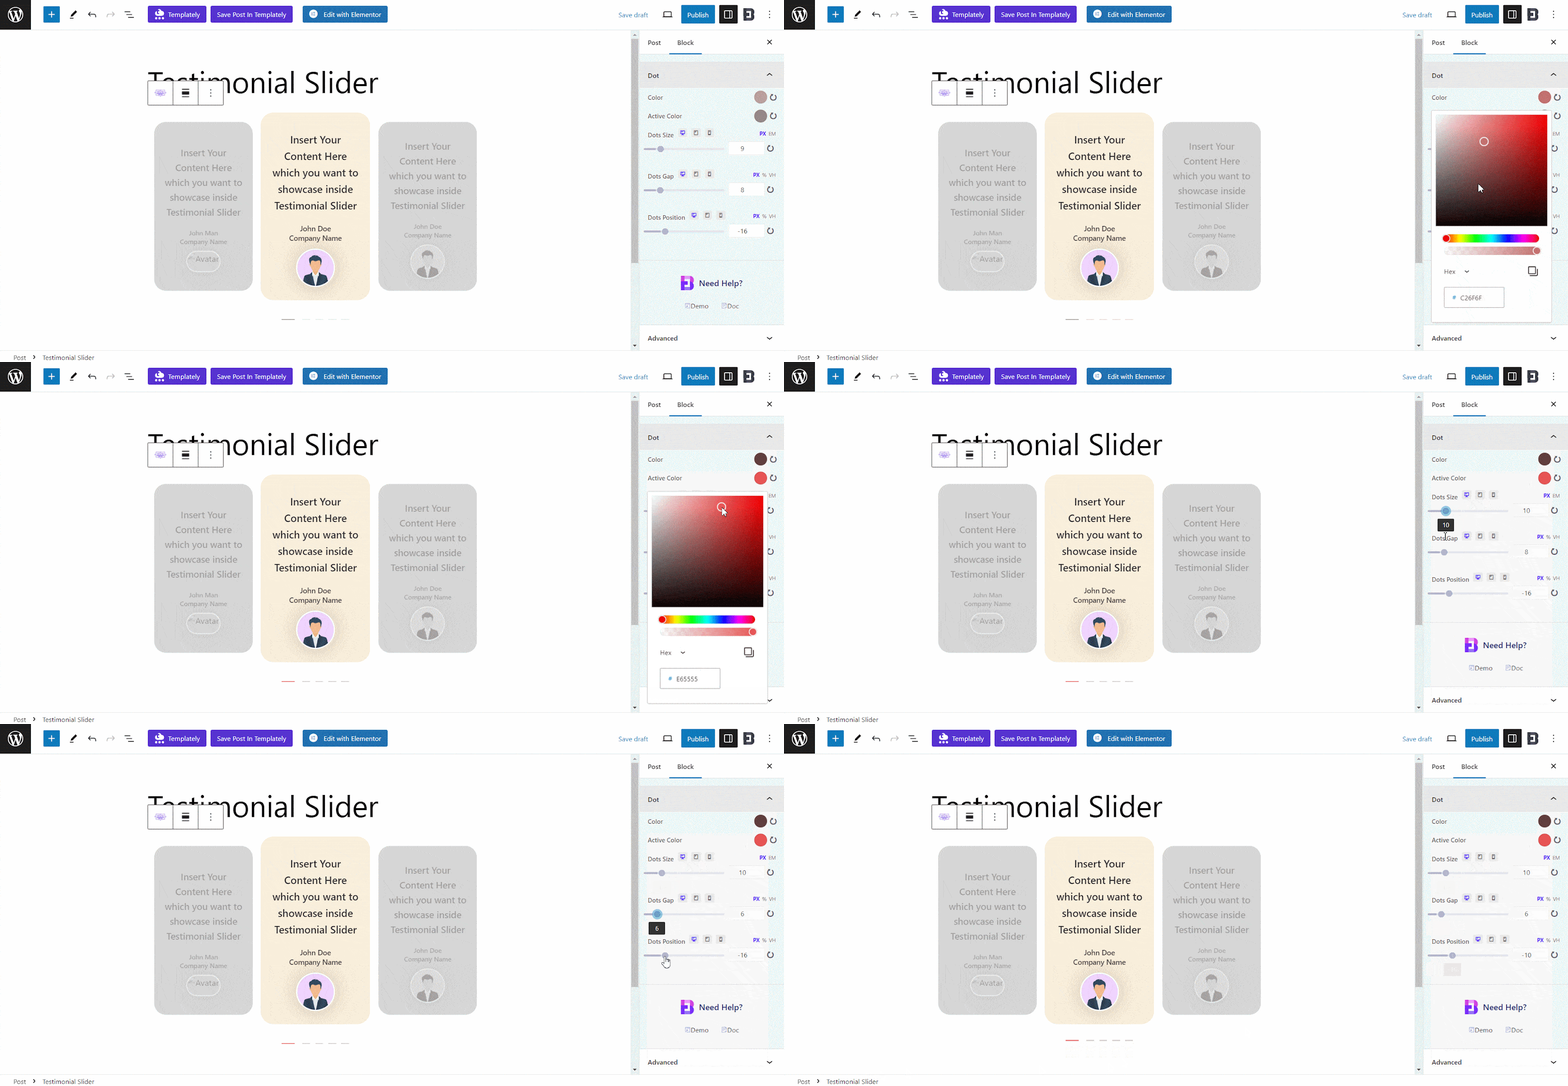
Advanced Tab #
The ‘Advanced’ tab comes with margin and padding options, background effects, border and shadow styling, responsive controls, animation options, and more for meeting your further customization needs.

Final Outcome #
Once you are done with all the customizations, publish your page/post, and your visitors will see the interactive testimonial slider powered by Essential Blocks.
Thus, following the simple steps, you can quickly add and configure the Essential Blocks Testimonial Slider in Gutenberg.
Getting stuck? Feel free to contact our support for further assistance.


