EB Advanced Video block can help you to embed videos on your website from any source and showcase them just the way you want. With Advanced Video block from Essential Blocks, you can make your videos sticky or display them on the popup window. So, from now on, adding video on your website from popular video-sharing platforms or self-hosted places is super easy in Gutenberg.
Follow this step-by-step guide to add a video to your website using the EB Advanced Video block in Gutenberg.
How To Activate EB Advanced Video? #
Make sure you have installed and activated Essential Blocks for Gutenberg on your WordPress site. Essential Blocks comes with a modular control that can give you the freedom to enable or disable any block you want.
To activate the Advanced Video block, navigate to Essential Blocks → ‘Blocks’. Then, toggle to enable the block as shown below. After that, click on the ‘Save’ button.

How To Configure EB Advanced Video In Gutenberg? #
Now, open the page where you want to insert your video. Then click on the ‘+’ button and find the ‘Advanced Video’ block. Click on the block to insert it into your web page.

General #
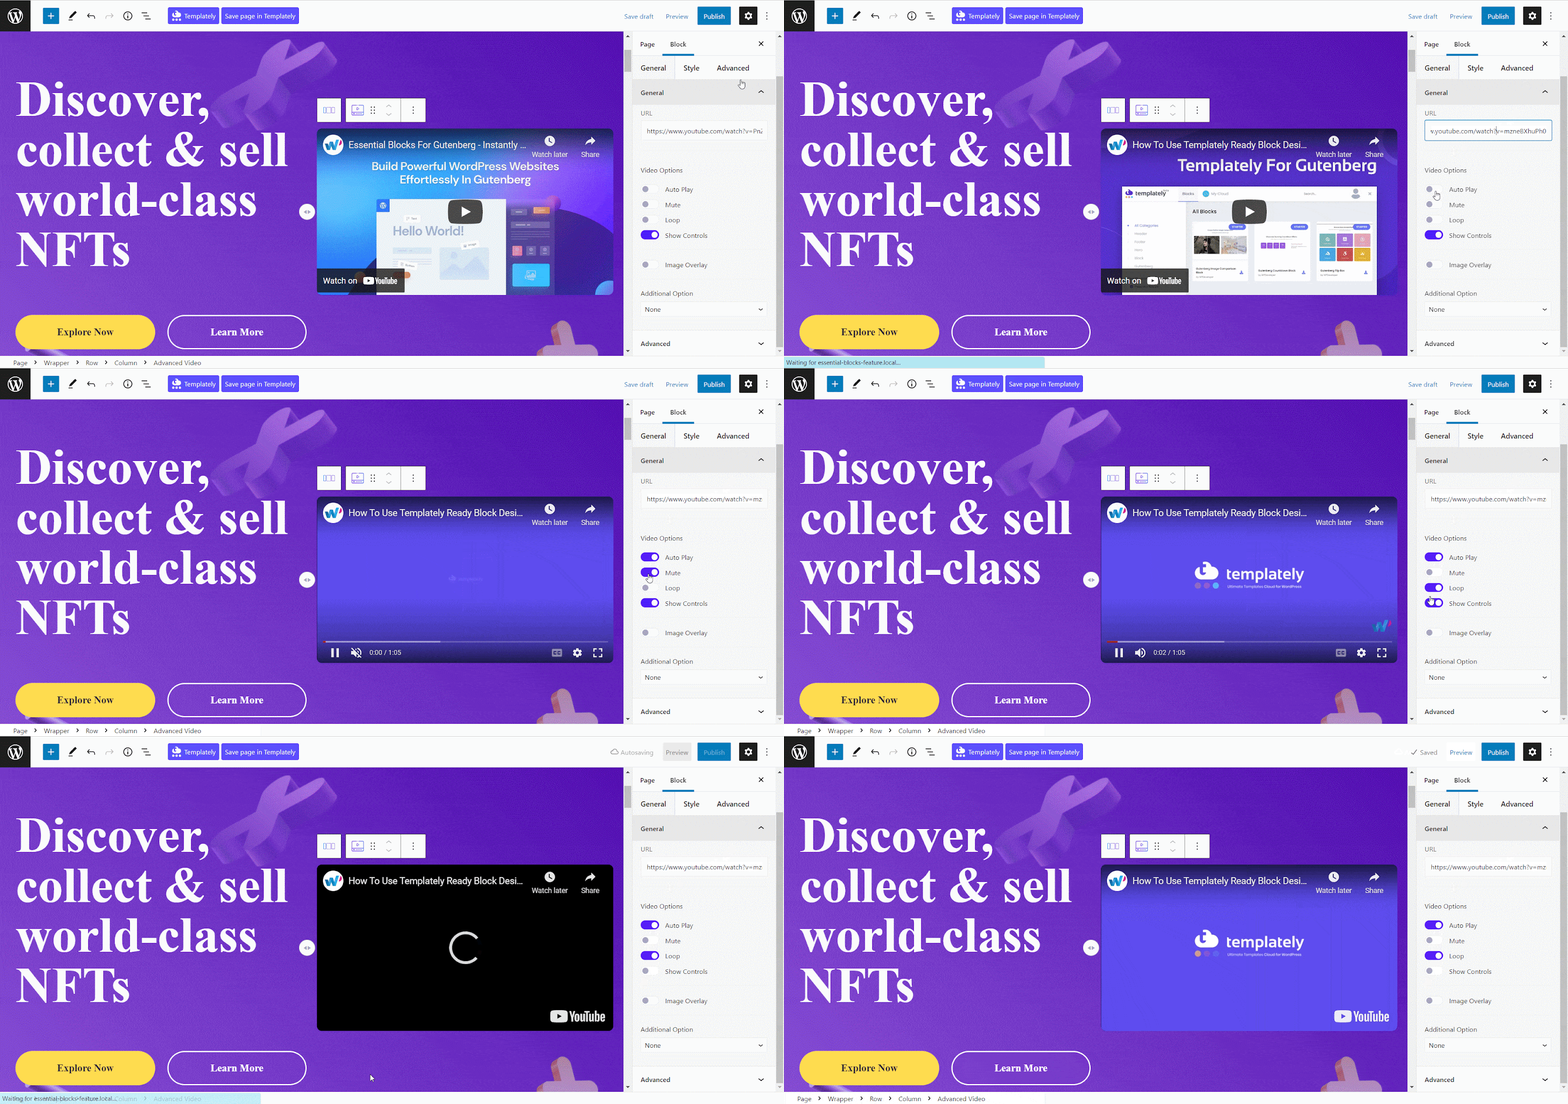
Navigate to the Block→ General tab. Under this tab, you can add the link to your video and customize settings easily. Now, insert the shareable link of any of your videos on the ‘URL’ option. Then, set the video as you like from the ‘Auto Play’ ‘Mute’ ‘Loop’ and ‘Show Controls’ options by enabling them with toggle buttons.
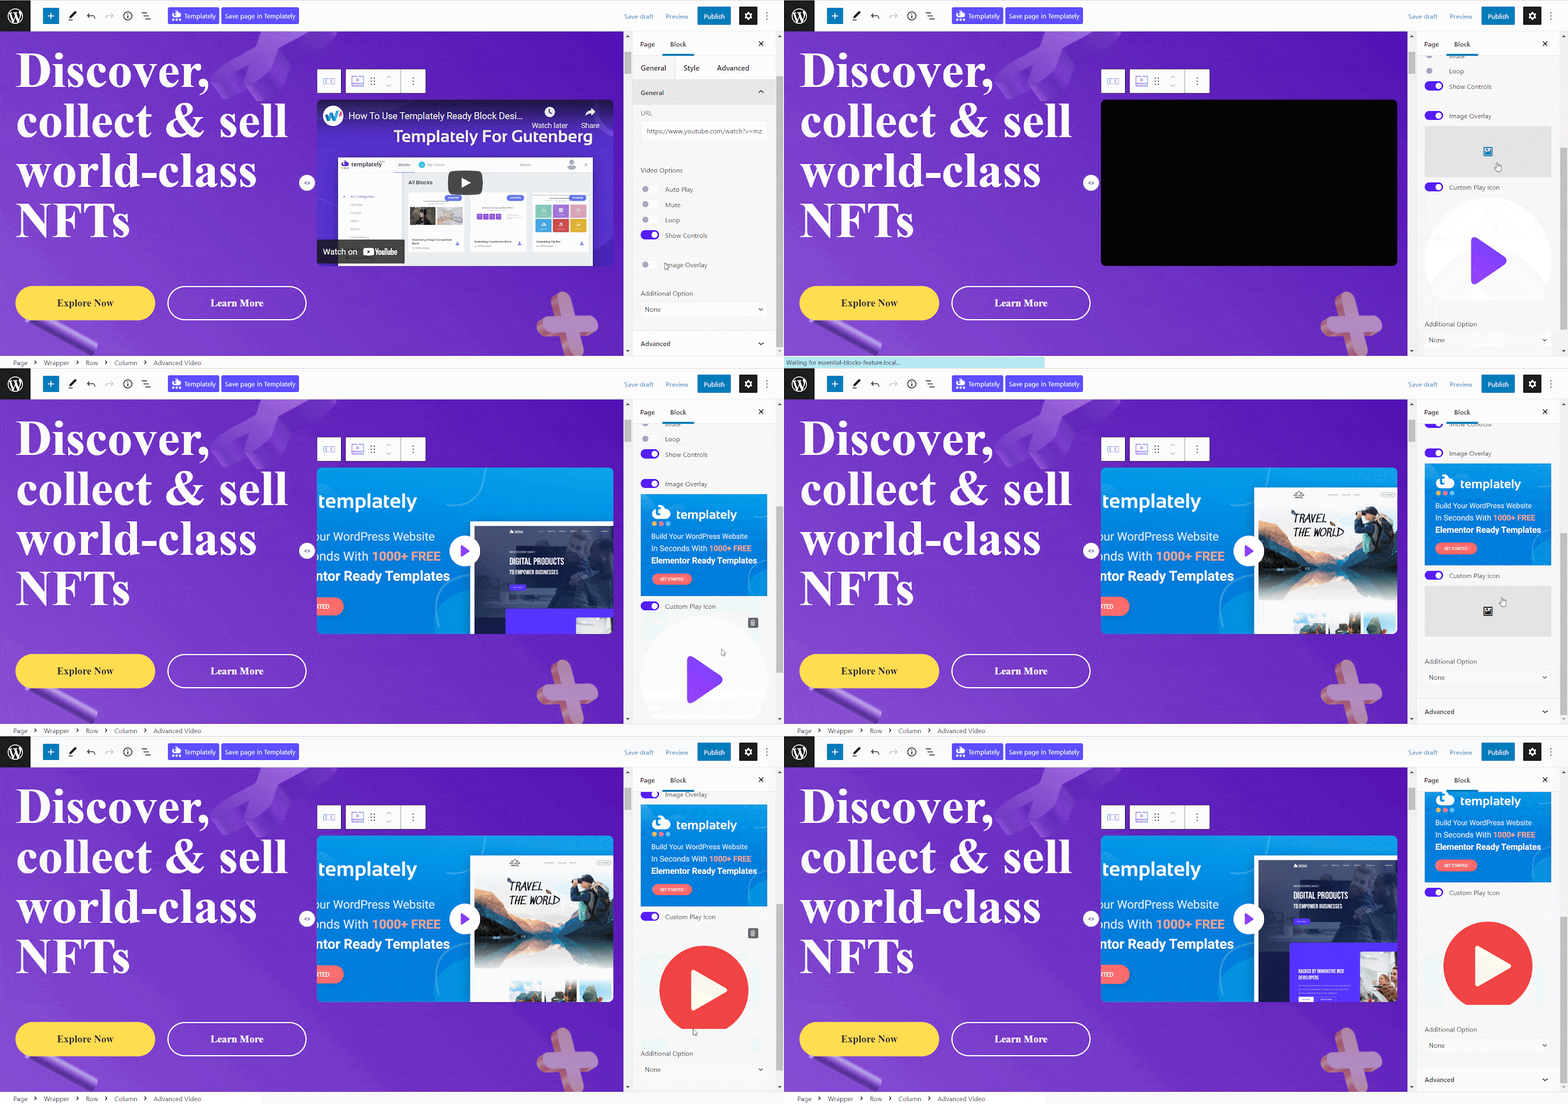
Besides, you can also enable the ‘Image Overlay’ option to add a separate image to your attached video from there. Toggle the ‘Image Overlay’ option and choose the image and icon that you want to showcase over your video.
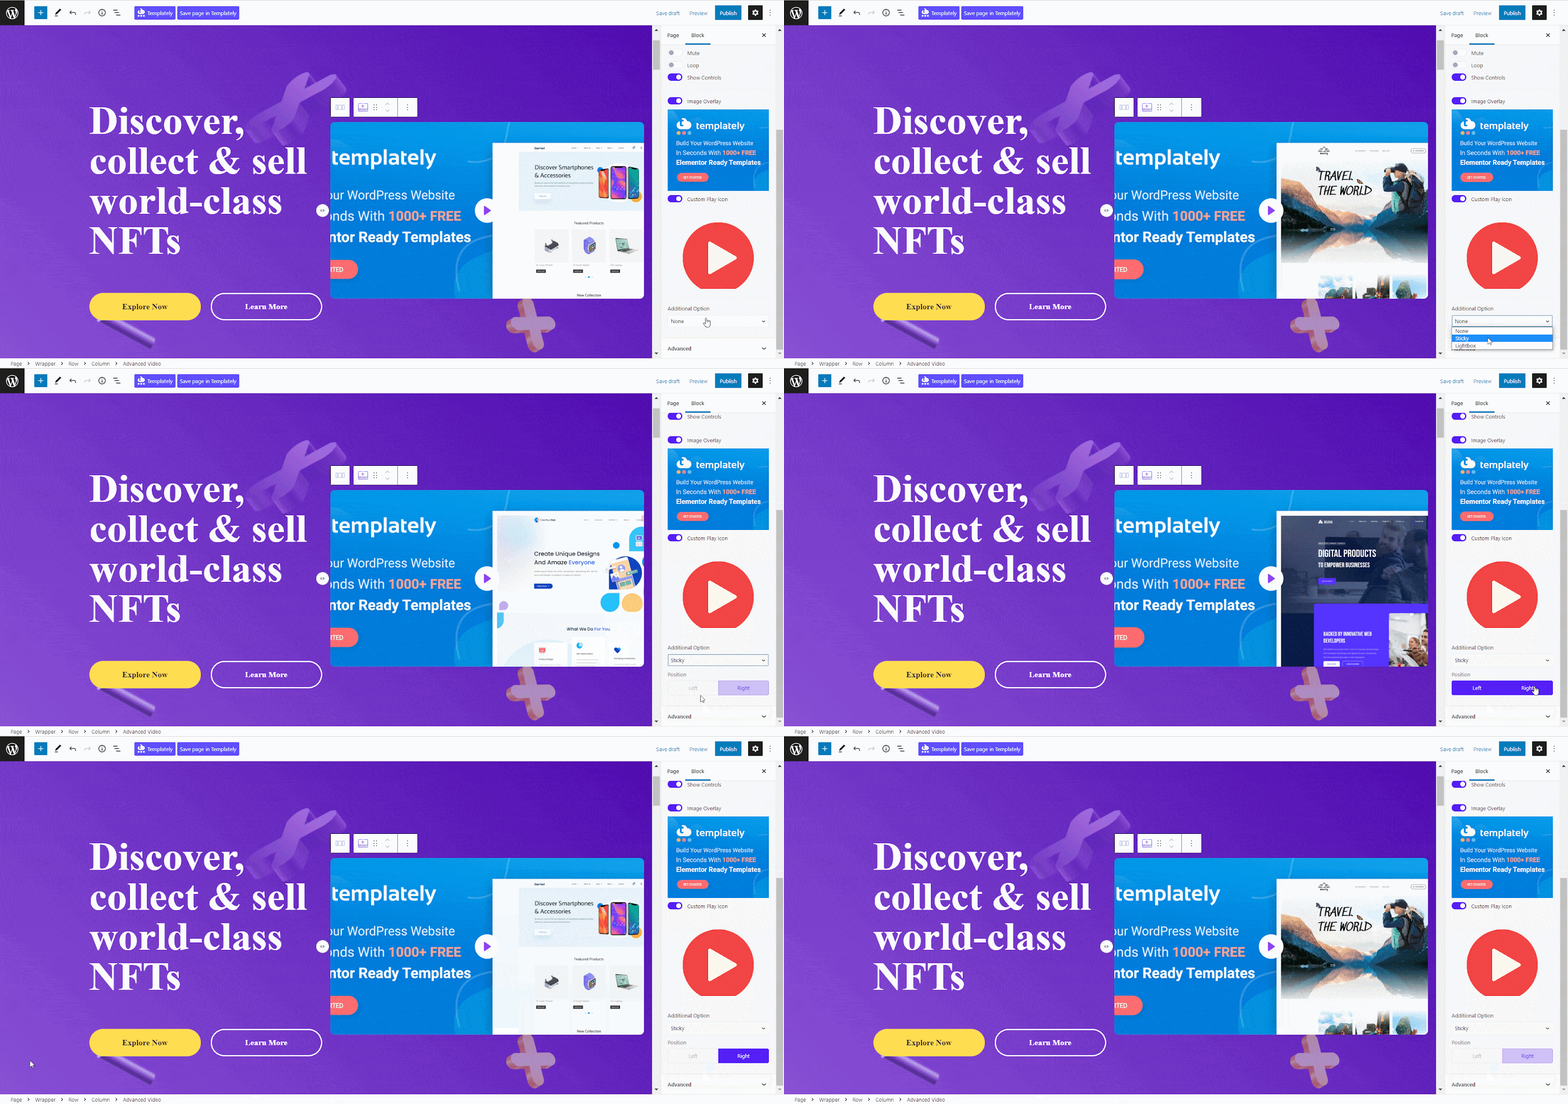
Now, EB Advanced Video also has an additional option under the ‘General’ tab. You can make the video section into ‘Sticky’ or ‘Lightbox’. The ‘Sticky’ option will pin your video on the browser window so that your visitors can watch the video even while they are scrolling through your webpage. Now, set the position where you want to make your video pinned.
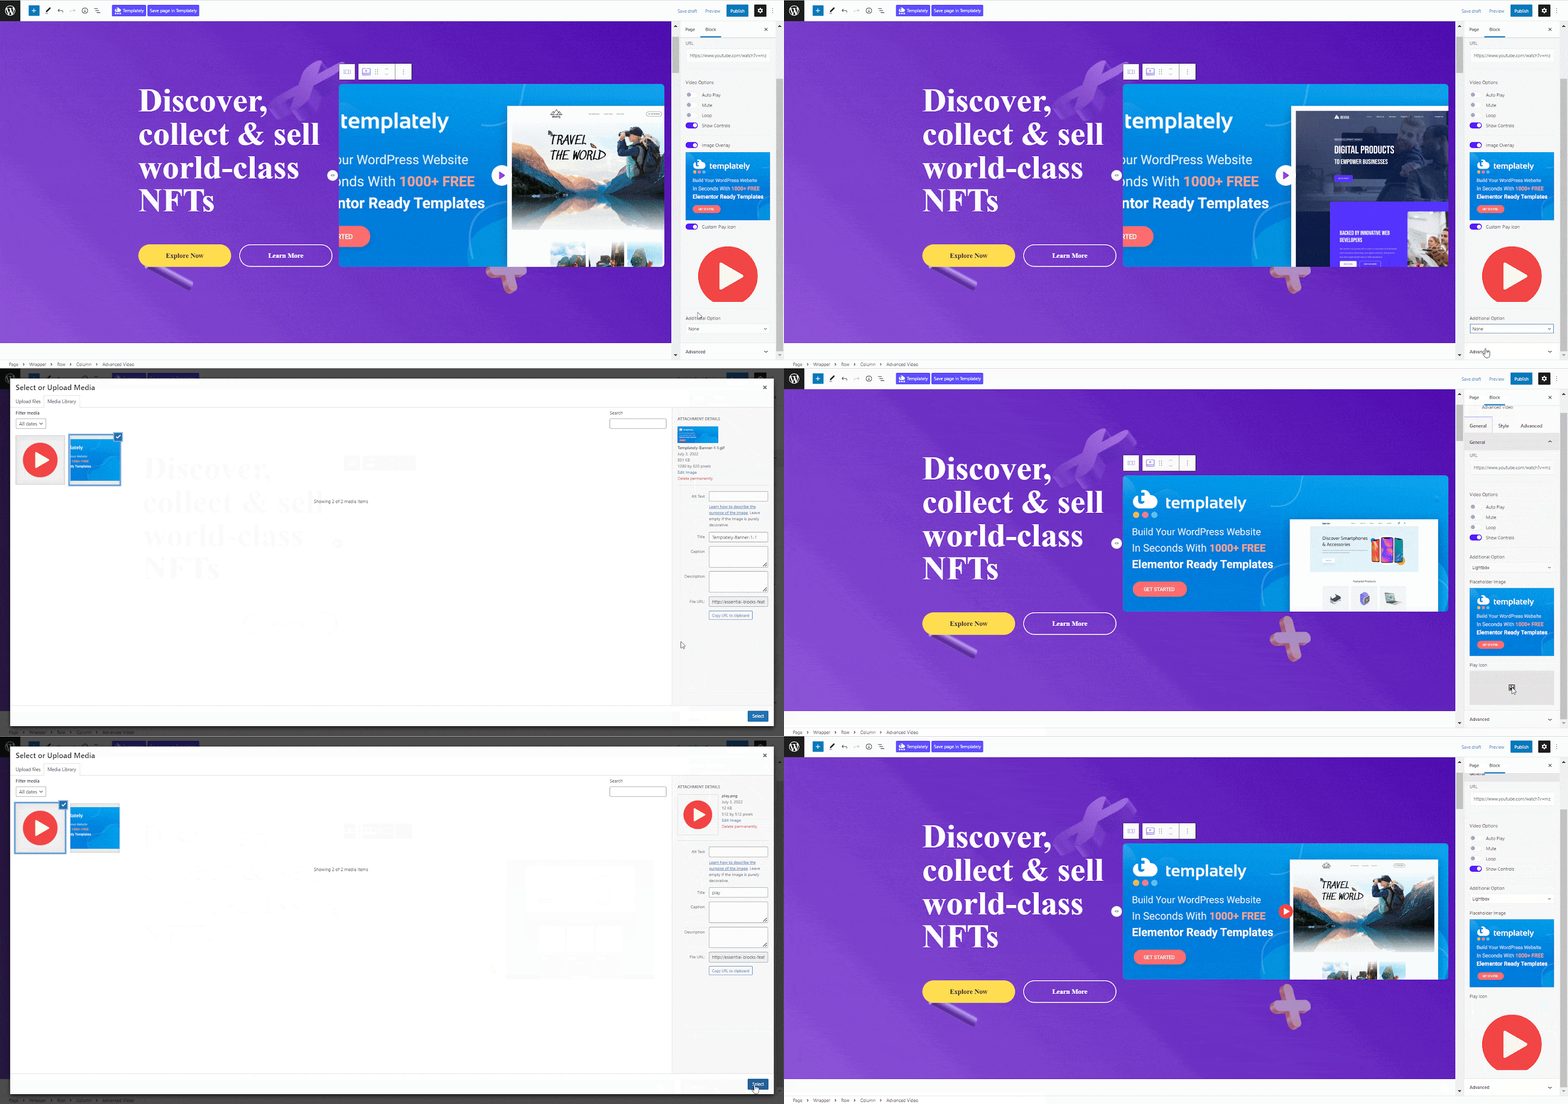
Similarly, enabling the ‘Lightbox’ feature will help you to display your video on a popup window and dim the rest of the viewport after clicking on it. After choosing ‘Lightbox’ add your ‘Placeholder Image’ & ‘Play Icon’ for your video.
Style #
From the ‘Style’ tab you will find the options to customize your video section appearance. Adjust the size of the ‘Play Icon’ and height-width of your ‘Placeholder Image’ from there. You can add border style and box shadow from this tab as well.
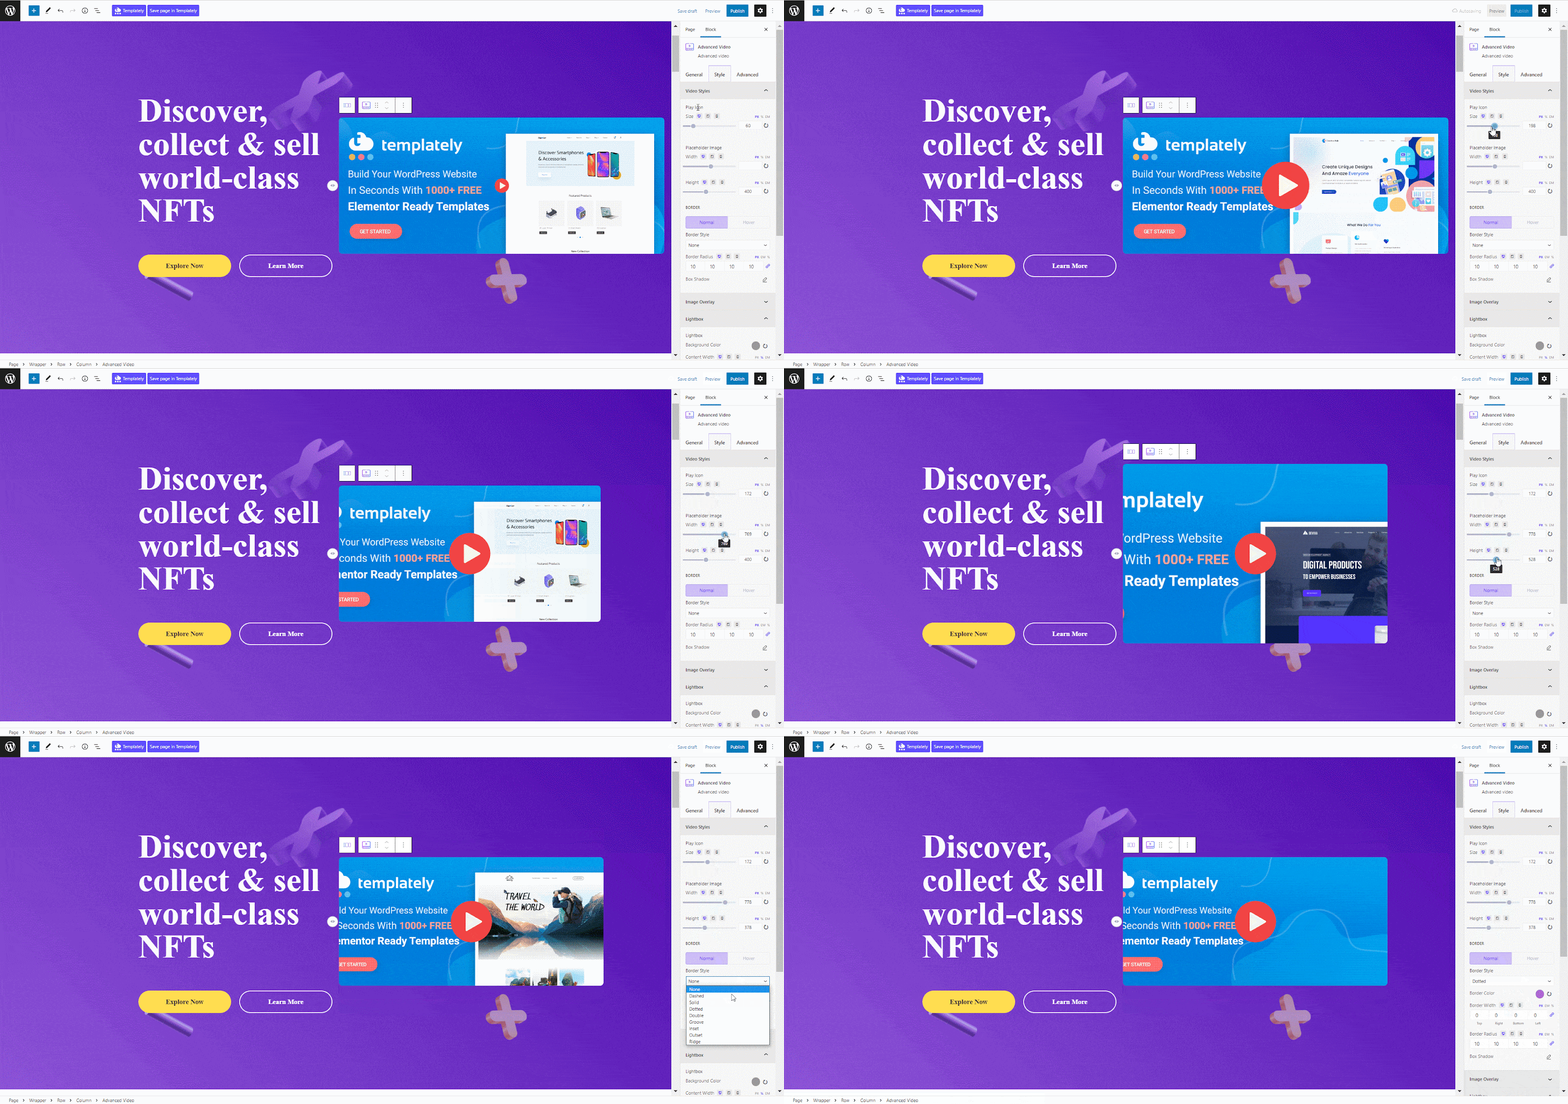
Besides, you can also personalize your ‘Image Overlay’ from there. Increase or reduce the size of your image overlay as you want.

If you choose the ‘Lightbox’ option, then you can customize the background color, content width, and height. From the ‘Close Icon’ option set your preferred color and size for the video.
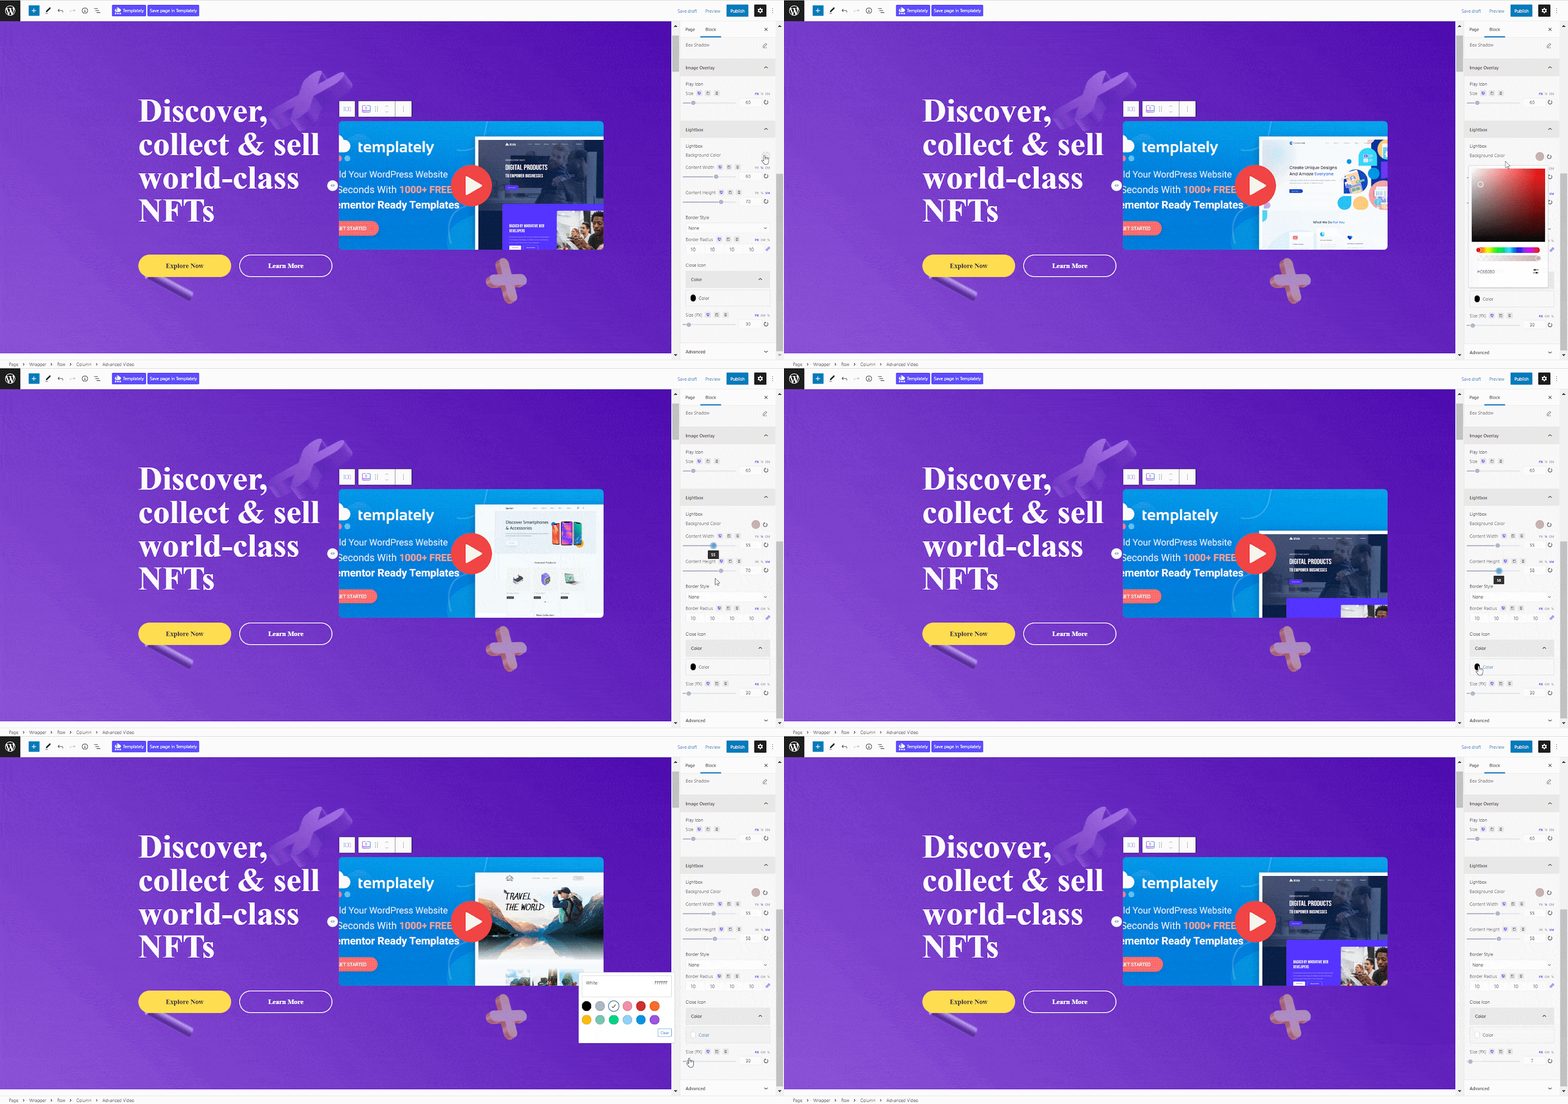
Advanced #
From the ‘Advanced’ tab you can control this block and make more changes. Go to the ‘Advanced’ tab and adjust the ‘Margin’ and ‘Padding’ for your Advanced Video Block.
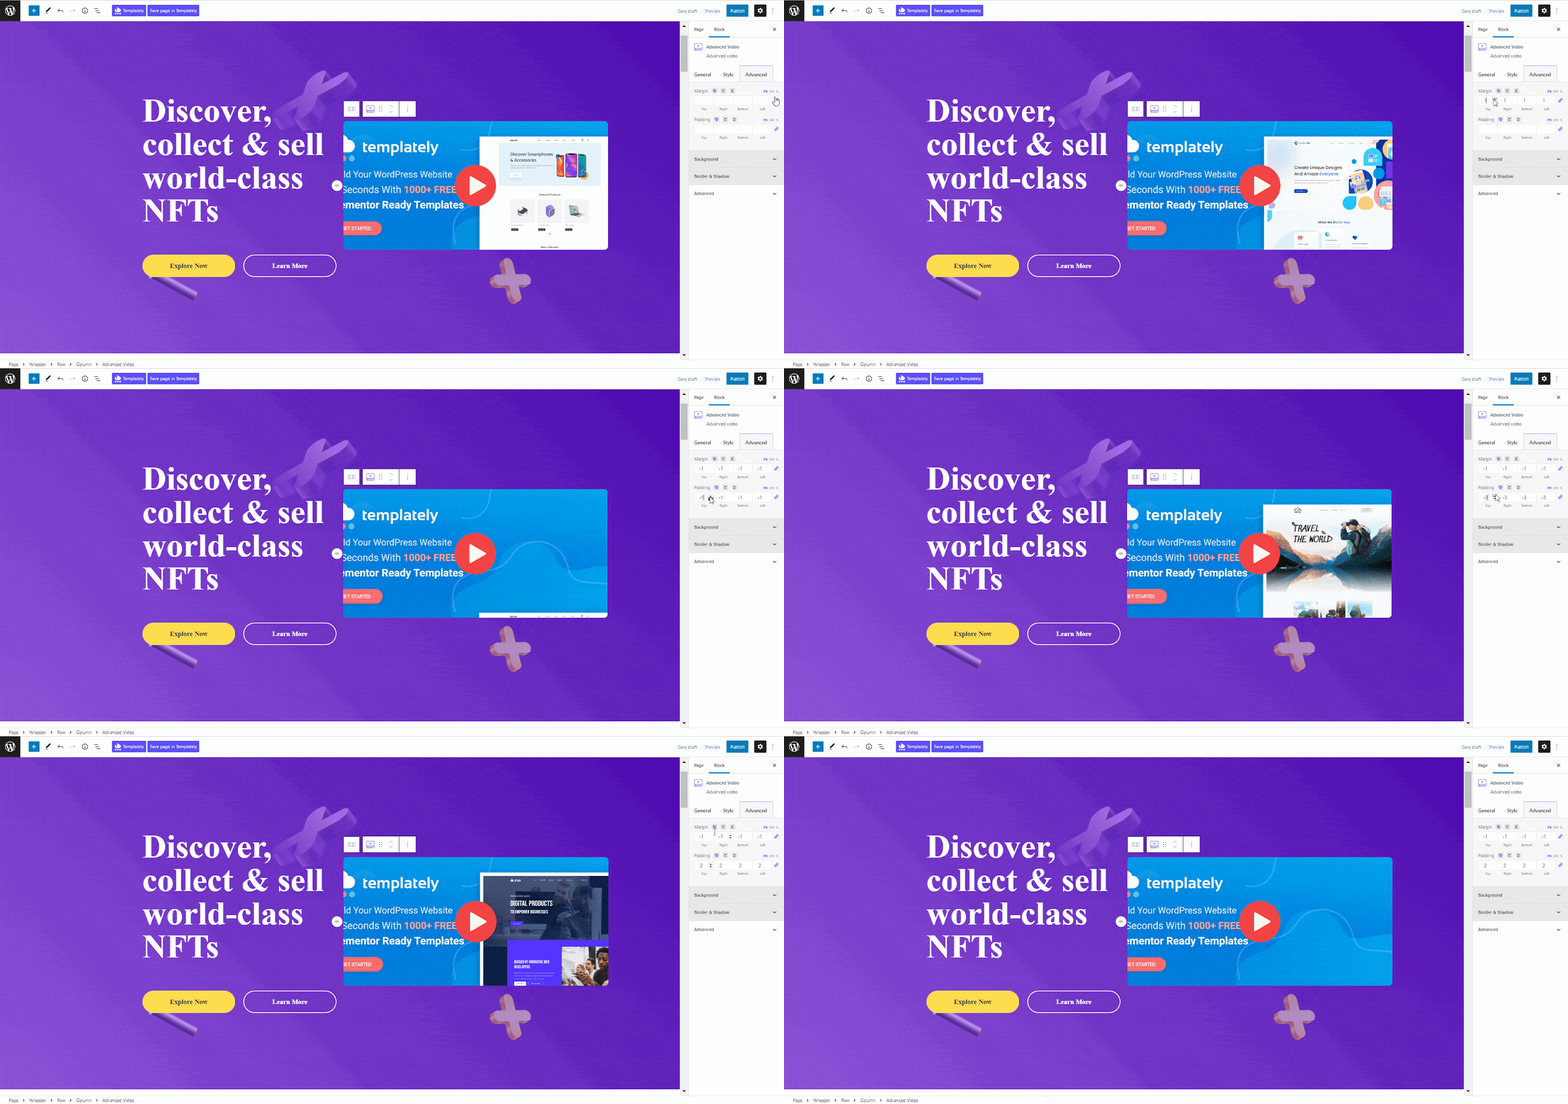
Besides, there you will find the options for adding a background image to your Advanced Video and customizing the border. Make the changes that you need to attract your audience to your video.

Final Outcome #
After making all the changes hit the ‘Publish’ button to add an Advanced Video to your website. Check out how the ‘EB Advanced Video’ will appear on your WordPress website.
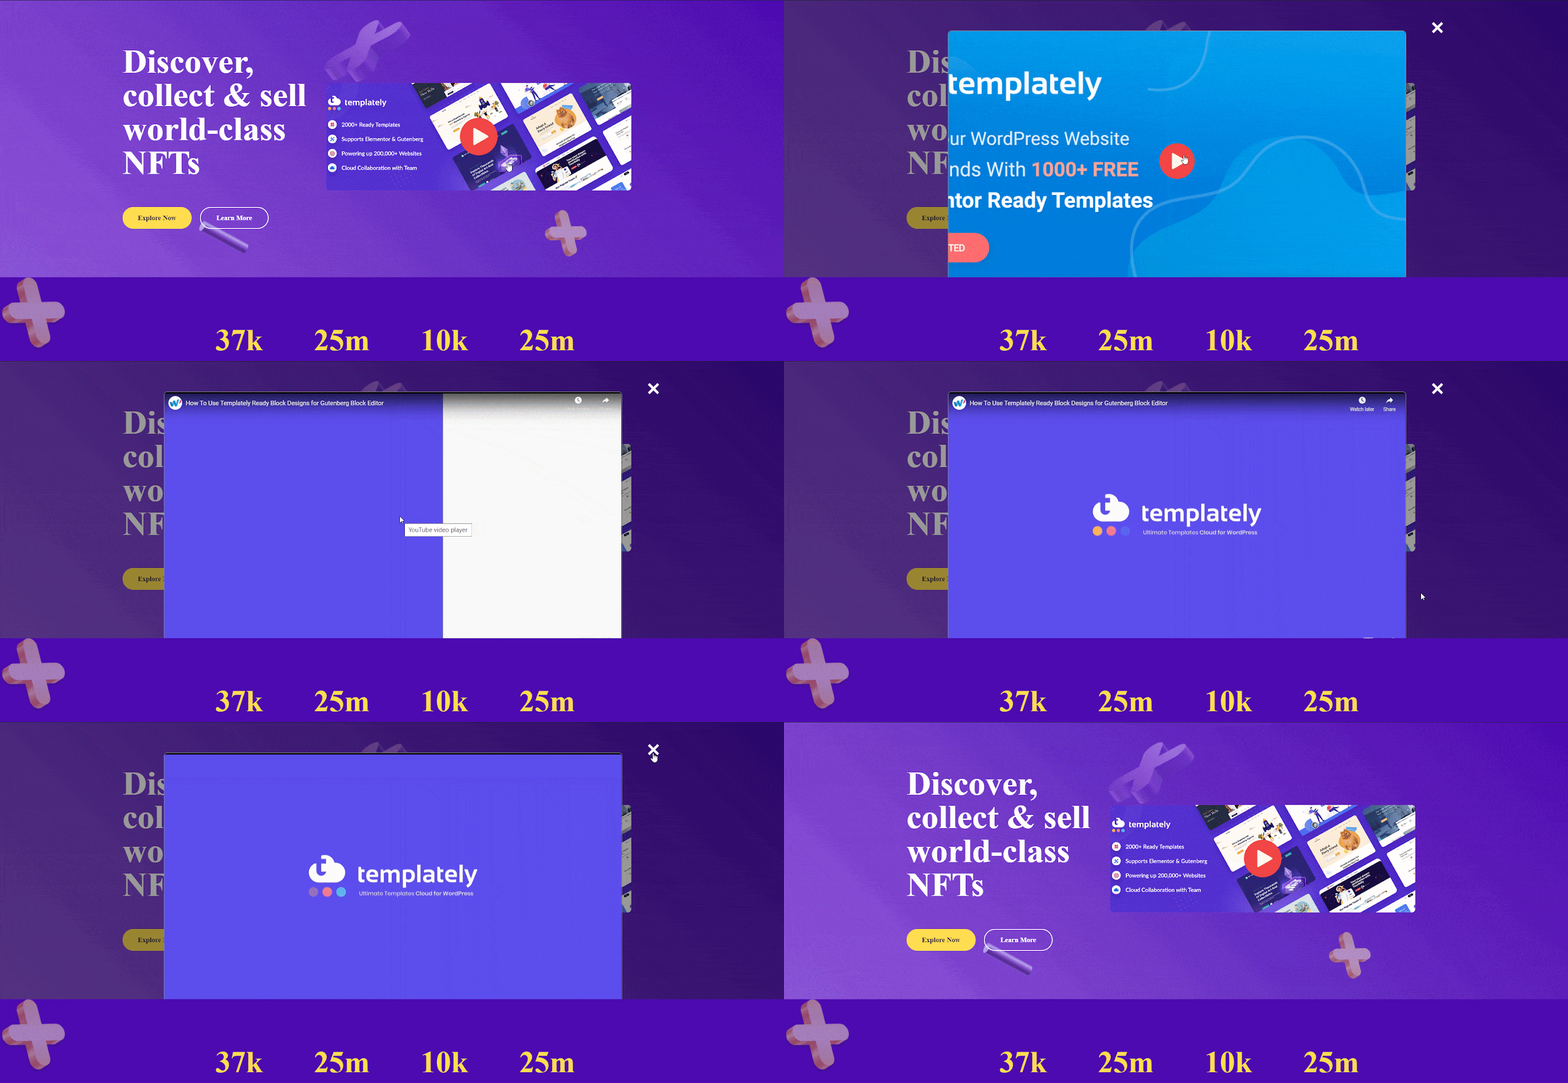
This is how you can add an EB Advanced Video block in Gutenberg easily.
Getting stuck? Feel free to Contact Our Support for further assistance.


