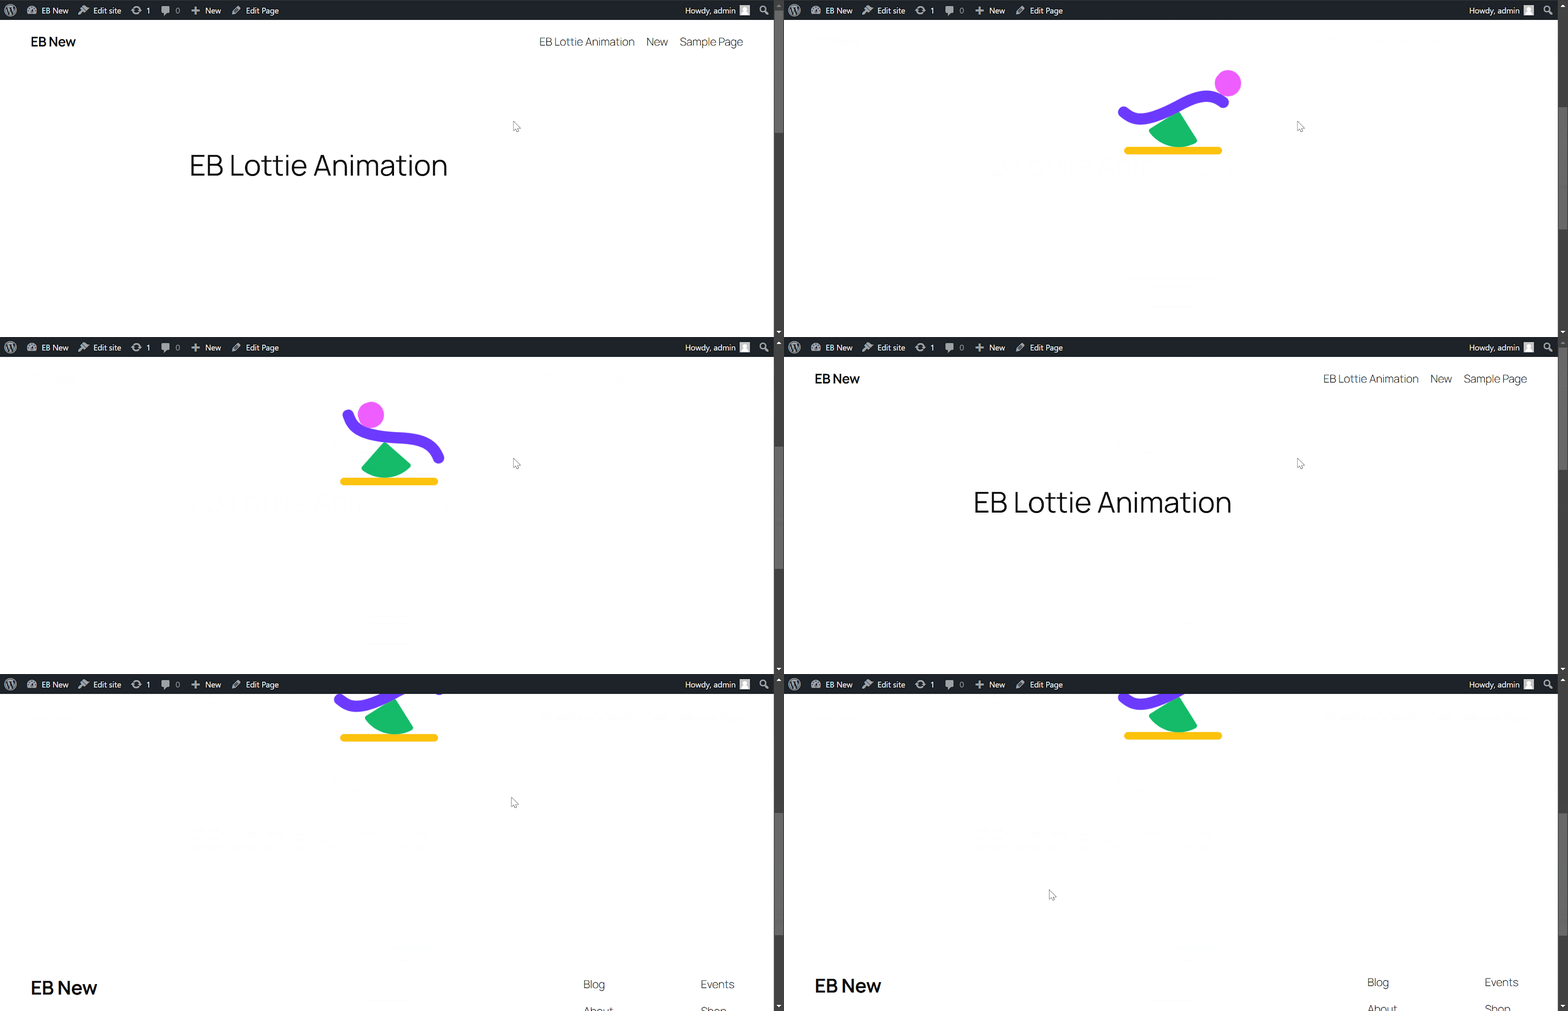
With the continuation of adding more dynamic & creative blocks, Essential Blocks brings Lottie Animation block to help you add eye-catching animations to your website without any coding. These animations add a touch of dynamism and visual interest to your Gutenberg web pages.
Follow the step-by-step guidelines below to learn how to add and customize Lottie Animations on your website using Essential Blocks for Gutenberg.
Note: Before getting started, ensure you’ve signed up & created your workspace in LottiFiles.
How To Activate EB Lottie Animation? #
To activate the EB Lottie Animation block, navigate to ‘Essential Blocks’ → ‘Blocks’. Then, toggle to enable this ‘Lottie Animation’ block.

How To Configure Lottie Animations Using Essential Blocks? #
From your WordPress dashboard, navigate to ‘Pages/Posts’ → ‘Add New’ and create a new one, or open the page/post if you already have one created where you want to add the Lottie Animation block.
To add the block, click on the ‘+’ icon and find ‘Lottie Animation’ in the search bar. Simply click on the block, and it will be added, or you can directly drag and drop it to the desired location.

Once the block has been added successfully, you’ll see the below screen with the options ‘Upload’, ‘Media Library’, & ‘Insert from URL.’
- Upload: Click on it to upload already saved Lottie animations on your computer.
- Media Library: Choose from already uploaded animations on your website.
- Insert from URL: Copy the animation URL from LottiFiles & paste it.

How to Collect & Add Lottie Animations? #
Go to LottieFiles website, visit the dashboard and click on the animation you want to add to your Gutenberg website.

Using Upload Option #
To use this option for adding Lottie animations, you need to download the animations onto your computer beforehand. To do so, click on the ‘Download’ option, then either choose ‘dotLottie’ or ‘Lottie JSON’ & hit the ‘Download’ option. Essential Blocks allows you to add any animations depending on your LottieFiles plan.

Go back to your editor, click on the ‘Upload’ option, and pick up the animations you downloaded from your hard drive. And your animations will reflect on the editor instantly.

Using Media Library Option #
This option allows you to add Lottie animation that you already have uploaded in your editor & it has been saved. Simply click on ‘Media Library’, choose the animation & get the result into your editor.

Using Insert from URL Option #
Hit the ‘Handoff’ option & click the toggle behind ‘Enable asses CDN.’ Your asset link will be generated under the ‘Asset Configuration’ section. Choose the ‘Asset link format’ & copy the link to the animation. Now go back to the editor, click on ‘Insert from URL’ & paste the animation URL into it. Your Lottie animation will be displayed within seconds.

This is how you can collect & add Lottie animations in your Gutenberg editor easily. Now let’s move on to the customization abilities you get with this block.
How To Customize & Style EB Lottie Animation Block? #
You can customize and style your animations the way you prefer to make your animation more attractive on your website.
General #
In the ‘General’ tab, you’ll see two options—Source File & Settings. Using ‘Settings’, you can do a few things with your animation & change its appearance according to your needs. To reverse your animation, turn the toggle behind it on.

Moreover, you can customize your Animation Speed, Start Point, End Point, Number of Loop, Delay between Loop & more. Plus, you will have five trigger options (Autoplay, Hover, Click, Scroll & Viewport) to choose from for your animations.
1. Autoplay – Let your animations play automatically, creating a smooth, engaging, and dynamic user experience without any manual interaction. With Autoplay, your website animations will flow seamlessly, capturing attention and enhancing engagement effortlessly.

2. Hover – Enhance user engagement effortlessly with interactive animations that trigger on mouse hover. Captivate your visitors by adding dynamic effects to animations, making your website more visually appealing and interactive.

3. Click – With just a single click, instantly activate powerful actions and bring your animations to life. No hassle, no delays—just seamless execution at your fingertips.

4. Scroll – Increase user engagement by creating smooth, interactive animations that respond as users scroll through your website. With seamless motion effects, you can guide visitors’ attention, tell a captivating story, and add depth to your design—all in real-time as they explore your content.

5. Viewport – Make your website more engaging and interactive by triggering animations and content precisely when users enter the visible screen. With Viewport, elements seamlessly appear as users scroll, creating a dynamic and immersive browsing experience.

Style #
In the ‘Style’ tab, you’ll get the options to manage your animations ‘Width’ & ‘Height.’ Just simply increase/decrease the bar to adjust everything.

Advanced #
From the ‘Advanced’ tab, you will get all the options for advanced customization for the navigation menu. You can customize Margin Padding, Background, Border & Shadow, Responsive Control, Animation, and Custom CSS. Using these options, you can add more styling to the Lottie Animation block.

Final Outcome #
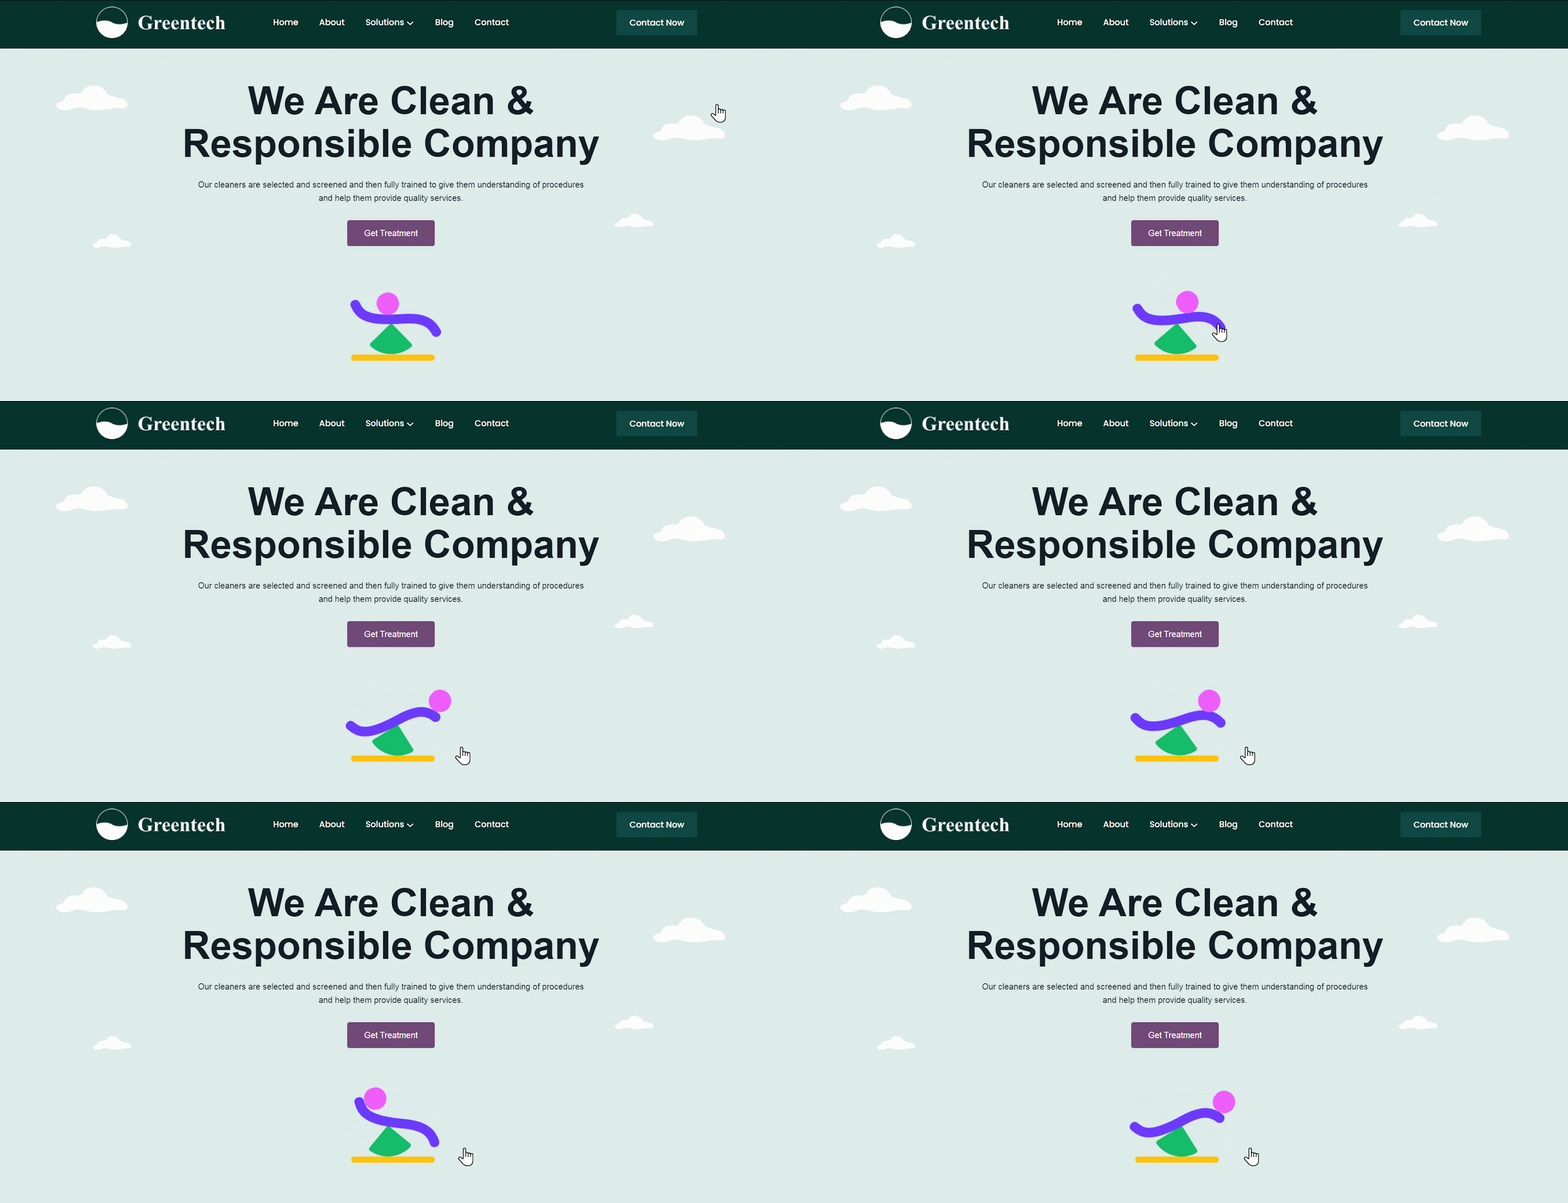
After making all the changes, hit the ‘Update/ Publish’ button and you will see your EB Lottie Animation block displaying on your website. By following the simple and easy steps, you can add the EB Lottie Animation block and style it in Gutenberg.

Here’s how you can easily configure and design your EB Lottie Animation block in Gutenberg.
Got stuck? Feel free to contact our support for further assistance.


