The EB Form block lets you add any kind of form, including a contact form, RSVP form, multi-step form or subscription form on your WordPress website. This way, you can invite your users to contact you, send feedback, subscribe for services, and more.
Follow the step-by-step guidelines below to learn how to add and customize multiple forms on your website using Essential Blocks For Gutenberg.
How To Activate The EB Form Block? #
To activate the Form block, navigate to ‘Essential Blocks → ‘Blocks’. Then, toggle to enable this ‘Form’ block.
Note: As some features of the Essential Blocks Form block are premium, you need to install and activate Essential Blocks PRO on your website along with the free version to use all of the features.

How To Add Essential Blocks Form Block? #
From your WordPress dashboard, navigate to ‘Pages/Posts’ → ‘Add New’ and create a new one, or open the page/post if you already have one created where you want to add the Form block.
To add the block, click on the ‘+’ icon and find ‘Form’ in the search bar. Simply click on the block, and it will be added, or you can directly drag and drop it to the desired location.

Once you add the block to your webpage or post, it will ask you to select a form type. The Form block has three default form types available: Contact Form, Subscription Form, RSVP Form and Multistep Form. Additionally, there is also an option to add a blank form and customize it as you need.
Note: Subscription forms and multistep forms are premium layouts. You must have Essential Blocks PRO to access them.
Configure Essential Blocks Form Block #
The Essential Blocks Form has multiple form customization and styling options to make an engaging and inviting form on your website.
Contact Form #
Once you choose to add the Contact Form with the Form block, a form preset appears with options to customize it even more to suit your needs.

To reflect your website content needs, you can easily change the Form title of the Contact Form. Just type what you want to name it. Additionally, you can change the form type from the right menu even after you add a type initially.
Form Template & Styles #
The Contact Form comes with two template choices and form styles. You can choose any that goes well with your preference. Additionally, you can choose to add Field Labels and Field Icons with a toggle button.
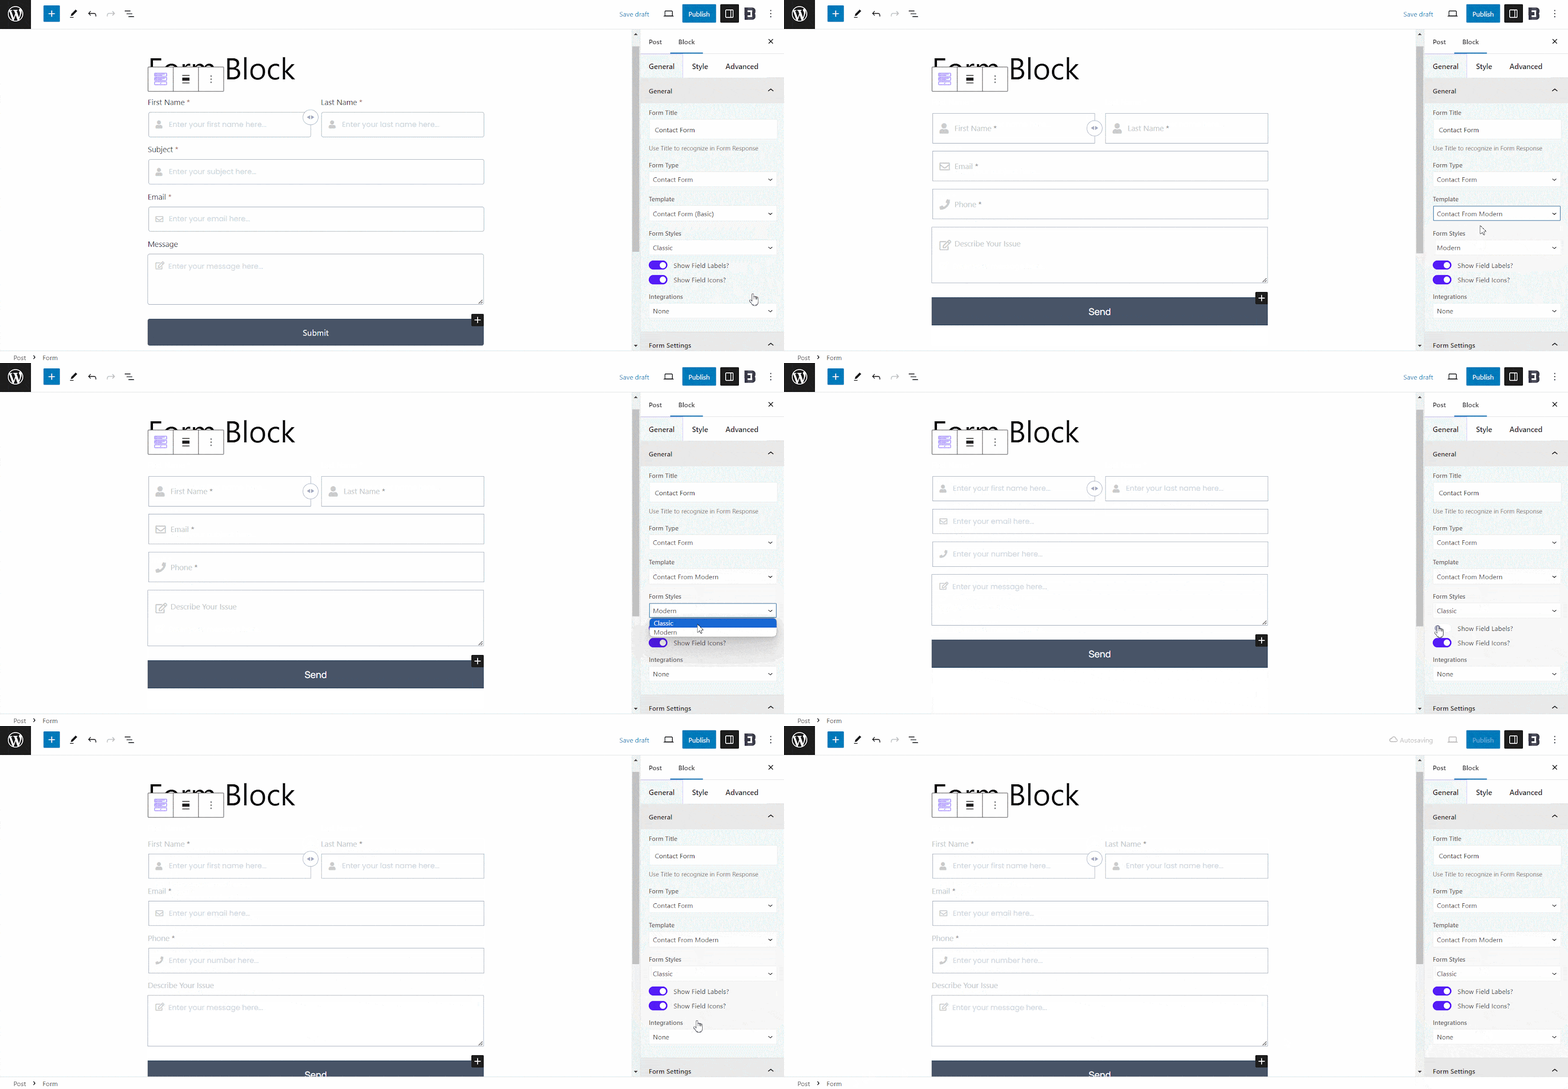
You can also integrate MailChimp to access email features. However, you need to upgrade to premium to use this.
Email Notification Settings #
The Form Block Contact Form has options to set up email notifications, so you get instant and customized notifications once someone sends a message. Alongside sending emails, there are options to Save Responses. But you need to upgrade to Essential Blocks PRO to use these features.

You can also set Email Cc and Bcc as optional choices and use preset texts on the fields. Moreover, there is also a field to add a preset field text for the Email Subject.
Message Confirmation Settings #
Once a user attempts to send a message or does so successfully, the Form block offers options to display separate prompt messages. It helps the users know the condition of their message actions.

There are fields to set and change the Confirmation Type, a Success Message, a Default Error Message, and a Validation Error Message as you require.
Inner Blocks #
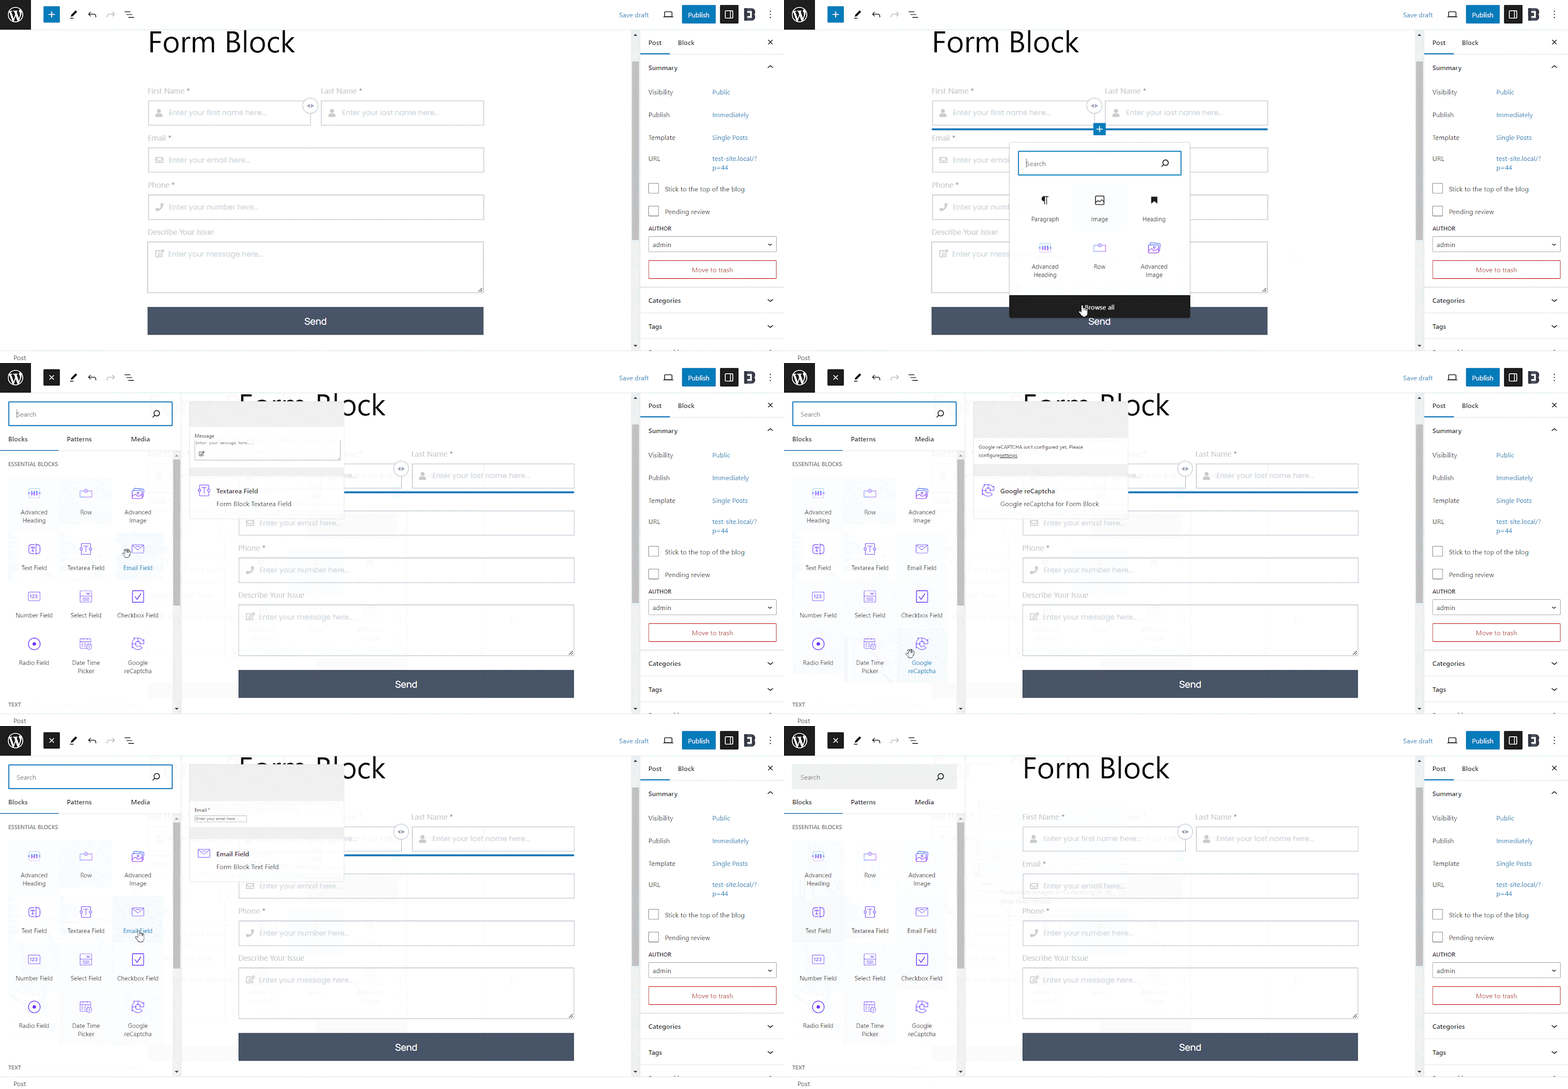
The Form Block has introduced a total of nine inner blocks to add custom fields and customize your forms to maximize your user experience. Click to add a block in between the form fields and browse all blocks.
Here, you will find these newly introduced inner blocks: Text Field, Textarea Field, Email Field, Number Field, Select Field, Checkbox Field, Radio Field, Date Time Picker, and Google reCAPTCHA. However, the Date Time Picker and Google reCaptcha blocks are premium features. So, you need to upgrade to Essential Blocks PRO to use these features.
Icons, Fields, & Placeholder #
Each of the Contact Form fields have options to Show Label, change Placeholder Text, make the field Required with a one-tap button, add or remove an Icon, and more to customize the form even more.

Style Options #
The Style tab has options to change the look of your Contact Form so you get a more customized feel. It has the option to adjust alignments, gaps, color, typography, and more for each of the fields, icons, and even inner blocks.

On top of that, the Advanced tab has options to adjust margin, padding, background, border, shadow, animation, and more effects for your Contact Form block.
Subscription Form #
Essential Blocks Form lets you add a Subscription Form with a single click and customize it according to your preferences to get more visitors to subscribe to your newsletters.
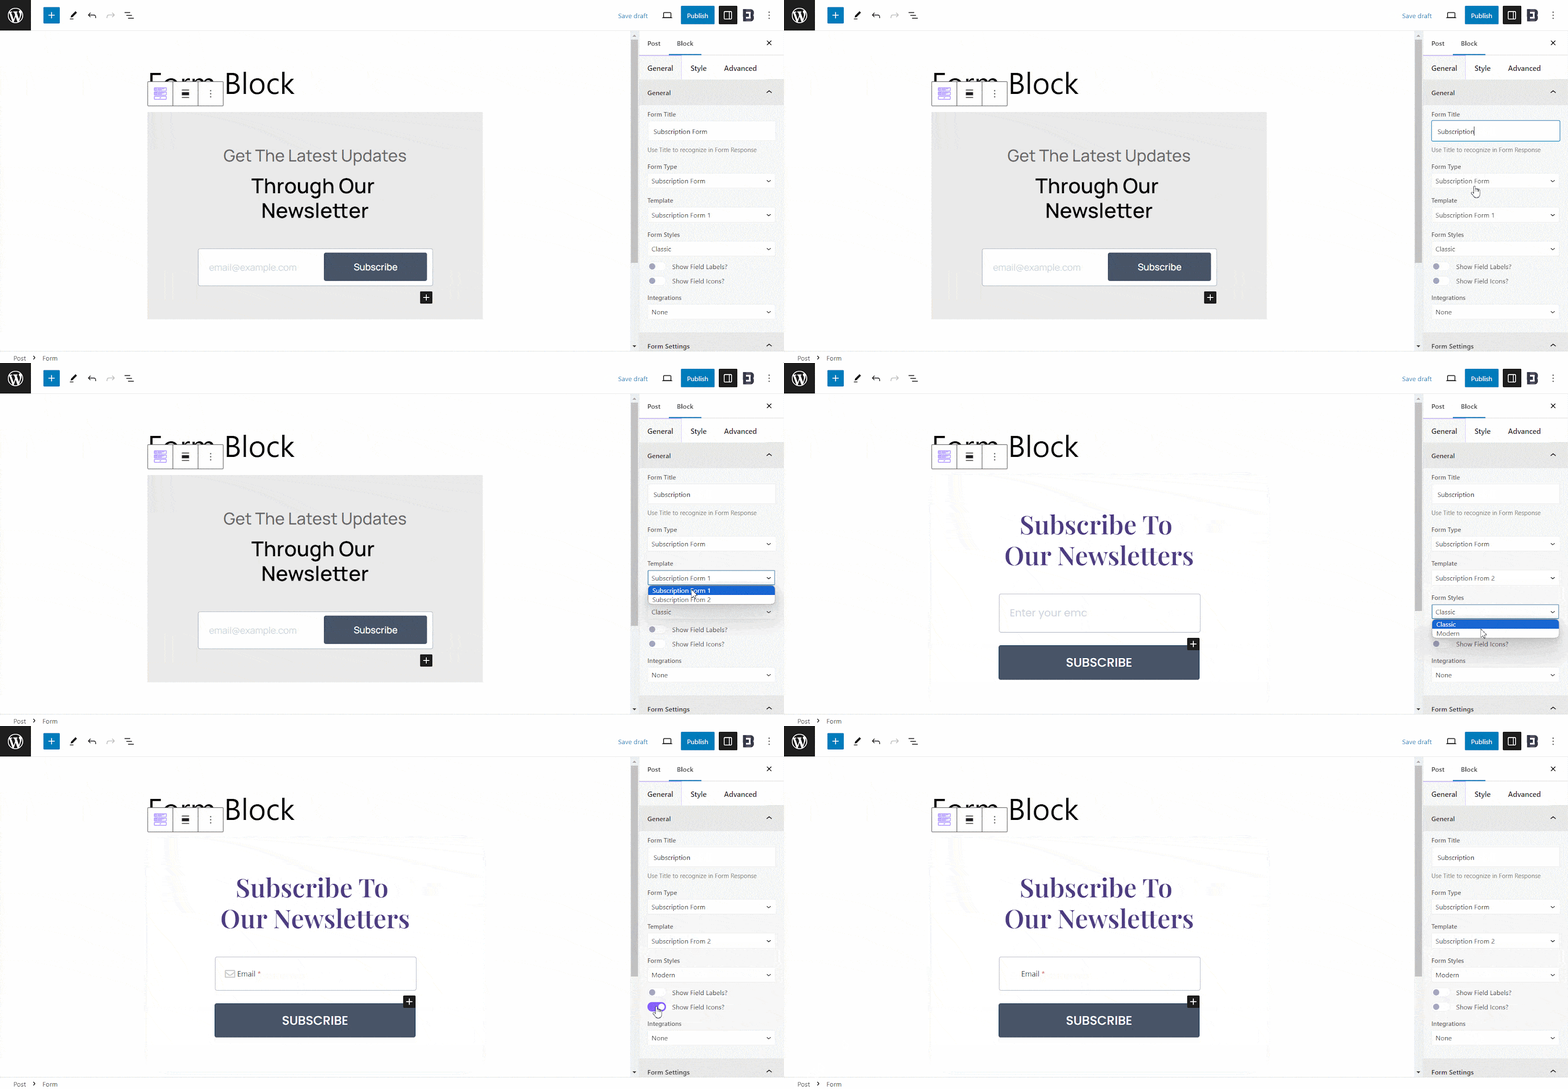
Once you add a subscription form, you can change the Form Title and choose one of two Form Templates and Styles from the general tab. Additionally, you can enable or disable to show Field Labels and Field Icons with a toggle button.
The Subscription Form text and presets have options to choose from 4 preset designs. Plus, you can change the alignment, display separator, change title and subtitle texts, and more.

Like the Contact Form, the Style tab for the Subscription Form has options to change the look and get a more customized feel. It has the option to adjust alignments, gaps, color, typography, and more for each of the fields, icons, and even inner blocks.
Moreover, the Subscription Form has options to add Inner Blocks, adjust Message Confirmation Settings, Email Confirmation Settings, and Advanced tab options like the Contact Form to suit your needs.
RSVP Form #
Essential Blocks Form lets you add an RSVP Form with a single click and customize it according to your preferences to get the invitees or participants to confirm reservations.
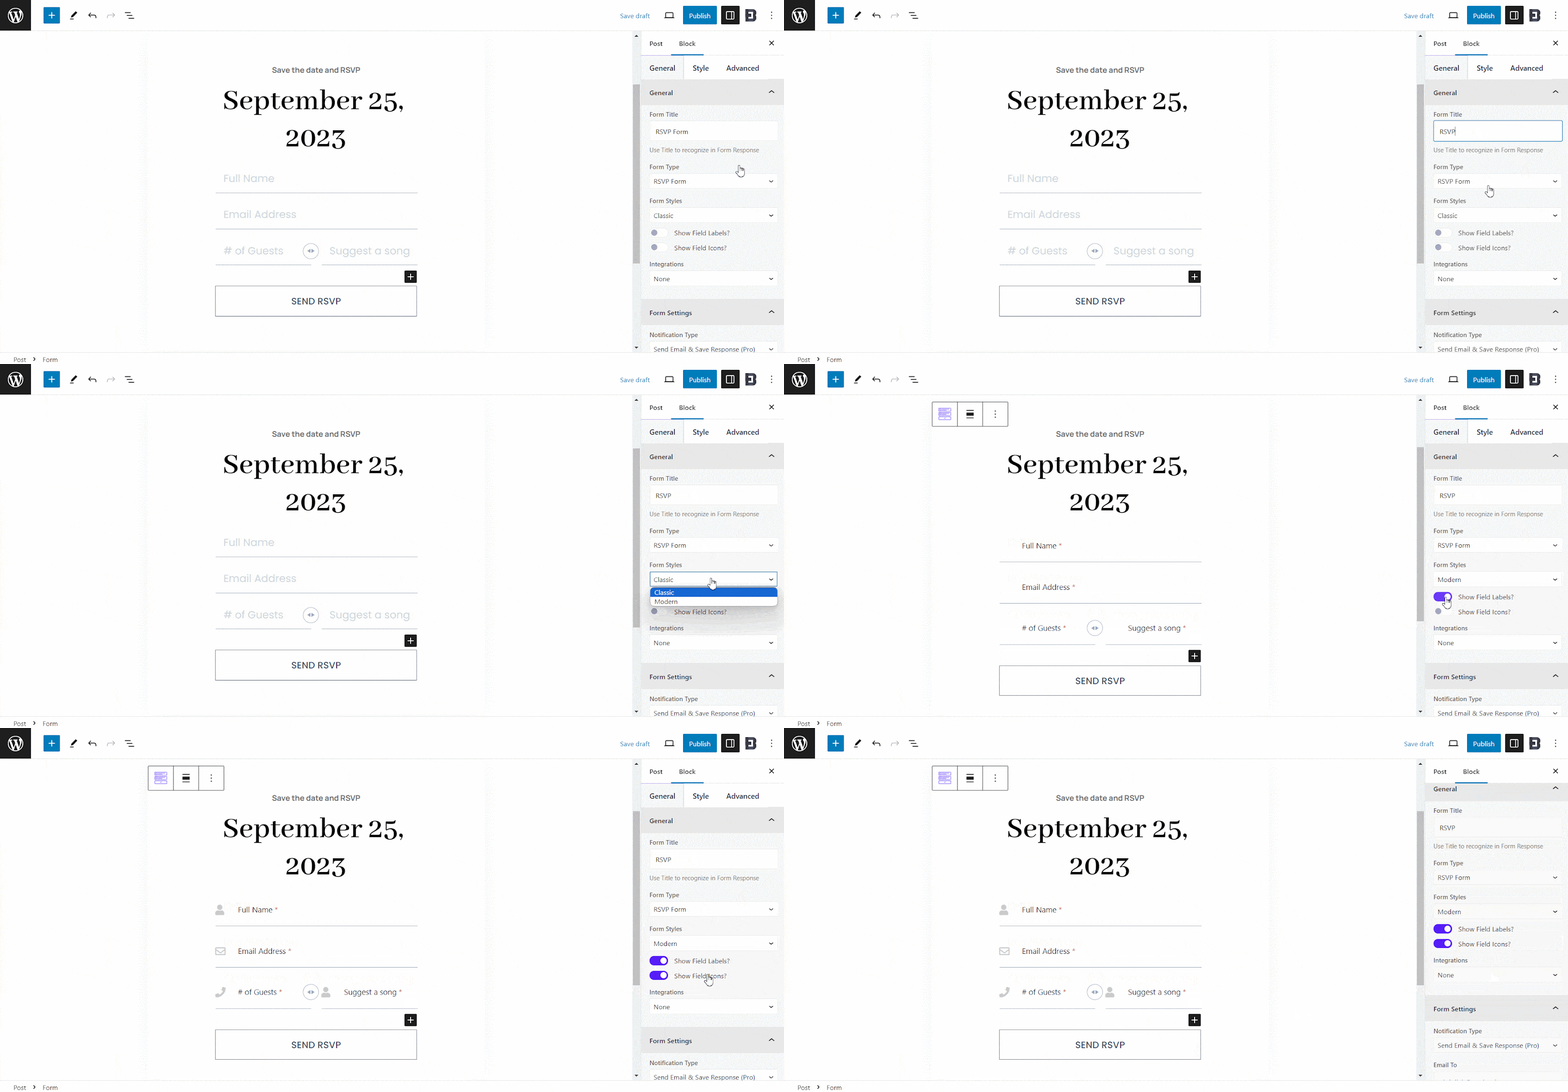
Once you add an RSVP form, you can change the Form Title and choose one of two Form Templates and Styles from the general tab. Additionally, you can enable or disable to show Field Labels and Field Icons with a toggle button.
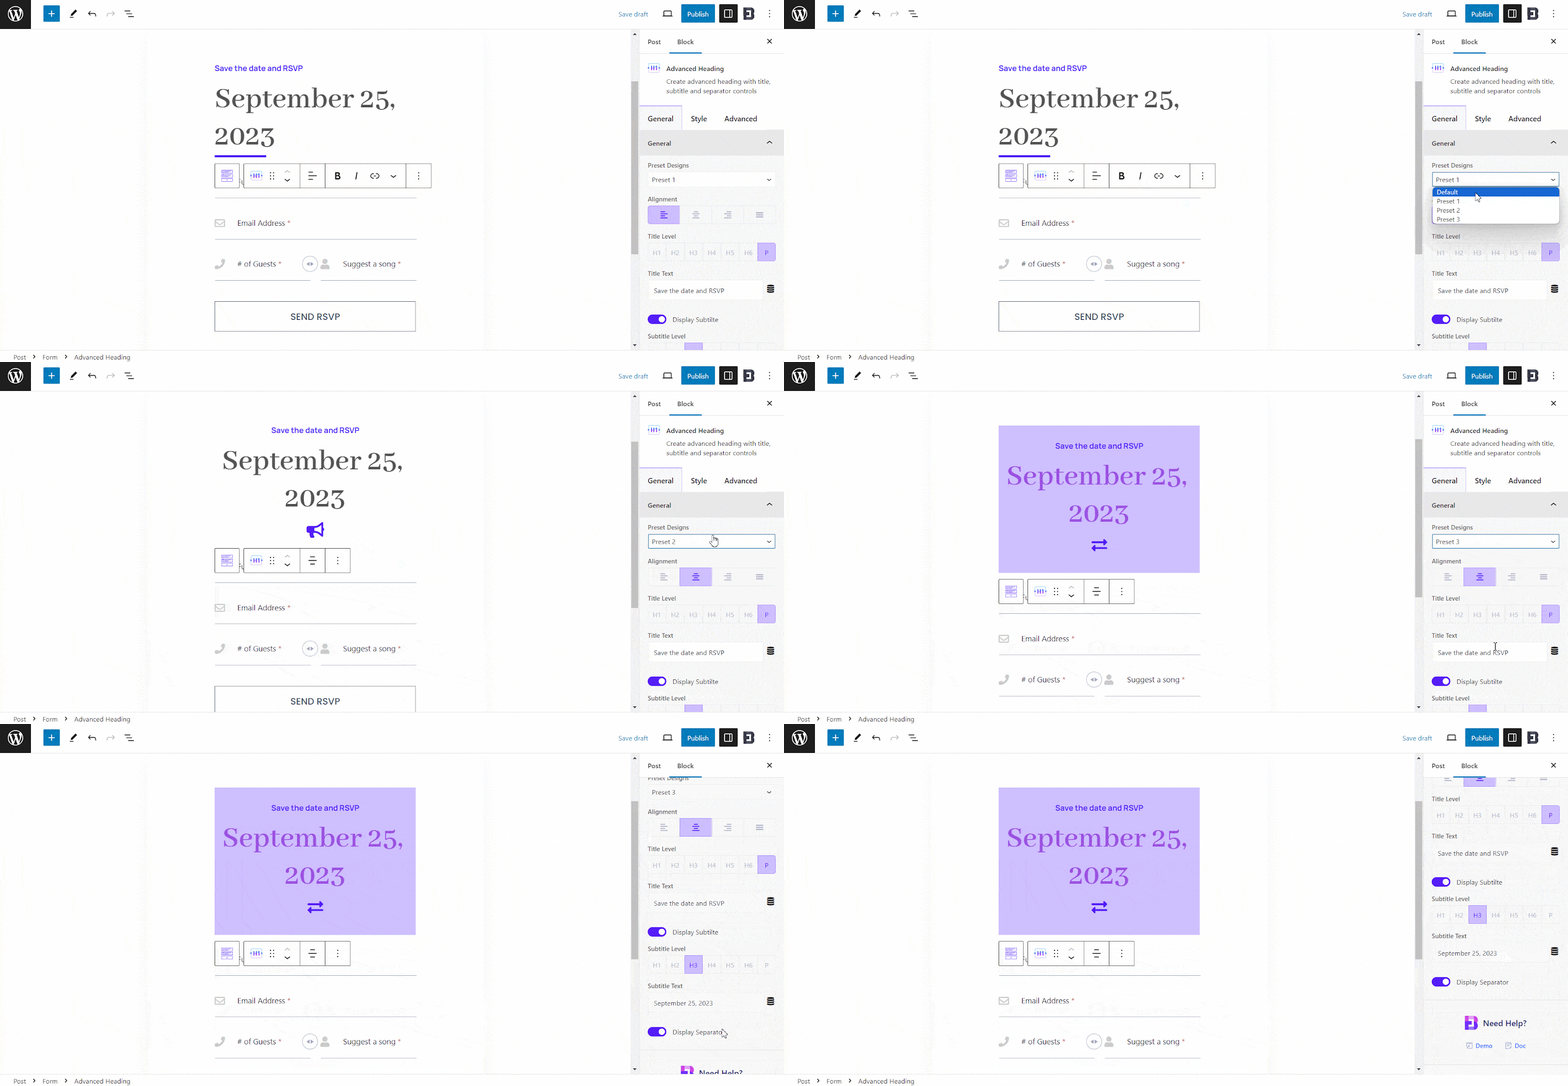
The RSVP Form text and presets have options to choose from 4 preset designs. Plus, you can change the alignment, display separator, change title and subtitle texts, and more.
Like the Contact Form and Subscription Form, the Style tab for the RSVP Form has options to change the look and get a more customized feel. It has the option to adjust alignments, gaps, color, typography, and more for each of the fields, icons, and even inner blocks.
Moreover, the RSVP Form has options to add Inner Blocks, adjust Message Confirmation Settings, Email Confirmation Settings, and Advanced tab options like the Contact Form and Subscription Form to suit your needs.

Multi-Step Form #
Using Essential Blocks ‘Form’ block, you can create stunning multi-step forms seamlessly without any coding. Multi-step forms are highly preferable for creating educational, eLearning forms, agency business, job posts and so on. You can create multi-step forms for your business and collect insightful information.
Add the Essential Blocks Form block onto the page. Then, select ‘Multi Step Form’ from the options. This is how the form will appear.
From ‘Form Styles’ section dropdown, you can customize the form input fields appearance. Choose form style from the ‘Classic’ and ‘Modern’ options. You can toggle to enable or disable ‘Field labels or Icons’.

Multi-step Form Progress Bar #
From the ‘Multistep Settings’ option, you can choose ‘Step Navigation Style’ from 7 different layouts. They are: Progress Bar, Breadcrumbs, Step titles (Inline), Step titles (2), Step titles (3), Dot/Circle, and None. Select your chosen style from the dropdown.
For Step titles (Inline) style, you will get control to enable or disable step count numbers. Similarly, for Step titles (2), Step titles (3) and Dot/Circle, you will get control to enable or disable step subtitles.
If you want to customize a step of your form, select the container. All the settings will appear on the right. From there, you can update the multi-step title, add new inner blocks, and add conditional logic.
Conditional Logic Gate #
Customers will be redirected to different steps depending on the conditional logic gates. Select a form step where you want to add conditional logic. From the right-side panel, go to ‘Conditional Logic’ tab and toggle to enable it. Beneath it, you will find ‘Visibility Rules’ and ‘Condition Match’. From there, set logic whether you want to Hide/Show steps.
You can configure multiple conditions for forms. Click on the ‘Condition’. The ‘Filed’ option is a dynamic section. Based on your form’s previous step fields, the selections will be modified accordingly. From the dropdown, select a field on which you want to add a condition. From the ‘Operator’ option, you can set logics like when the condition will be active. The available options are: Equal To, Greater Than, Less Than, Is Empty, Contains, etc.
Depending on the ‘Field’ chosen, you can set values from the ‘Values’ option. Such as, if you choose ‘Room Type’ as Field, then in ‘Value’ section, you will get options like ‘Single, Double, etc.’
You can add more than one condition to each step of your form by following the same procedure.
Add/ Delete a Multi-step Form Step #
If you want to delete a step from your form, then select that container and then click on ‘Delete’ from Settings. The step will be deleted instantly and ‘Submit’ button will on the previous step.

Similarly, if you want a new step in your form block, click on the ‘Add New Step’ button in the section of the form. In the new step, you can add inner blocks as you want and customize the design accordingly. From the second step of your form, you can add conditional logic as needed.
Other common form settings, such as Notification Settings, MailChimp integration, add sender, cc, bc, form configuration, and button settings, are also available under this. Also, from the ‘Style’ tab of your form, you can customize the button color, fonts, form background, and so on. This is how easily you can create and design a Multi-step form using Essential Blocks.
After you are done adding your preferred form and customizing it according to your needs, publish your page/post. Thus, following the simple steps, you can quickly add and configure the Essential Blocks Form in Gutenberg.
Getting stuck? Feel free to contact our support for further assistance.


