EB Timeline Slider can help you showcase site content and essential information in a visually appealing way in Gutenberg. Using this Gutenberg block, you can make users interactively navigate through a series of events or milestones chronologically on your website.
Follow this step-by-step guide to showcase site content and important information in an attractive way using the EB Timeline Slider block in Gutenberg.
How To Activate EB Timeline Slider? #
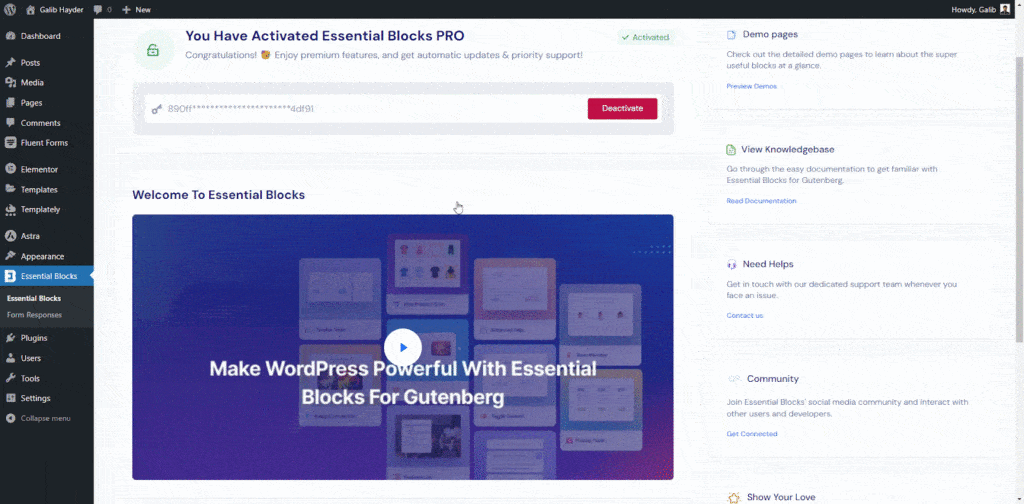
To activate Essential Blocks Timeline Slider on your WordPress website, navigate to Essential Blocks → Blocks from your WordPress dashboard and make sure the ‘Timeline Slider’ block is enabled.
Note: As EB Timeline Slider is a premium block, you must install and activate Essential Blocks PRO along with the free version on your website.
How To Configure Essential Blocks Timeline Slider? #
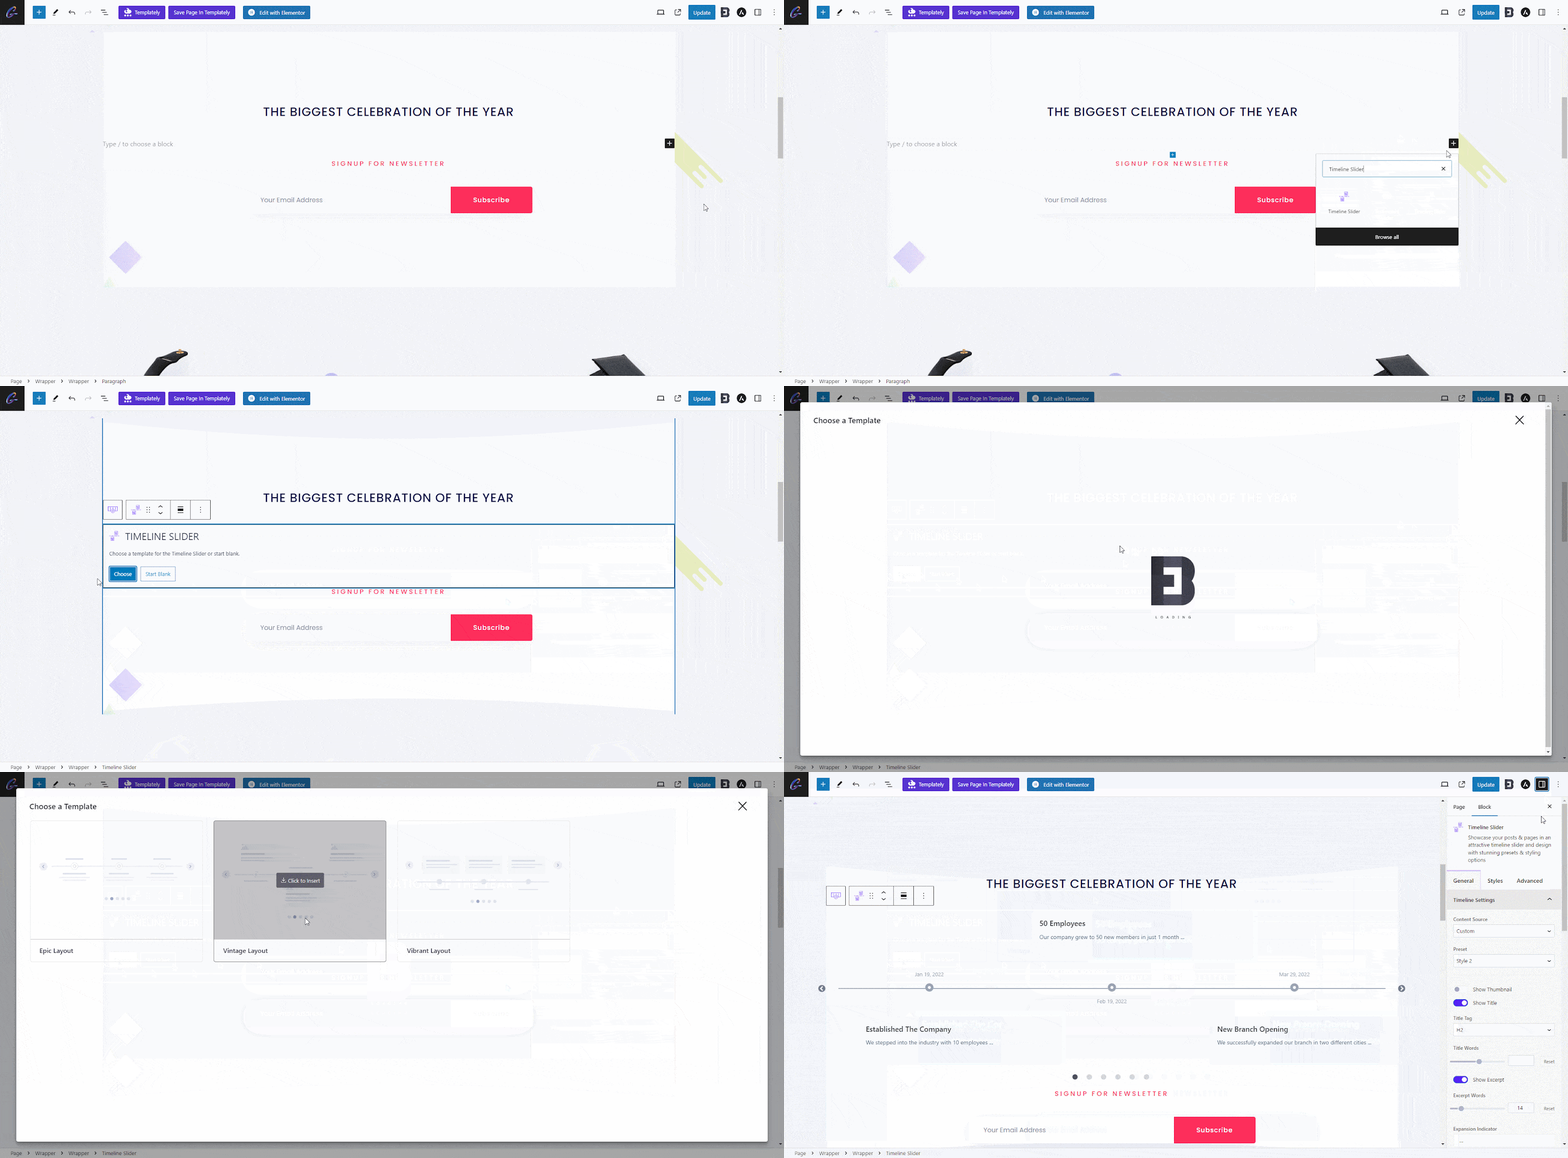
To add a Timeline Slider block to your WordPress page, either create a new page in Gutenberg or open an existing page from the dashboard. Click on the ‘+’ icon, search for ‘Timeline Slider’ in the search box, and select the block to add it to your editing page. Choose a template or start with the Blank template. The slider block should appear successfully on your main editing page.
General #
The General Tab includes 4 sections in total: Timeline Settings, Custom Content, Slider Settings & Advanced. Each section comes with limitless options to make your timeline slider attractive to the users.
Click on Timeline Settings under General Tab to expand all the options. You’ll get 3 presets for your timeline slider here. Choose the content source between custom & dynamic. Toggle on/off to Show the Thumbnail, Title, Date, & much more. Choose your Timeline Icons as you prefer.
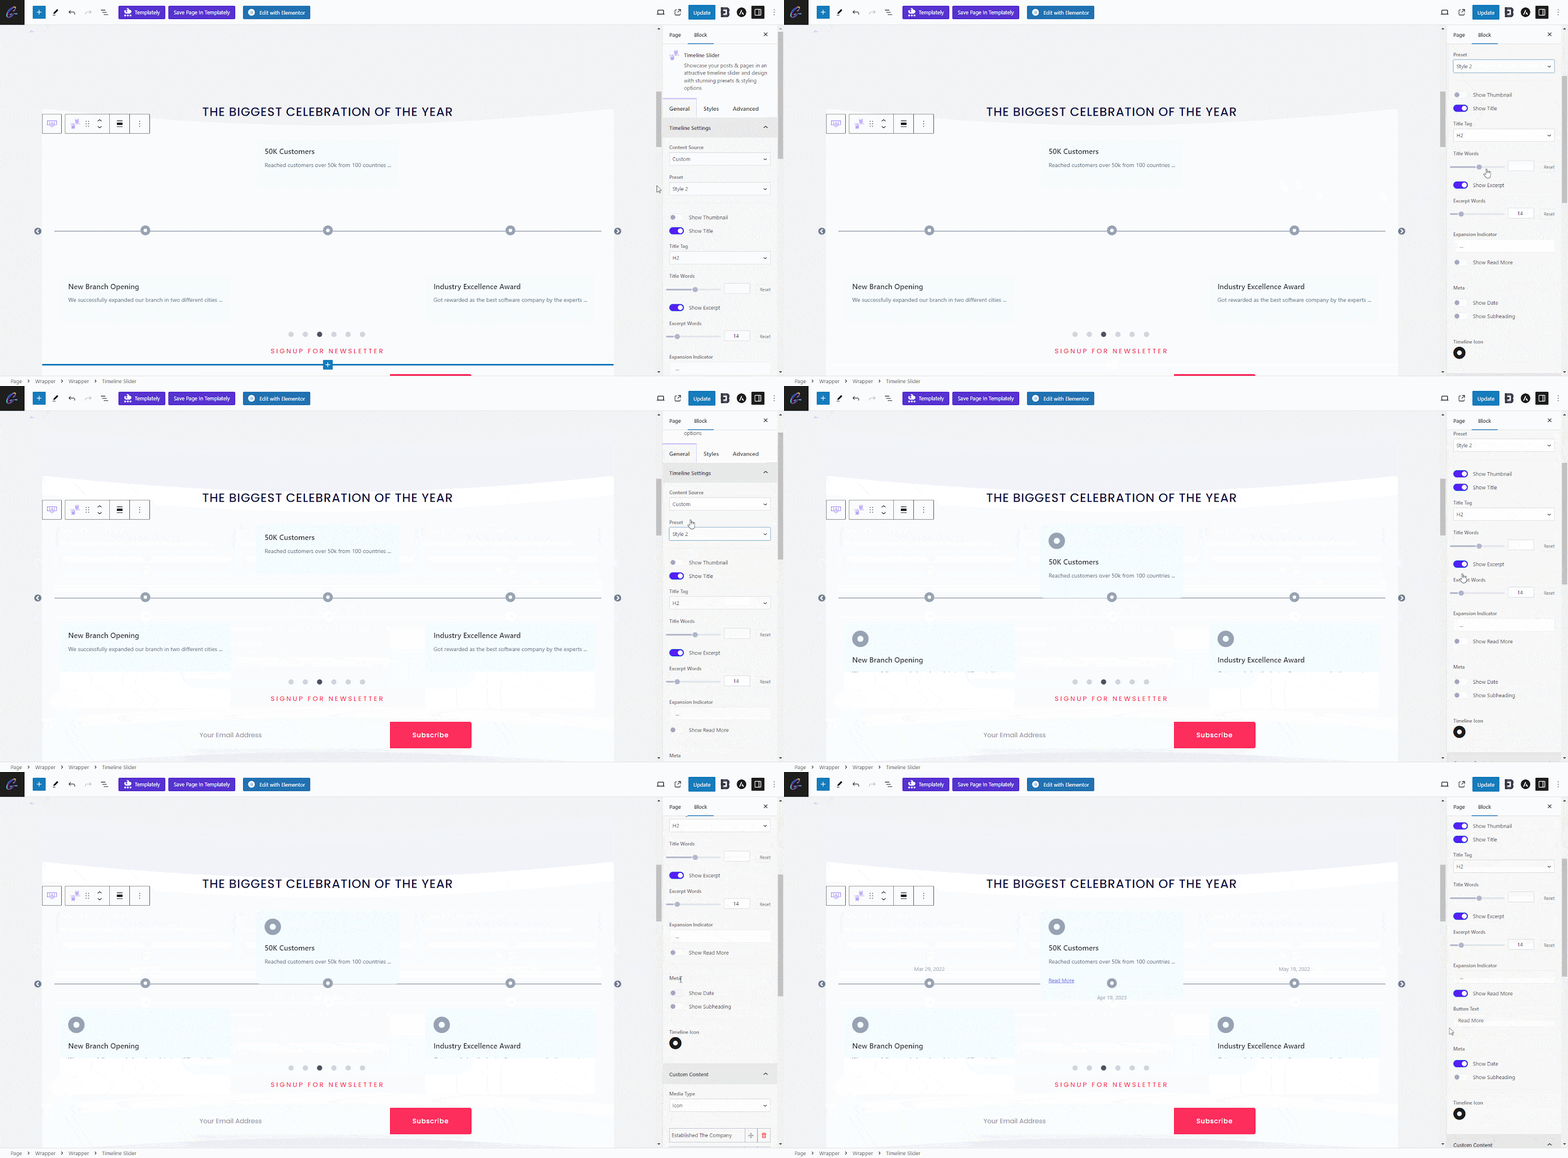
Under the Custom Content option, you’ll get a few custom content that you can edit too. Plus, click on ‘Add Timeline’ to add new custom content and simply drag/drop to place the content at your preferred timeline.
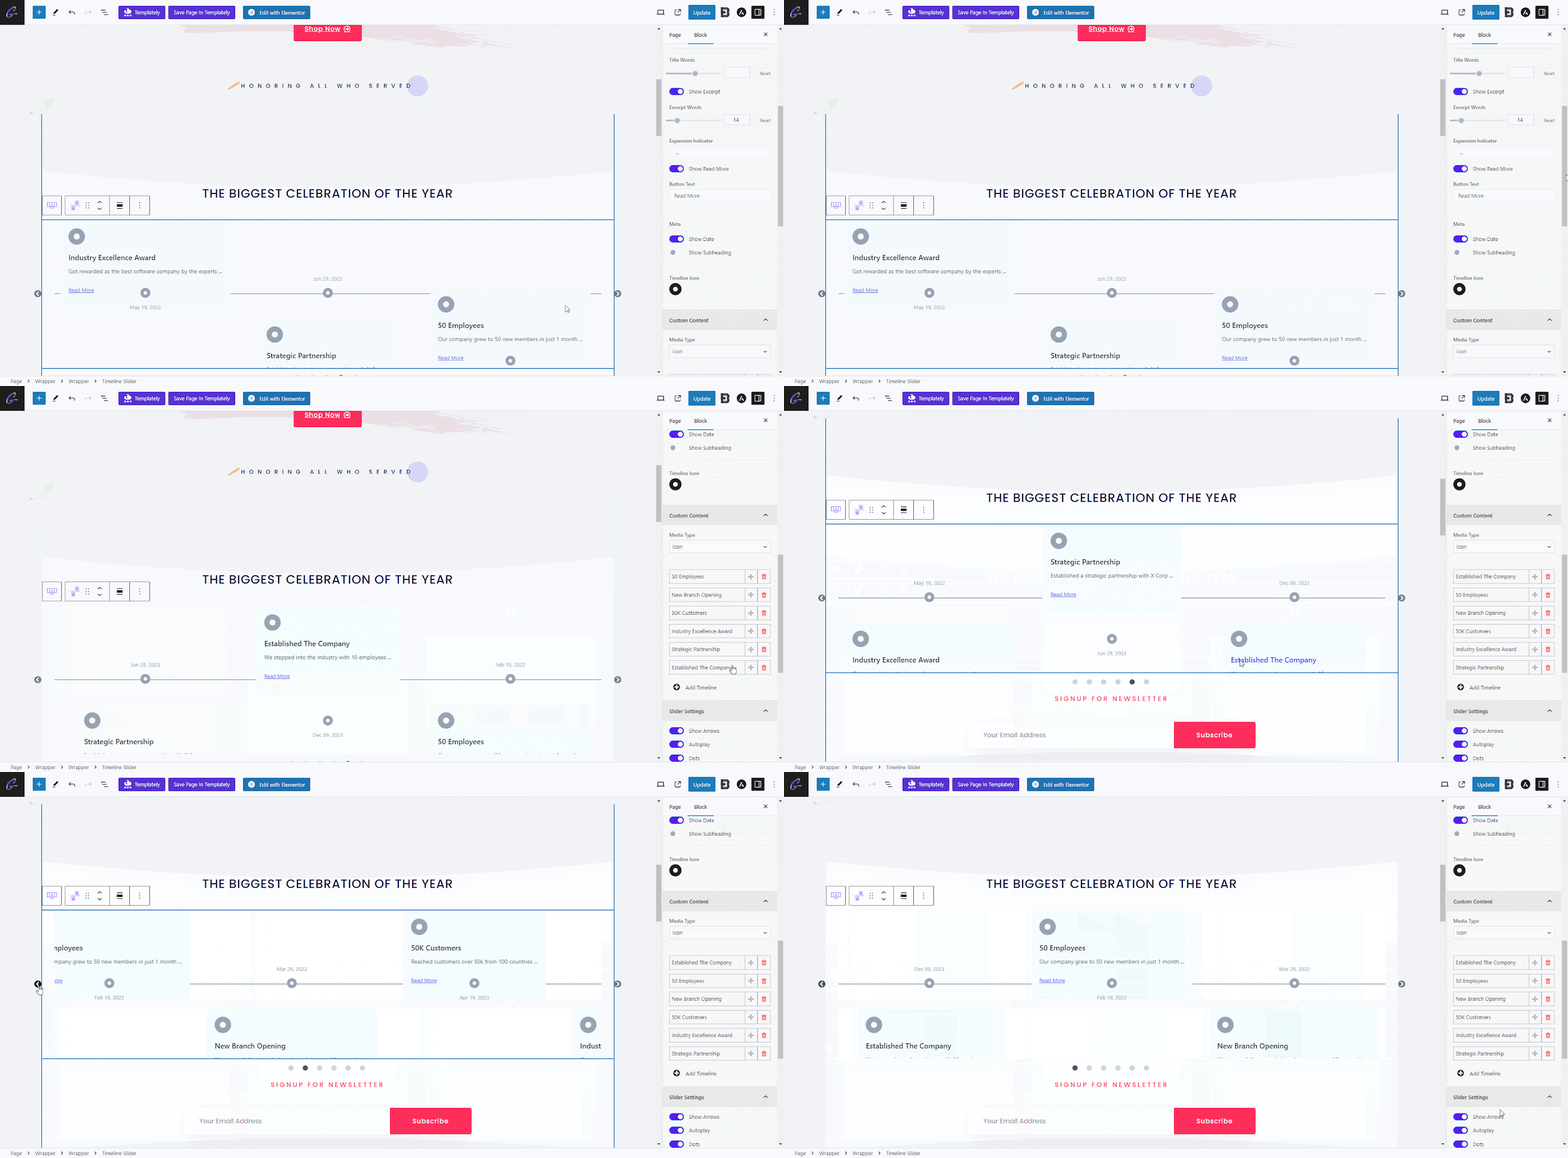
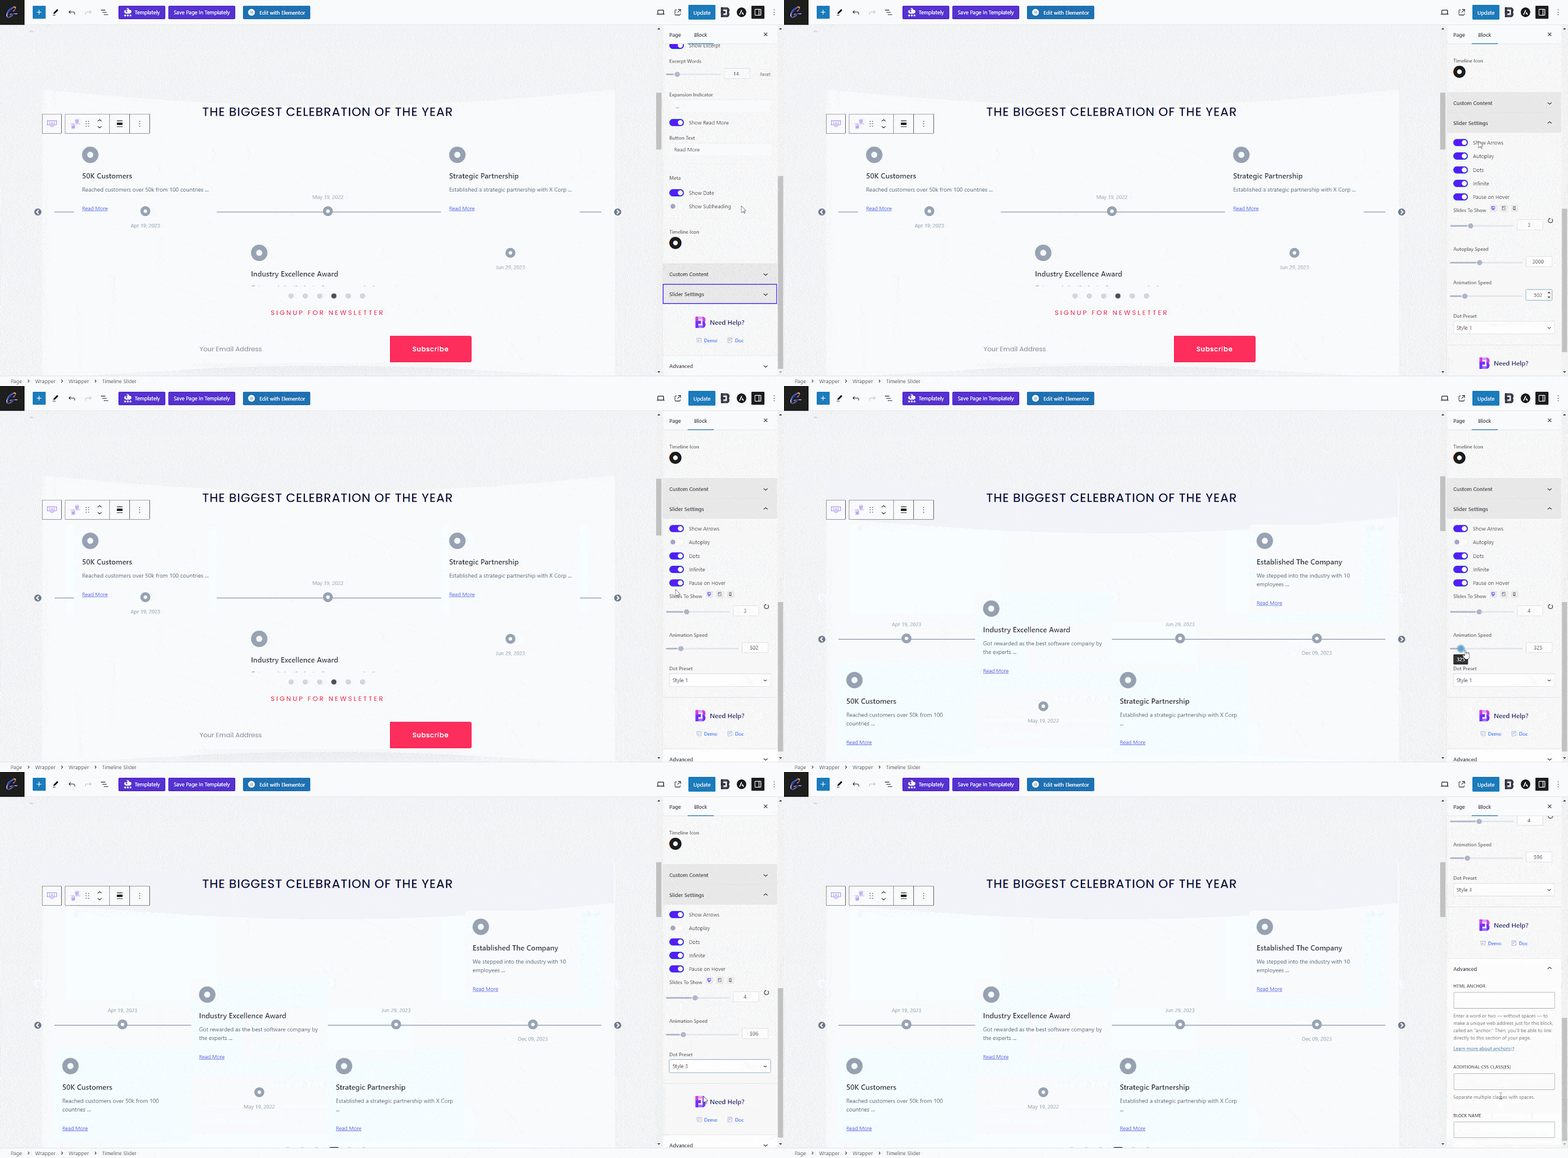
Click on the Slider Settings option to enable/disable a few options for your timeline slider. Such as Show Arrows, Autoplay, Dots, Infinite, Pause on hover, & much more. Pick the dot preset from below that you prefer. And finally, once you click on the Advanced section, you’ll get an additional CSS option.
Styles #
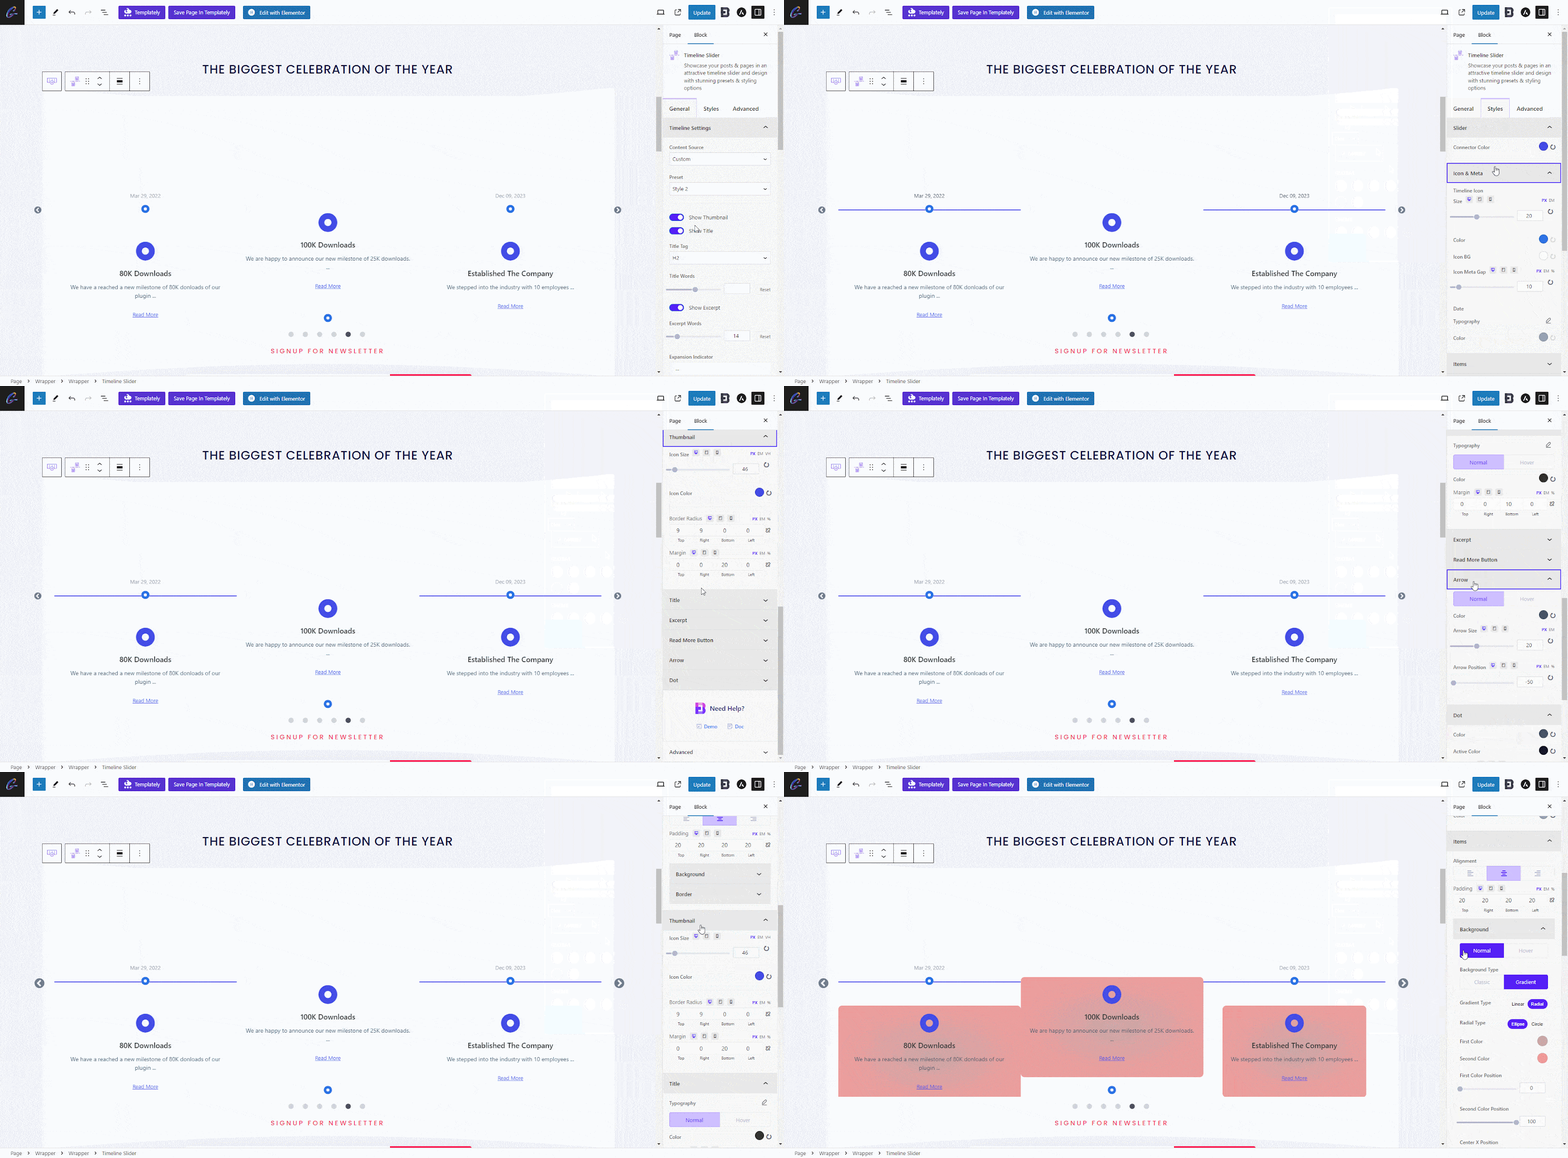
From the ‘Style’ tab, customize the outlook of your block by navigating to Block→Style, under this tab, you can customize your timeline slider block style from a bunch of options.
By clicking on ‘Slider’, you can & choose the connector color. Click on ‘Items’ to configure the Icon & Content gap, Alignment, Padding, Background color, Background hover color, etc.
To manage typography, & margin click on click on ‘Title’. Click on Excerpt, Arrow, & Dot accordingly, and style your timeline slider to make it more attractive.
Advanced #
From the ‘Advanced’ tab, navigate to Blocks→Advanced. Under the Advanced tab, you can change the Margin & Padding of your timeline slider block. Under the Background tab, you can upload any images as well as choose between the Normal or Hover effect on the image.
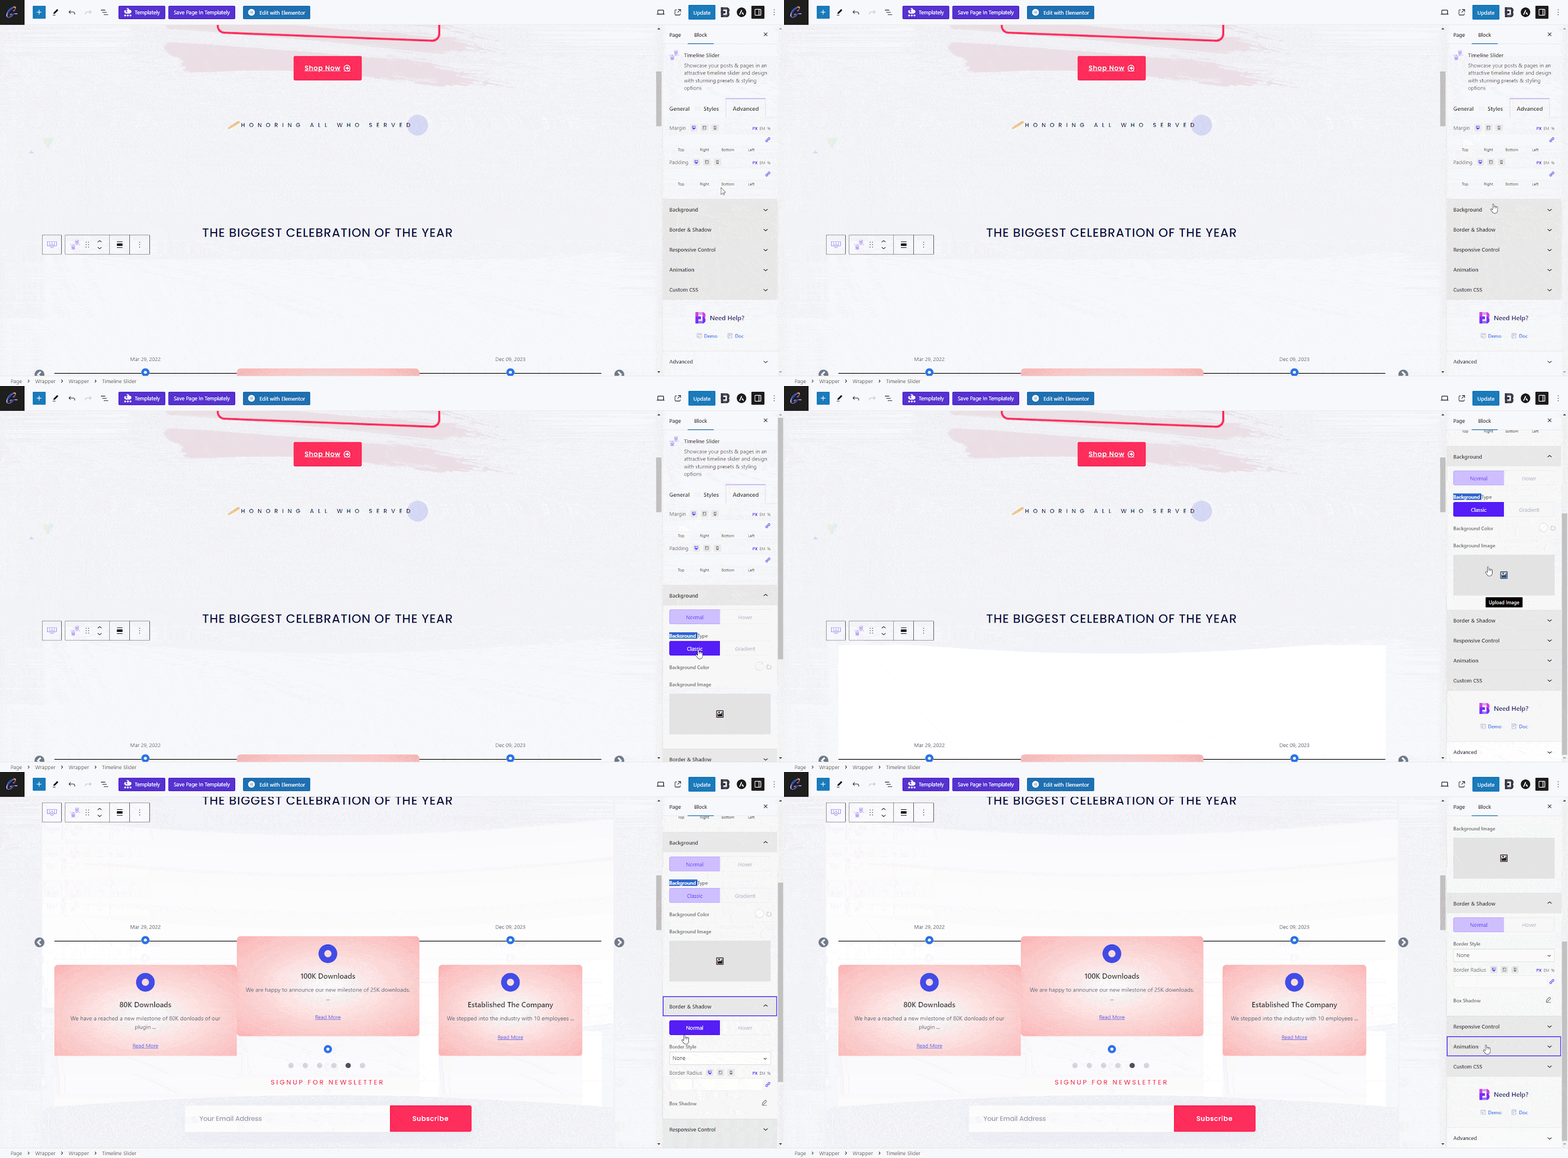
Besides, you can configure your Background image’s position, Attachment, Color position, and size. Under Border & Shadow tab, you can easily customize Border Style, Box Shadow, and much more.
Final Outcome #
By following these simple steps, you can easily style and customize your Timeline Slider block. This is how to easily design and configure an EB Timeline Slider block in Gutenberg.
Getting Stuck? Feel free to contact our PRO support team for further assistance.


