Storytelling is a powerful tool for any website owner. You want to share your journey or project roadmap in a way that captures attention immediately. Text paragraphs often fail to keep users engaged for long periods. This is where a visual timeline becomes essential for your content strategy.
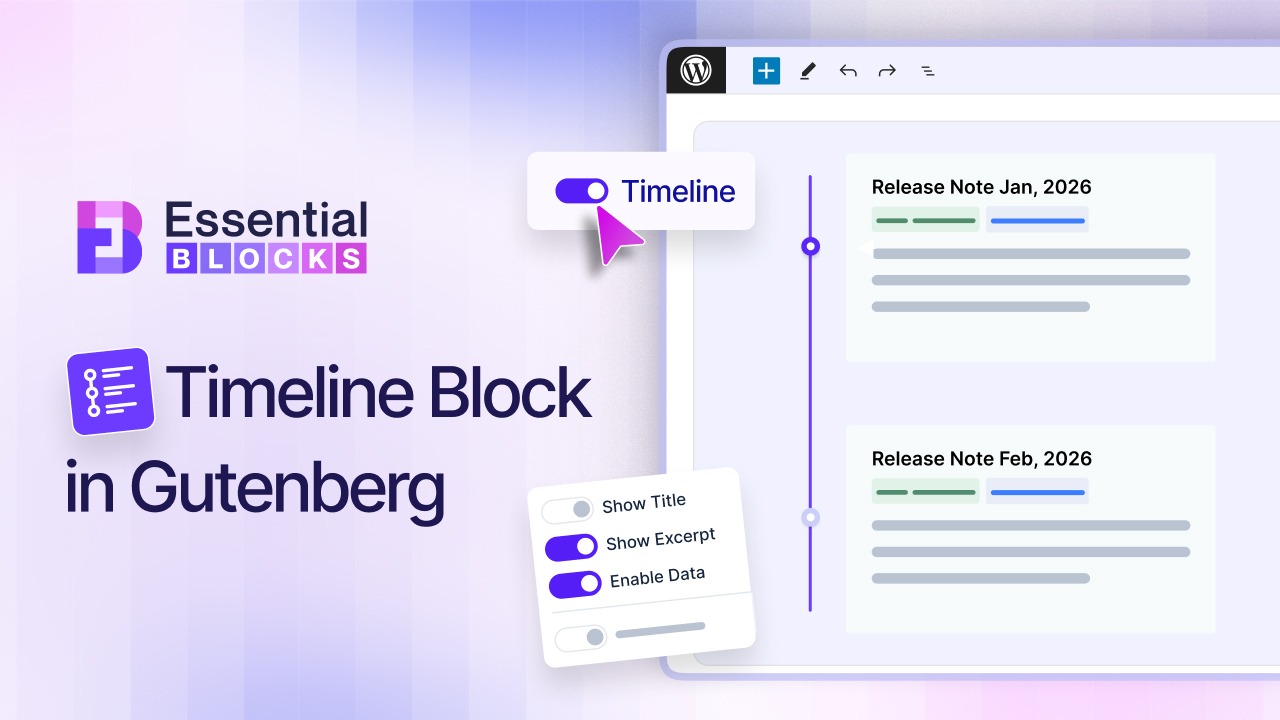
Essential Blocks’ Timeline block allows you to create a clean and customizable WordPress timeline without writing code. This guide explains how to configure the Timeline Block in Gutenberg step-by-step.
What Is Gutenberg Timeline Block?
A timeline block is a specific block used in the WordPress block editor to display history or steps. It arranges content in a vertical or horizontal line based on time or sequence. This is perfect for showing a company history or a product roadmap. The default WordPress installation does not come with a dedicated timeline block. You need a plugin to add this functionality to your site. Timeline Block from Essential Blocks is a top choice for many developers and beginners.
The brain understands images in about 13 milliseconds, faster than it reads words. A WordPress timeline block creates a better user experience by breaking down complex information. It turns a boring list of dates into an interactive journey for your visitors. This keeps people on your page longer and reduces bounce rates.
Why You Should Use a Timeline Block
There are many reasons to incorporate this element into your site design. It is not just about making things look pretty. It serves a functional purpose for your audience.
- Organization helps users process information logically and quickly without confusion.
- Engagement increases when users can scroll through a visually appealing story or process.
- Clarity is achieved by separating different milestones into distinct sections or cards.
- Professionalism is conveyed when you use structured layouts instead of long bullet points.
Essential Blocks’ Timeline block is designed to be lightweight and fast. It will not slow down your website like some heavy page builders might.
How to Create a Stunning WordPress Timeline with Gutenberg?
Timeline Block helps WordPress users present events, milestones and step-by-step progress in a clear visual format. Many website owners struggle to display chronological information in a structured way. One powerful solution is the Gutenberg Timeline Block provided by Essential Blocks.
Let us learn how to use this block to build a dynamic and visually engaging timeline on your Gutenberg website. Make sure Essential Blocks is installed and activated on your website dashboard.
How to Enable the Essential Blocks Timeline Block?
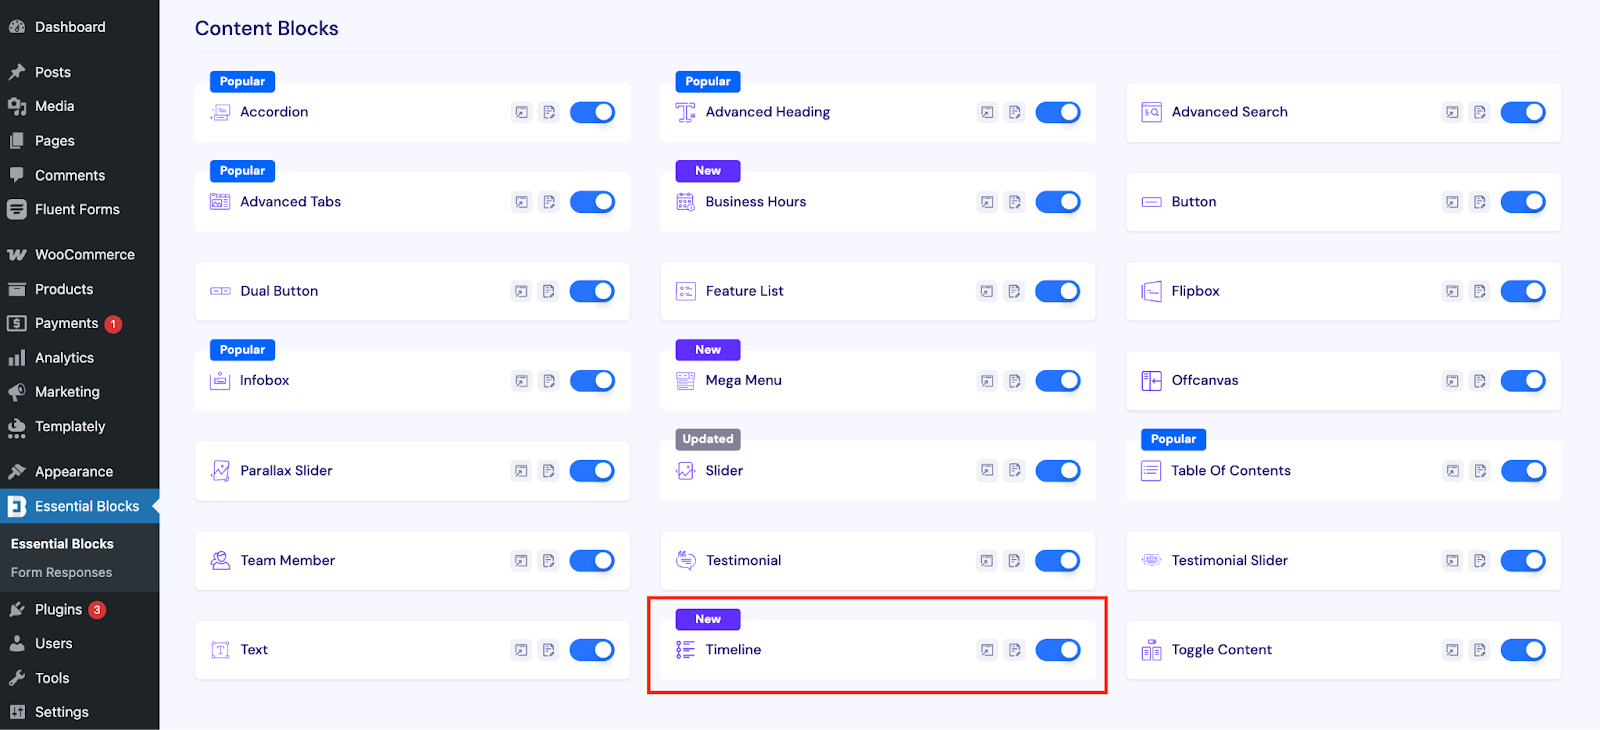
Open your WordPress dashboard to enable the Timeline block. Now, go to the Essential Blocks settings page. From there, click on the Blocks tab and scroll to the Content Blocks section. Locate the Timeline block in the list and turn on the toggle to activate it. Once enabled, the block will be available inside the Gutenberg editor.
How to Configure the Timeline in Gutenberg?
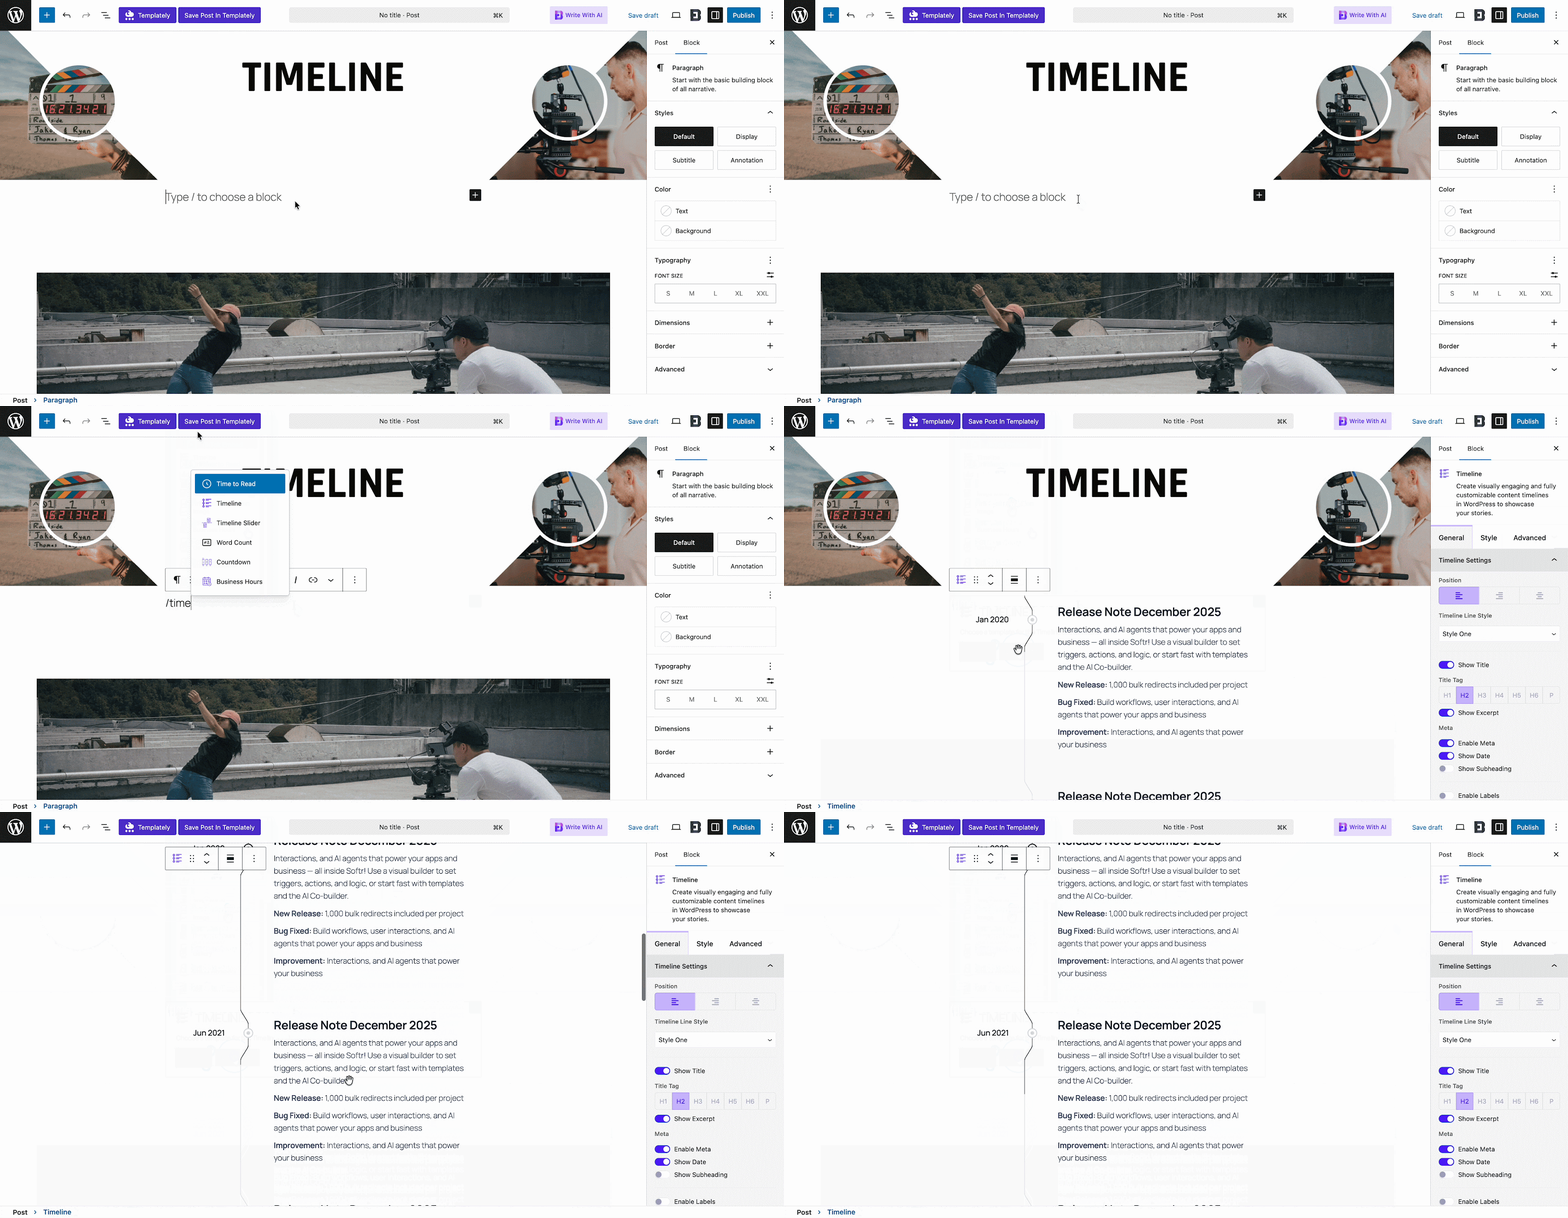
Open the page or post where you want to add the timeline. Inside the Gutenberg editor, click the ‘add block’ button, search for ‘Timeline’ and insert the Timeline block into your desired section.
After adding the block, you will see two options: Choose or Start Blank. Select Start Blank if you prefer to build the timeline from scratch and customize everything based on your needs.
If you select Choose, you can pick from ready-made timeline templates. You will find three preset layouts available, including Preset 1, Preset 2 and Preset 3. Simply select the one that fits your design and start editing.
Preset 1: A modern, minimalist timeline with single-line dates and detailed descriptions, creatively aligned with each scroll.
Preset 2: A simple straight-line layout, perfect for SaaS changelogs or showcasing product versions with clear explanations.
Preset 3: A modern, highlighted design with customizable icons, headings and links, ideal for milestones, achievements or key events.
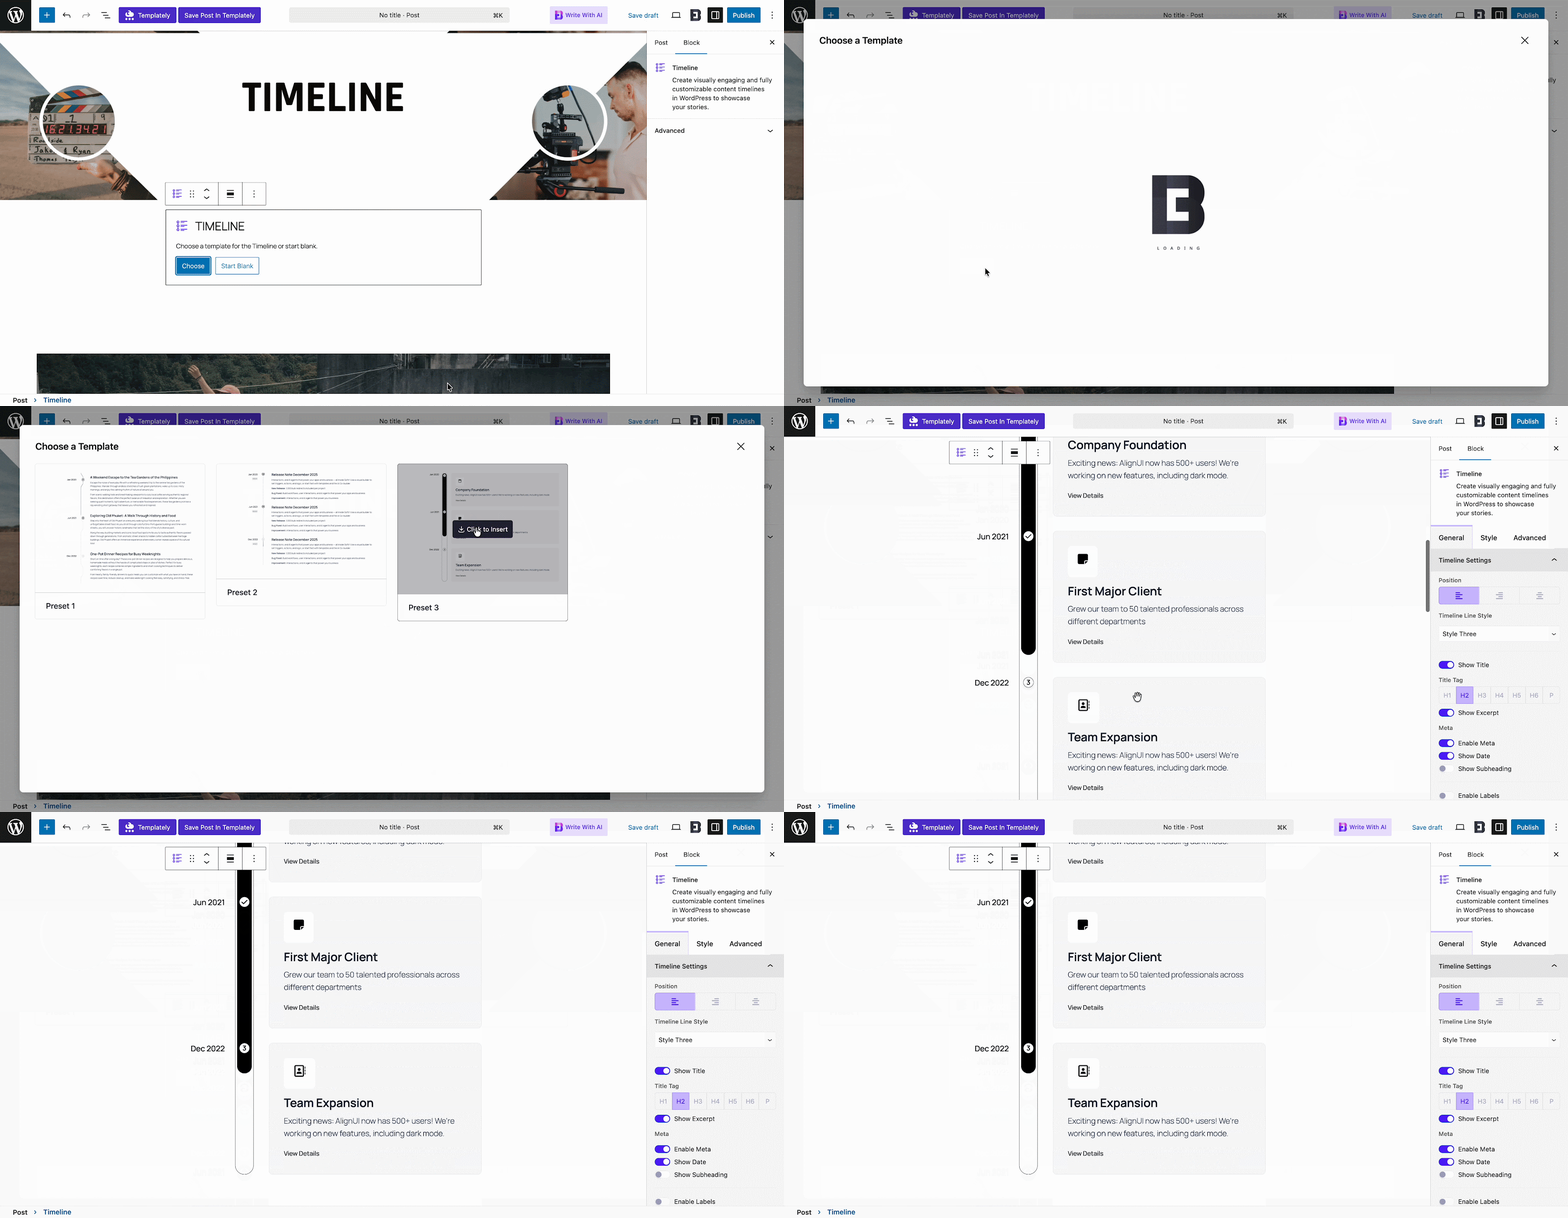
Timeline block offers flexible global features including tags, images, icons, and tickers. Start with a blank canvas or use the built-in text editor to design your timeline exactly how you want.
For finer control over layout and design, you can adjust each section’s structure using the options below.
General
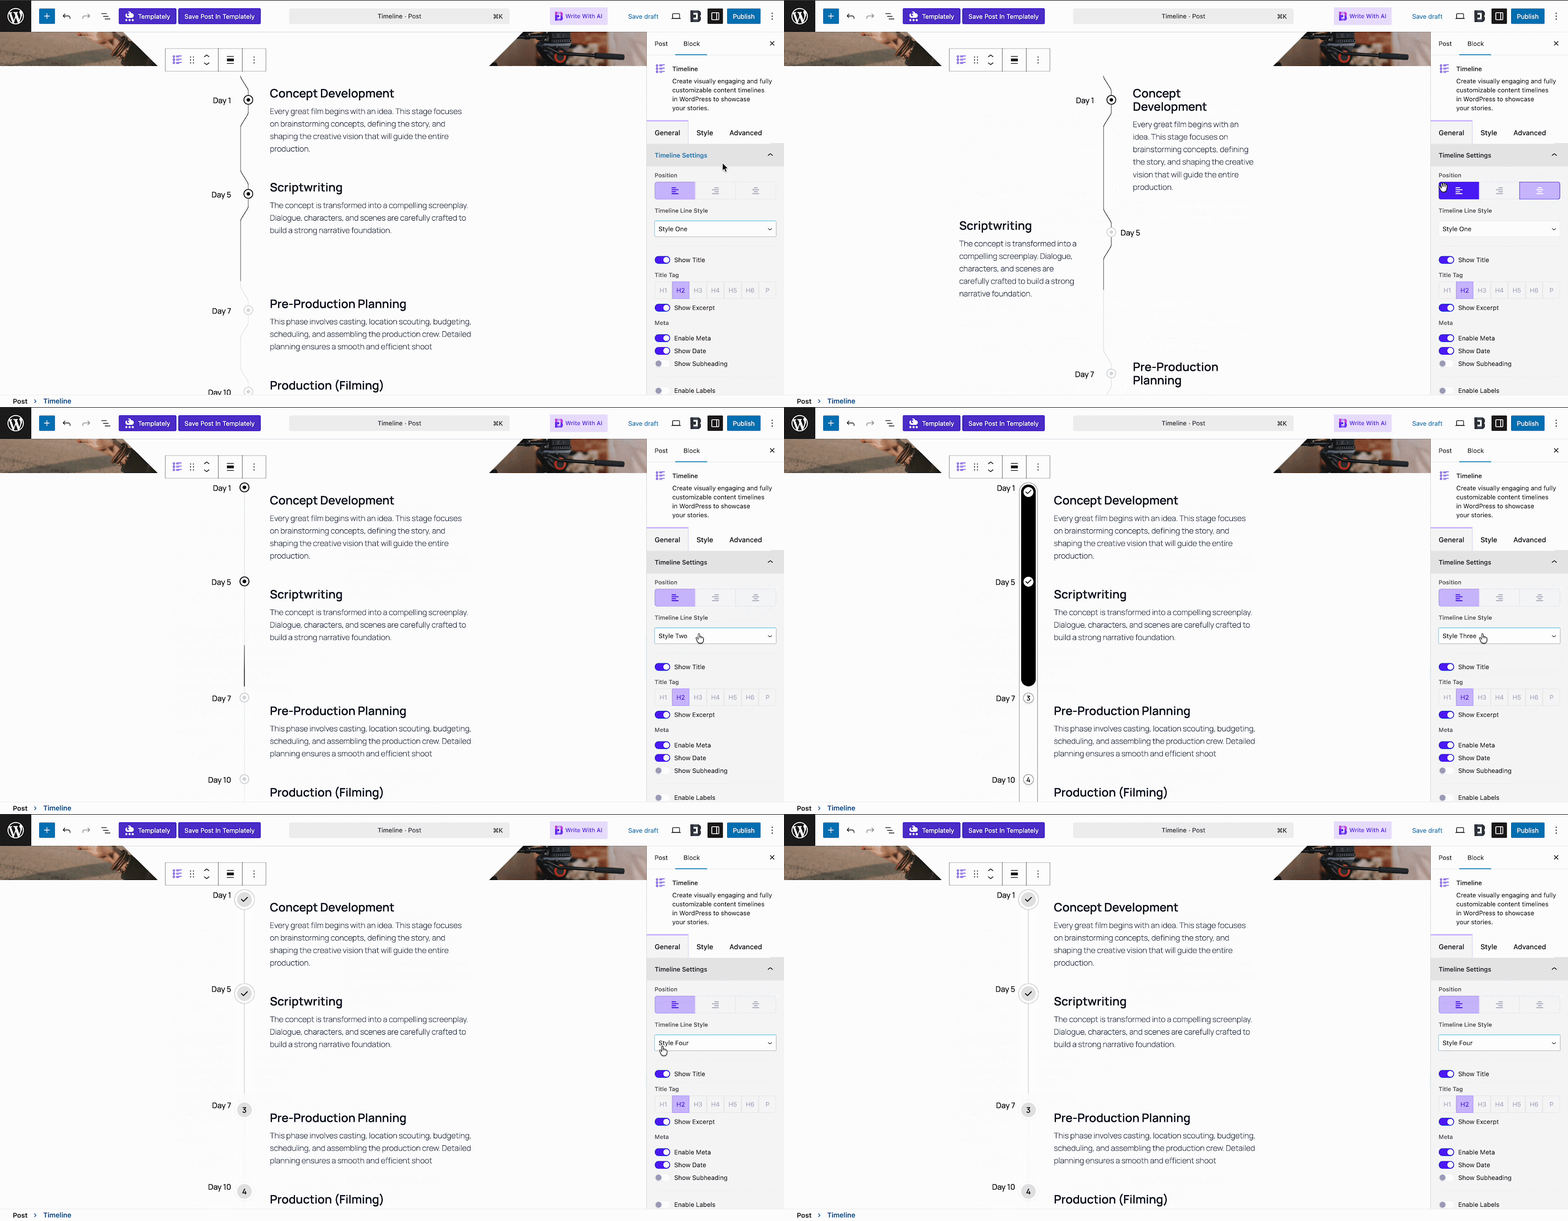
In the Gutenberg right sidebar, open the ‘Block’ tab from the right sidebar. Under the General tab, you will see options like Timeline Settings, Timeline Line Style, Title, Meta, Timeline Icon and Custom Content. Each section lets you customize styling and configuration.
Timeline Settings: Set the timeline’s position and select from four distinct styles for your chosen preset.
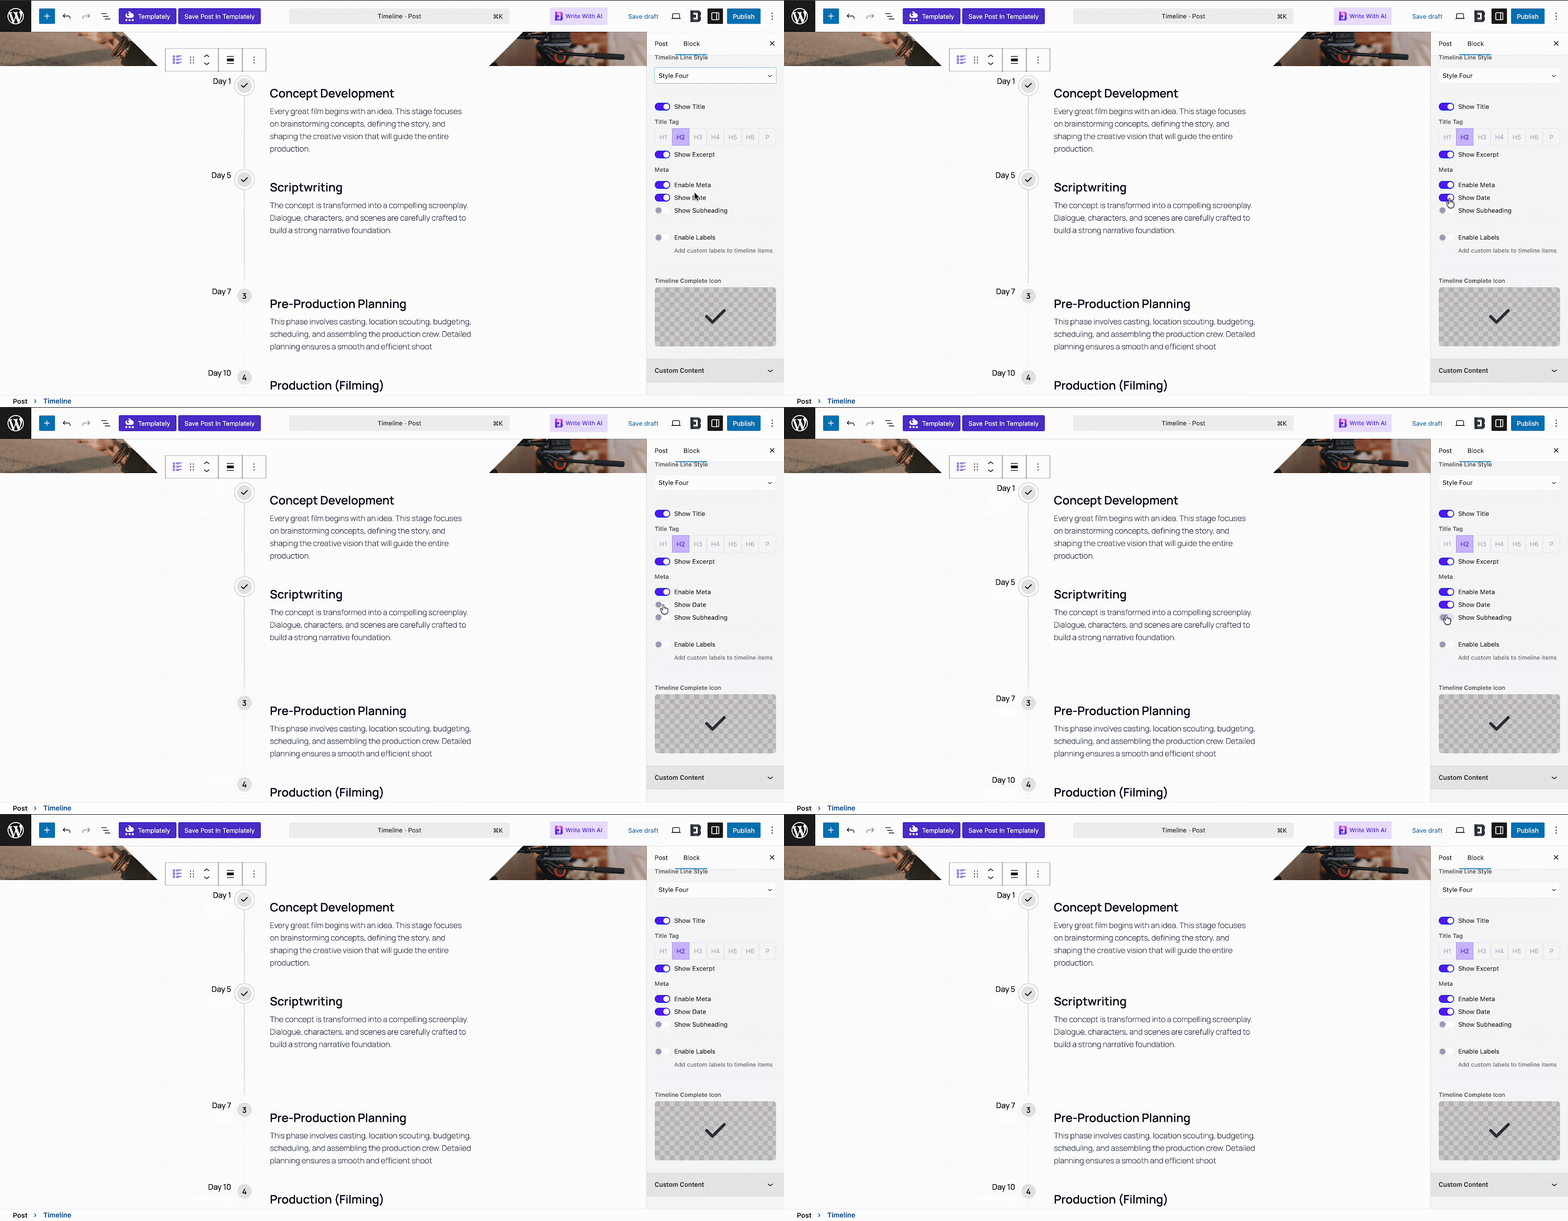
Meta: Toggle the meta option to show or hide the date. Even when enabled, you can choose to hide the date. You can also display subheadings and labels within the timeline.
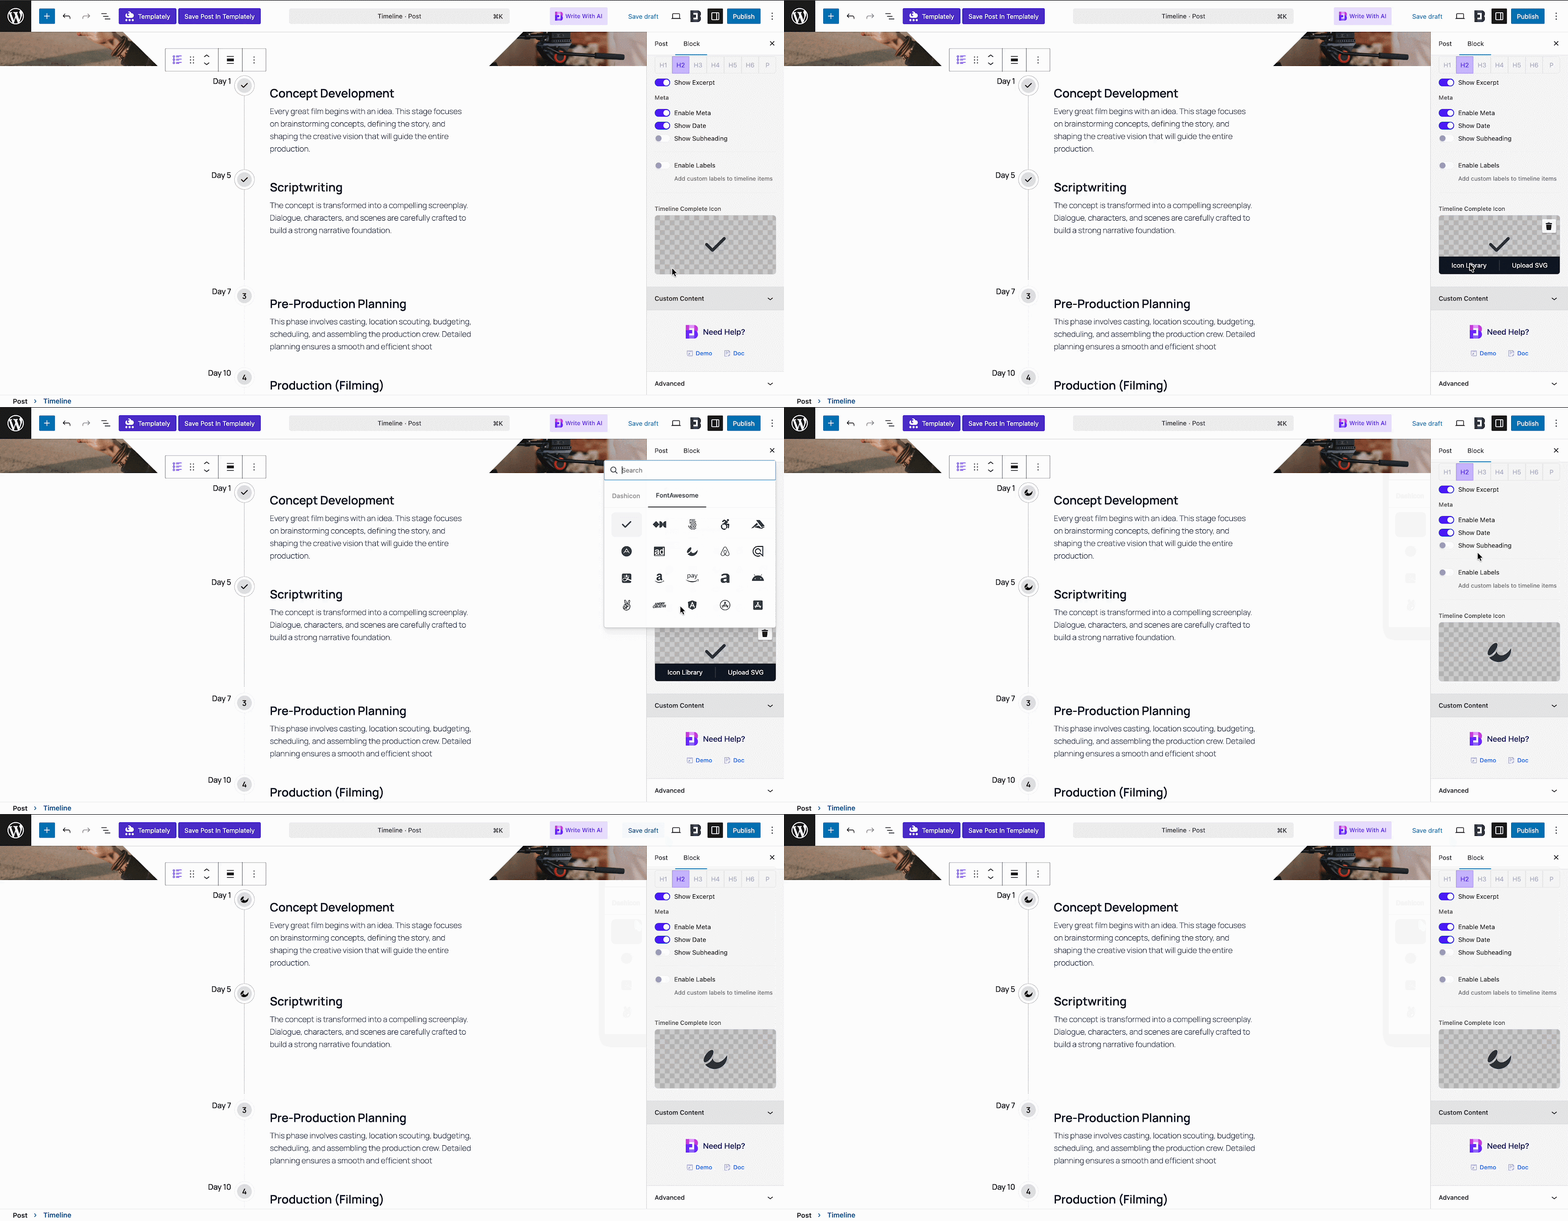
Timeline Icon: Customize your timeline by adding images that match your brand style.
Content Editor: Select and customize the content for your timeline, including headings and text. You can also enable a Read More button for longer content.
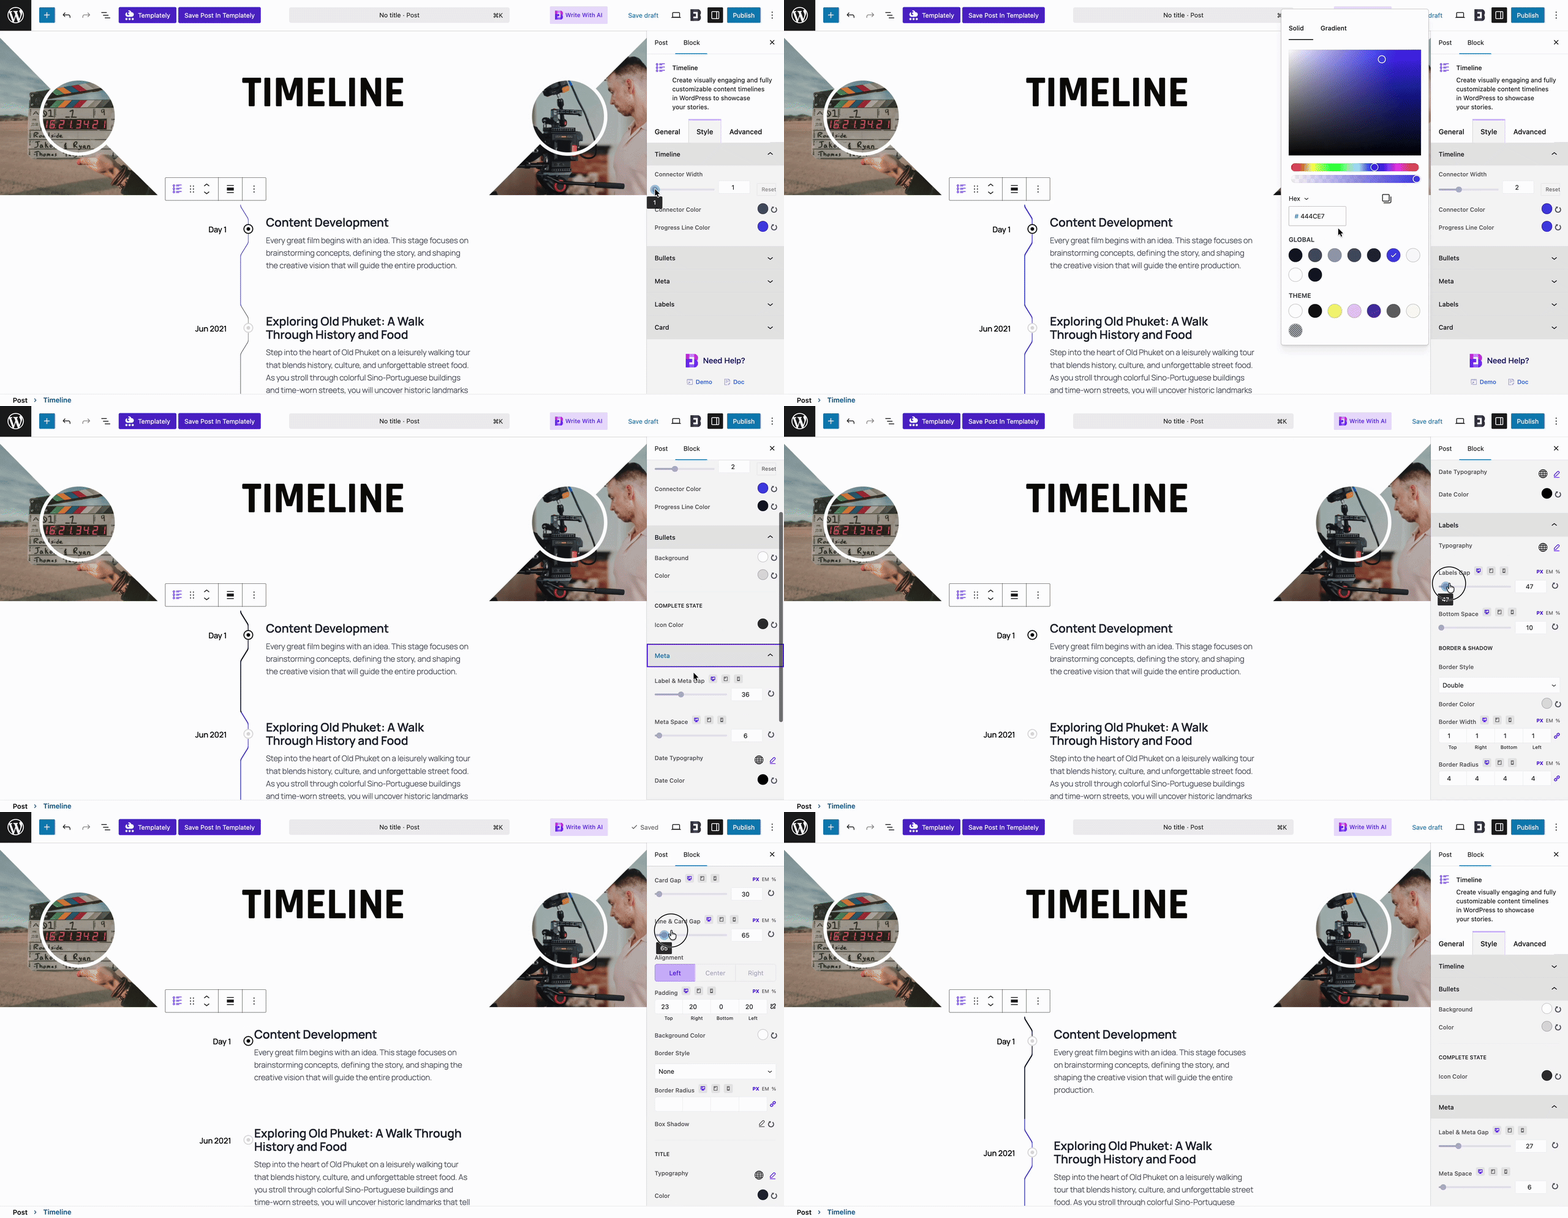
Style
In the Style tab, customize the look of your timeline. Adjust options like connector width, line color, bullets, meta, labels and the typography and colors of cards.
Next, from the Style tab, you can create different styles for the timeline. You can style each option on the timeline, such as Connector width, color and progress line color, Bullet, Meta, Label and Card’s typography and color within this style option.
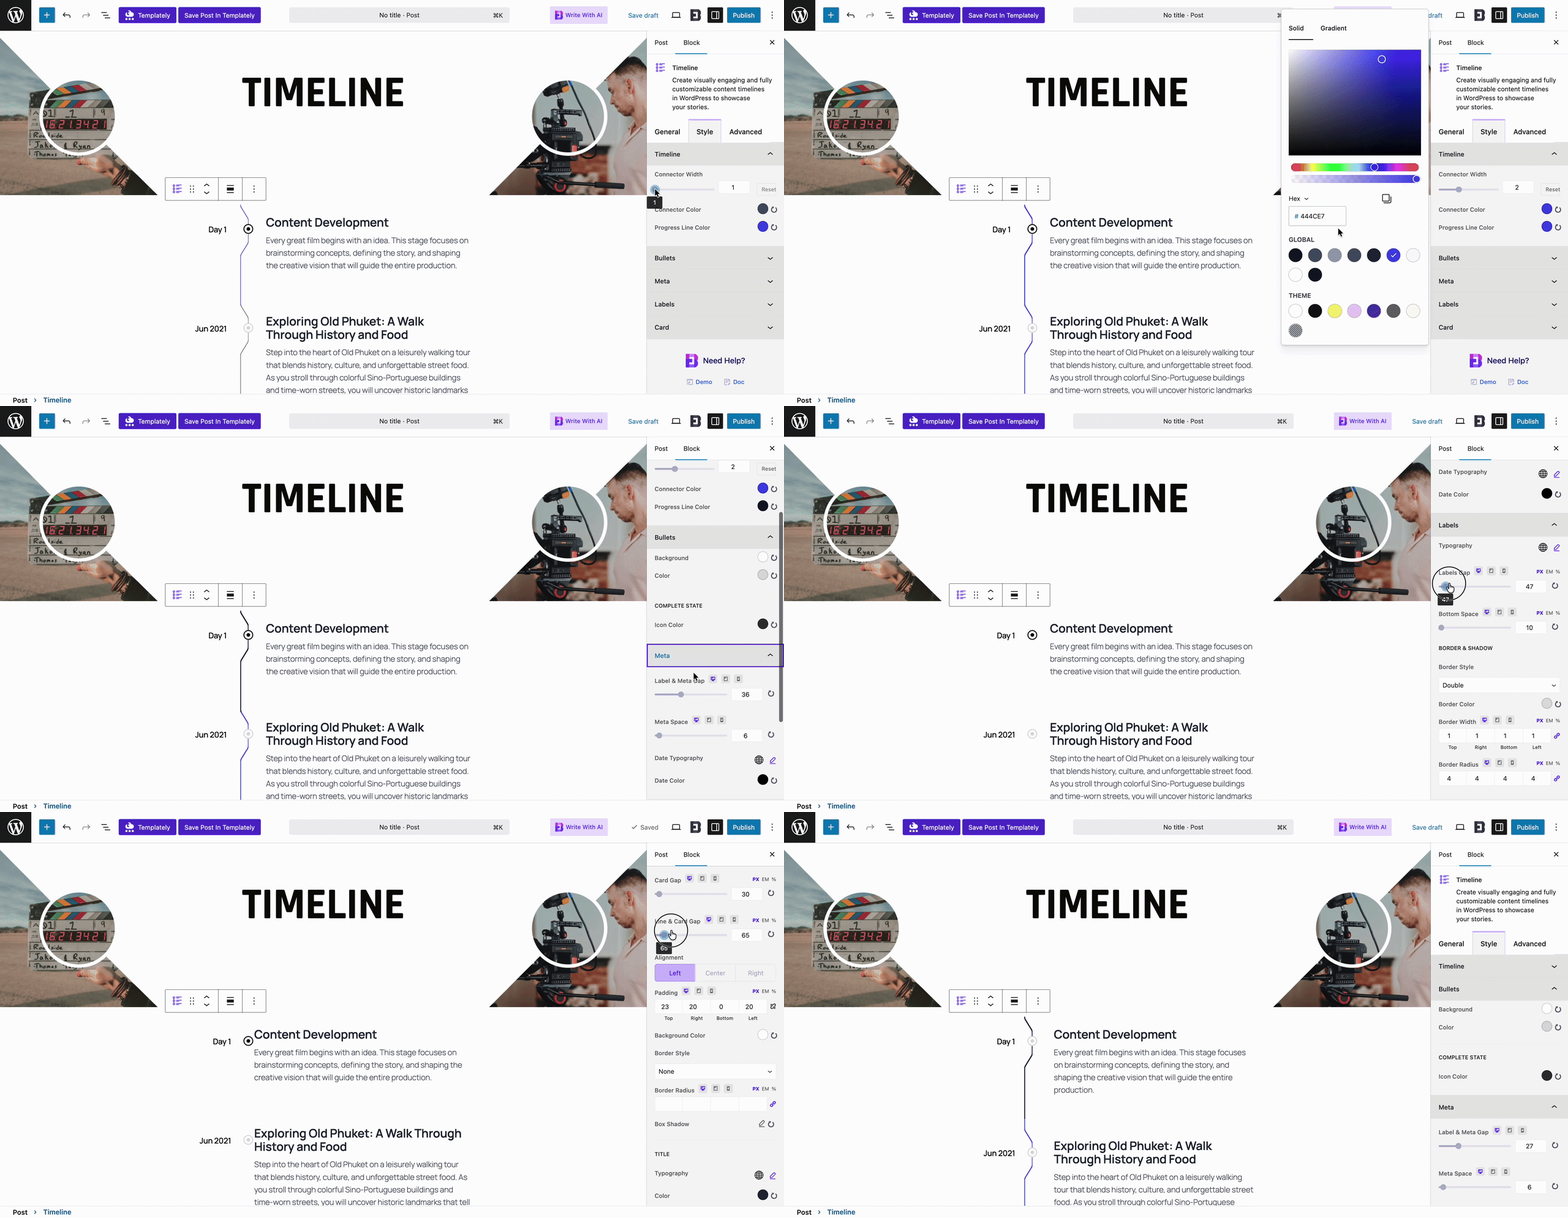
Advanced
‘Advanced’ tab provides full control to fine-tune your timeline’s appearance and behavior, ensuring it fits seamlessly with your website’s design and user experience.
Options include Visibility, Margin & Padding, Background, Border & Shadow, Liquid Glass Effect, Responsive Control, Animation, Interactive Animation, Conditional Display and Custom CSS, letting you customize every detail with precision.
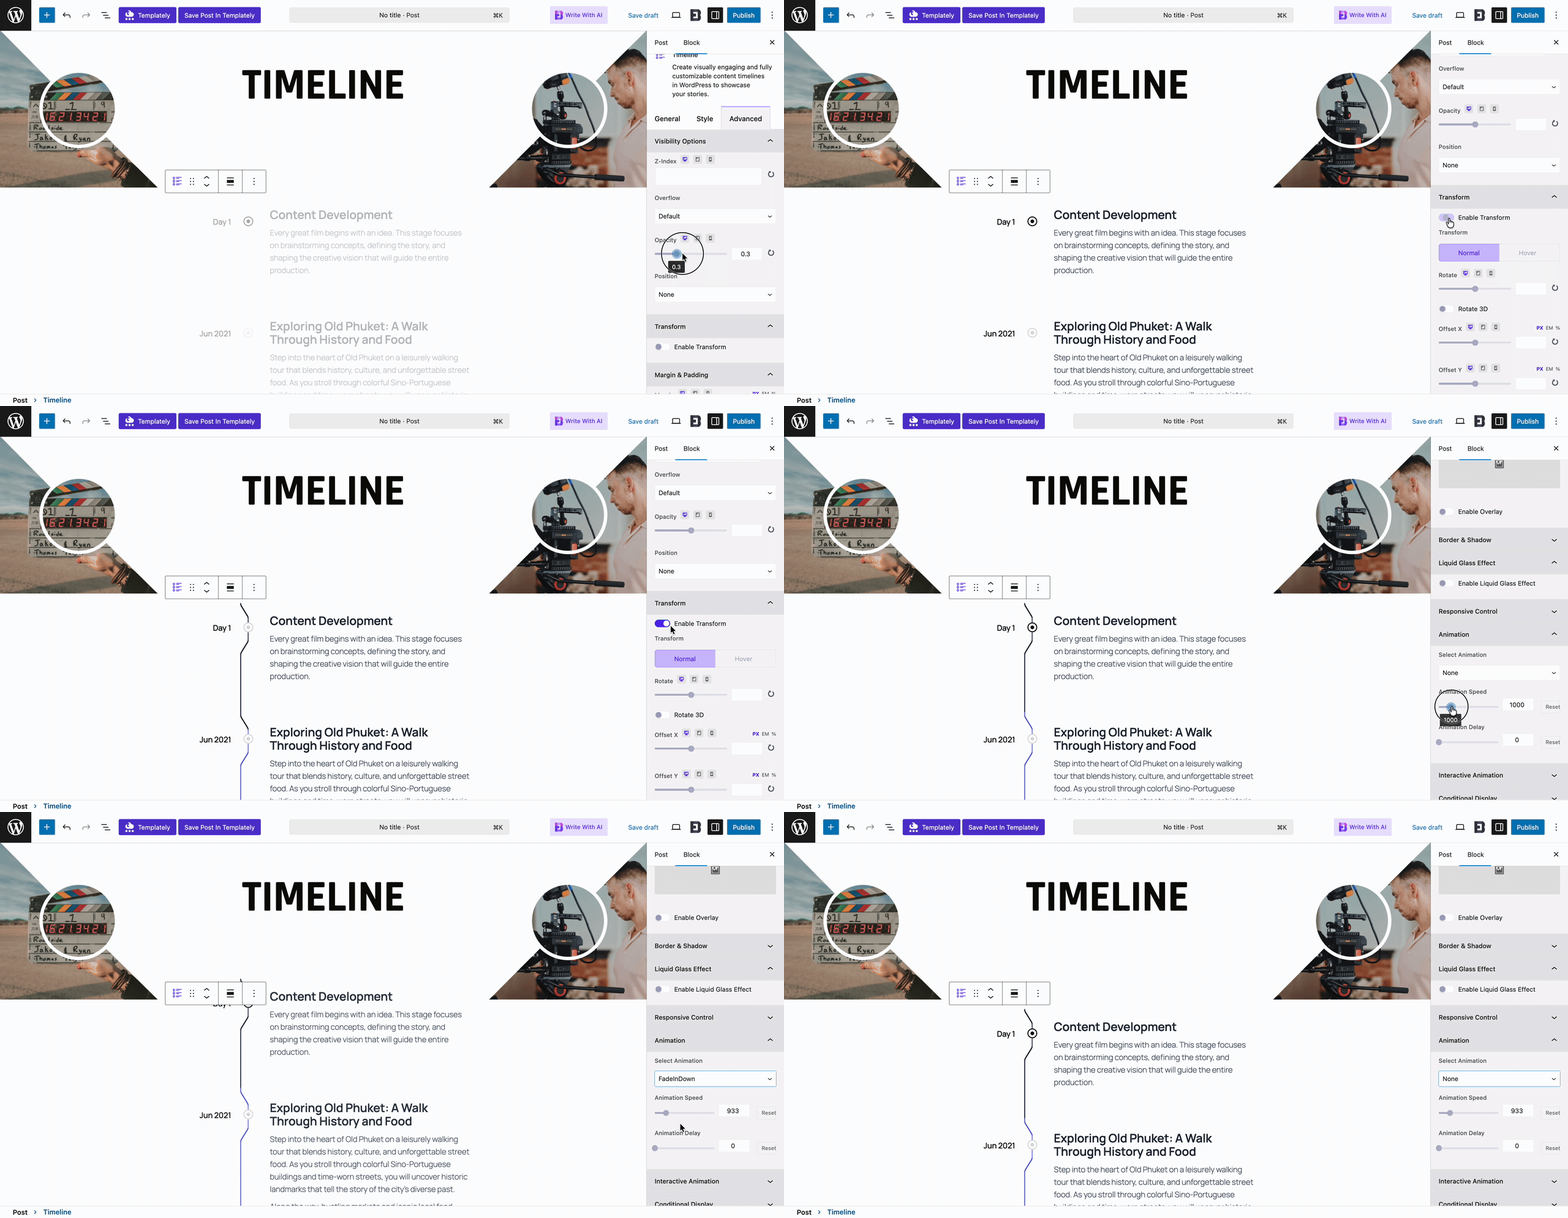
After customizing, click Save or Publish at the top to preview your changes.
With the Essential Blocks plugin, This is how you can easily insert a Timeline block on your website that looks professional and polished.
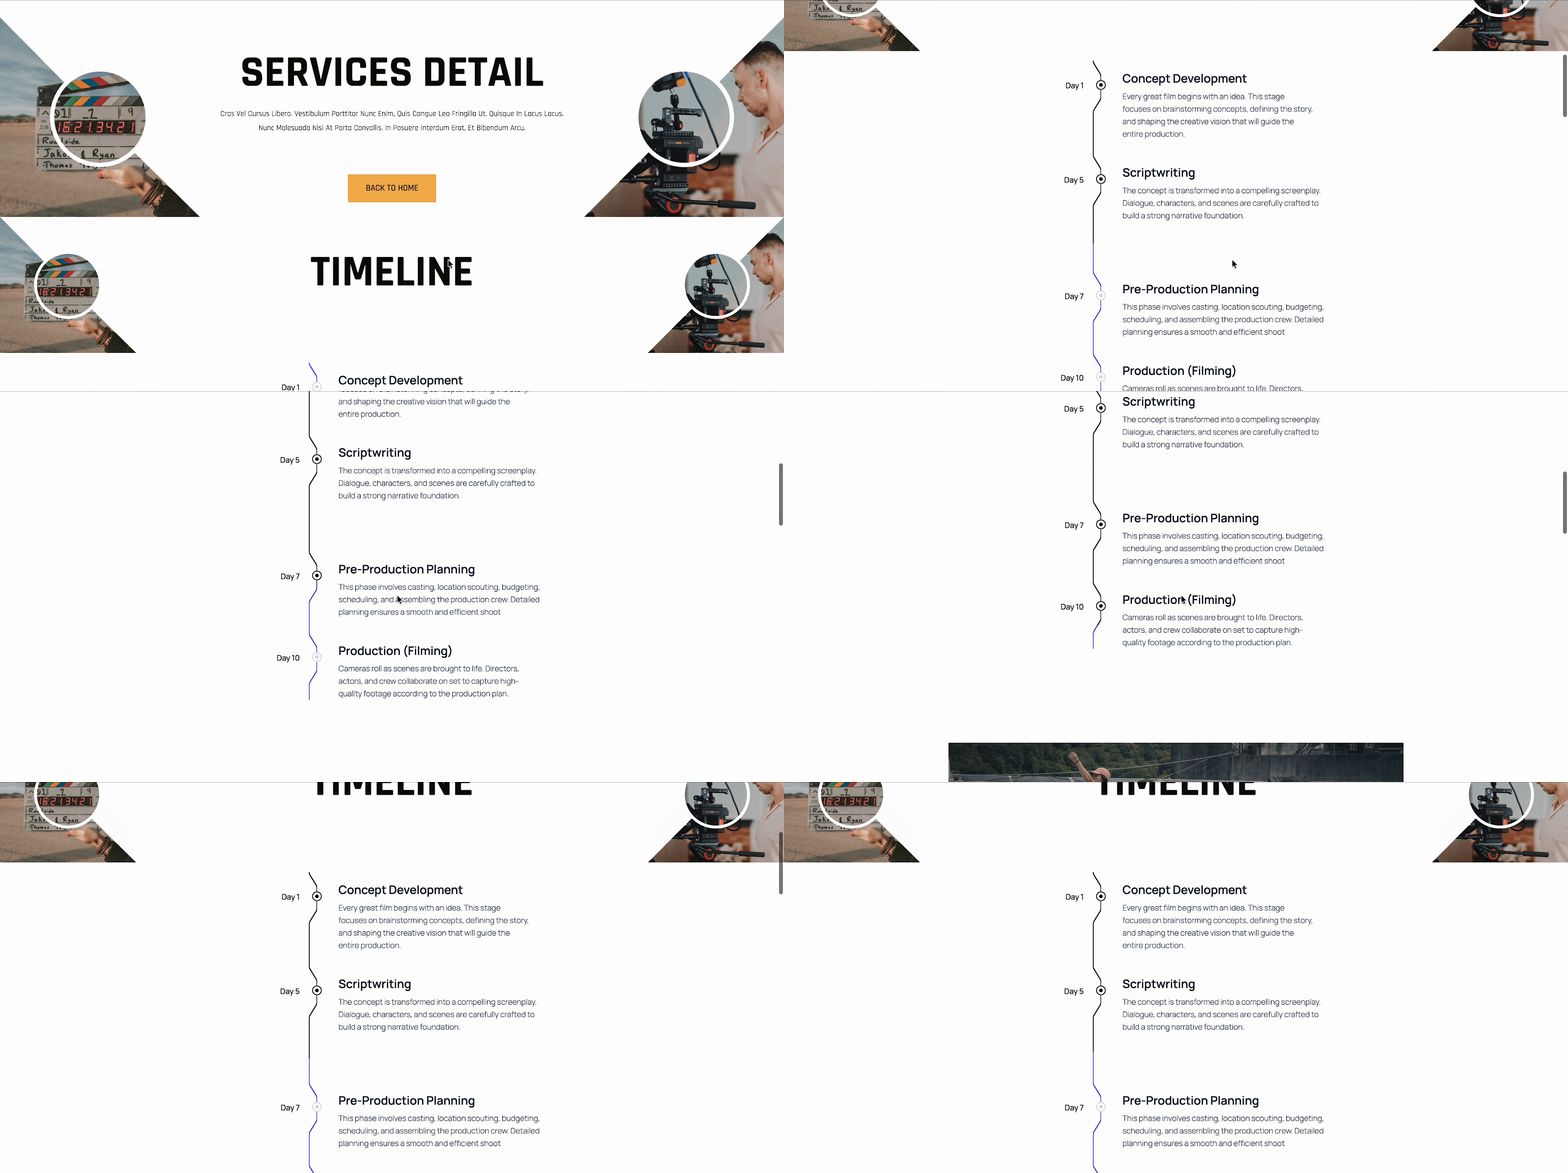
Where to Use Timeline Block on Your Website?
A timeline is one of the best ways to present information in a clear and structured order. Instead of listing events randomly, you can show progress step by step so visitors quickly understand the full story.
Here are some practical ways to use the Timeline block: