Do you have any specific notice for your site visitors that you want to share with them as a website announcement? If so, then creating a notice bar can fulfill your purpose in minutes. And, when you have this quick guide on how to create a website announcement in just a few clicks, there is nothing to worry about. Go through this article and make an eye-catchy notice bar for your website visitors to keep them informed.

Why Creating A Notice Bar Is Important For A Website
Well, as a website owner, you must have important notice to share with your customers or visitors. When the website is your prime communication channel to the consumer, then you have to share the notice on your website to inform your users. The below purposes can tell you why creating a notice bar is important for your website.
⭐ Announcements always keep the visitors updated about your products or services. It helps them to know how your business is going, whether your website is active or not, whether you are offering them something good or not. This will create a brand value for the consumers. And, keeping the visitors updated can increase your site traffic as well as sales.
⭐ Special offers, discounts, and great deals always attract visitors and help to convert them from visitors to potential customers. A notice bar is an excellent way to showcase the offers and special deals which can be eye-catchy and easily visible. It reduces website bounce rate and increases click-through rate as well as sales.
⭐ You are the owner, so you can share the announcement anyhow as the website is yours, the choice is yours. But, a noticeable notice bar can help you to stay confident that your visitors won’t miss what you want to share with them. And, notice is a great way to let your visitors know about any occasions, celebrations, anniversaries, etc.
Create Website Announcement With WordPress Gutenberg

Nowadays, creating a website announcement is very easy and you can quickly create one for your site. If your website is built on the WordPress platform, then it becomes more simple. Because WordPress allows the installation of lots of plugins for its variety of editors.
Here, in this blog, you will get to know how easily you can create a website announcement using a notice bar on the WordPress Gutenberg editor. Nowadays, Gutenberg is very popular for its easy-to-use user experience. Also, many 3rd party plugins have been created to make the editor more powerful.
Using any plugin that contains ready blocks can make your task easier. Also, pre-build blocks are kind of one clicker, so you don’t need to have any coding skills. To create a notice bar for your website announcement in Gutenberg editor, you can try out one of the most popular plugins called Essential Blocks.
Introducing Essential Blocks And Its Notice Block
Essential Blocks is a free WordPress plugin specially designed for the Gutenberg editor. It comes with 30+ amazing ready blocks for different features. The featured blocks are so simple to use and fully customizable with lots of options.
One of these stunning blocks is Notice block which helps to create an attractive notice bar on your site. The EB Notice block is very handy and easy to use for any non-coder user. The block comes with many customizing options so that you can create different outlooks for different types of announcements.
Now, let’s have a look below to know how quickly and easily you can create an announcement with the Essential Blocks Notice block on your WordPress website using the Gutenberg editor. Or you can check this documentation.
Quick 3 Steps Guide For Creating Attractive Notice Bars
It’s very simple to make an announcement with a notice block that can easily attract the visitors’ attention. Follow the below 3 easy steps and get your notice bar in minutes. Before using Essential Blocks on your website, make sure that you are using Gutenberg editor on your WordPress site.
Step 1: Install And Activate Essential Blocks
Login into your WordPress admin panel. From the dashboard, go to Plugin and then click on ‘Add New’. In the search bar, search for Essential Blocks for Gutenberg. Install the plugin and then activate it, as shown below.

Step 2: Get The Notice Block On Your Content Page Or Post
Now, from the dashboard, open a page or post where you want to use the Notice block. After opening it, click on the ‘Toggle block inserter’ button on the top left of the screen. You will get the Gutenberg Block Panel. Here, search for Notice or simply scroll to find the Essential Blocks section.

Now, drag the block and drop it on the specific section of your content where you want to use the block. Or you can just click on the block to get it on the content section. Another way to get it is by clicking on the ‘+’ sign of the section where you want to place the block and from the search bar, find the Notice block, as shown below.

Step 3: Configure The Content Settings To Make It Ready
The Essential Blocks Notice Block is fully customizable. To configure the content settings, click on the block. You can change the core written content of your announcement directly from the Notice block. Just edit the given written content and put your preferred one. From the Block setting panel, you can customize General, Style, and Advanced settings.
General Setting Tab
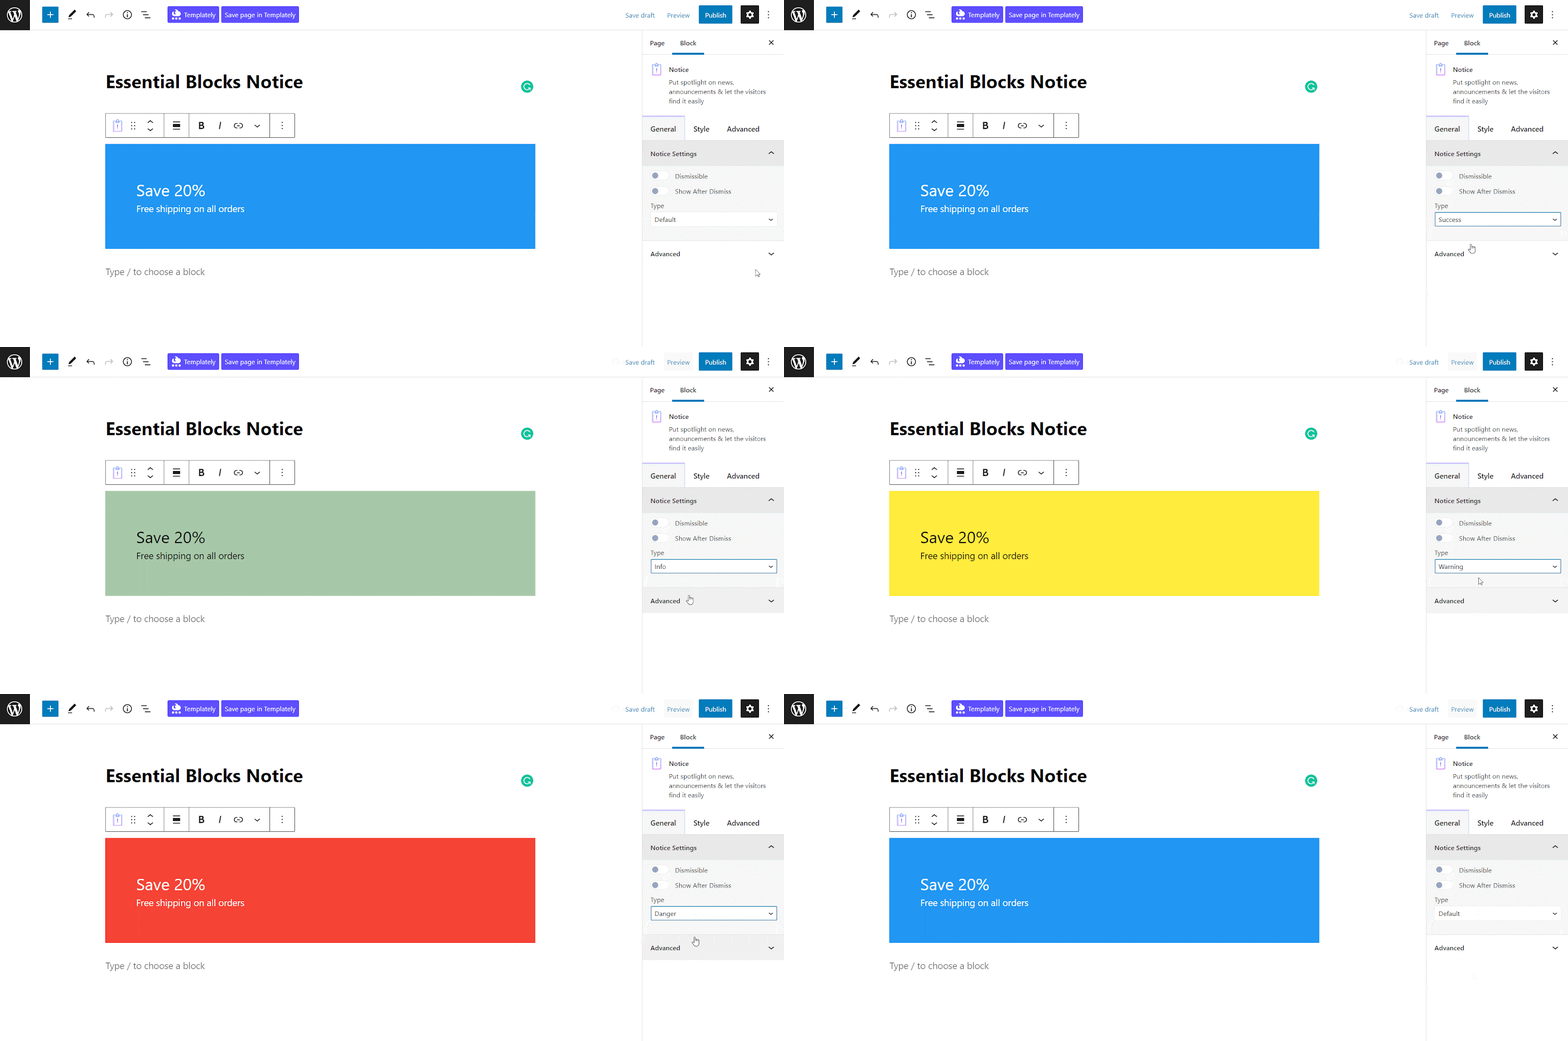
From the General tab, you can toggle to enable or disable the Notice Settings of two options Dismissible and Show After Dismiss. Suppose, you toggle on the Dismissible option. It will allow your visitors to close the notice bar once they view it. From this section, you can also choose the Type of notice from 5 given options.
Style Setting Tab
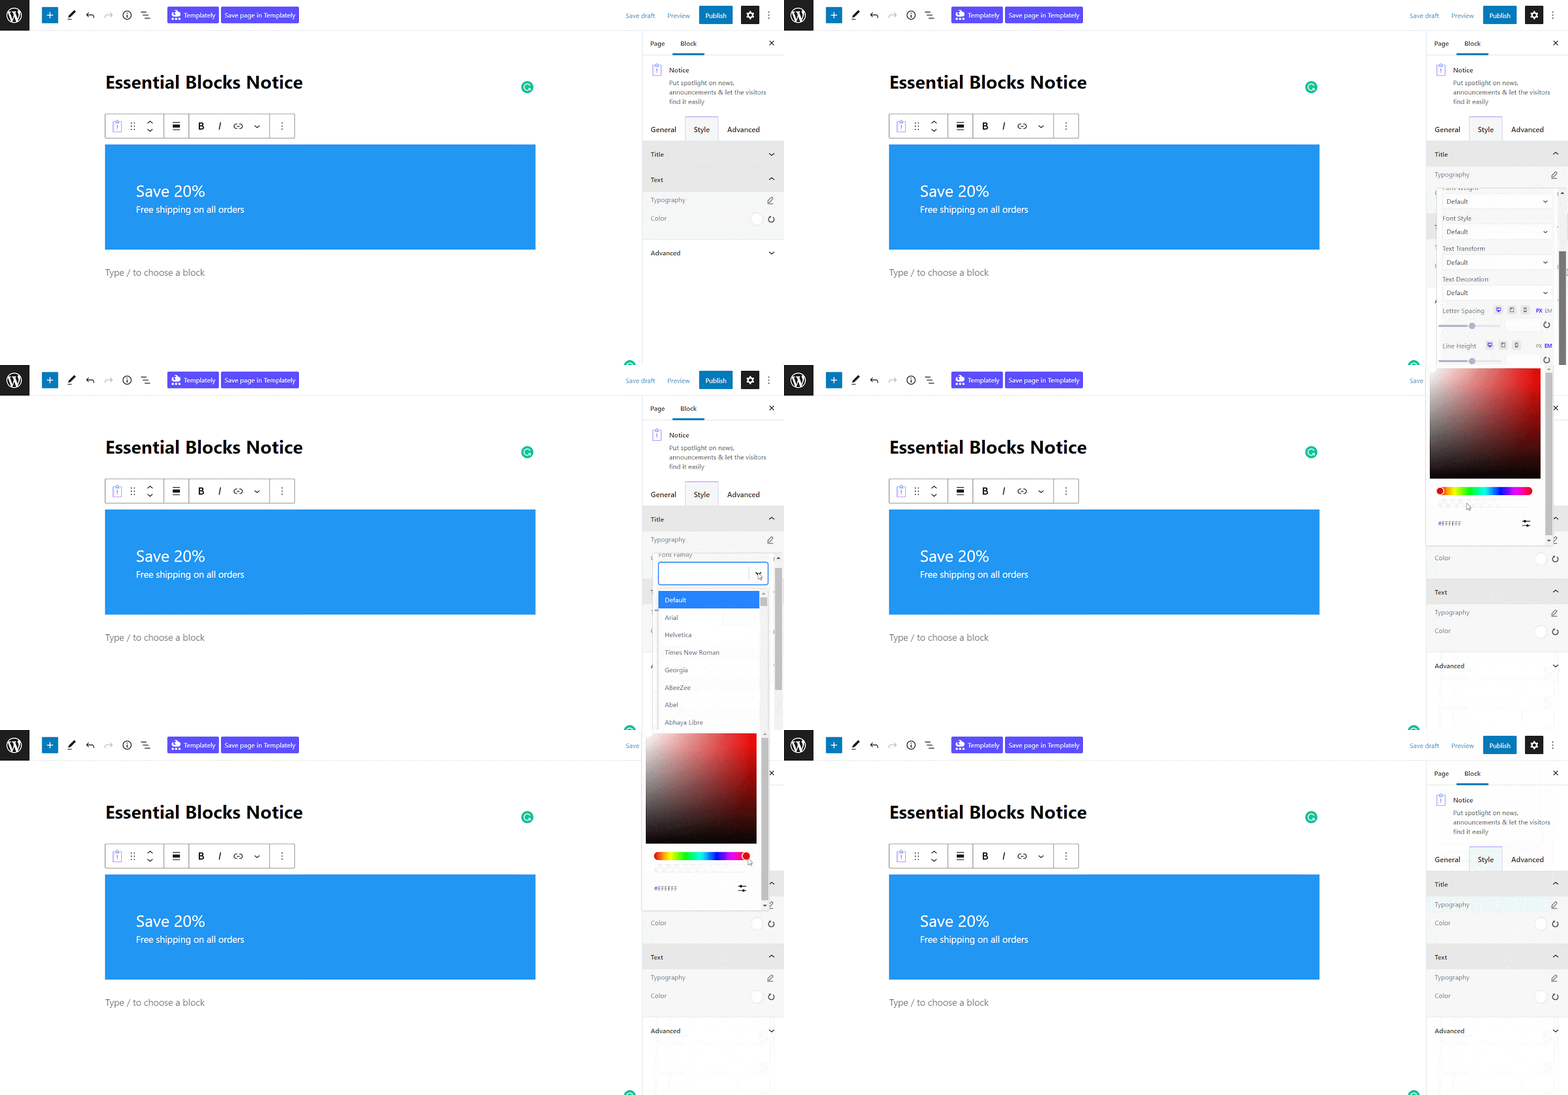
From the Style tab, you can change the Typography and Color of the Title and Text. In the Typography section, there is a huge collection of Font Family and Font Size. From this tab, you can also choose the Font Weight, Font Style, Text Transform, Text Decoration, Letter Spacing, Line Height, etc. In the color section, you will get a large color palette to create the notice bar for your site that can adjust to your website theme.
Advanced Setting Tab
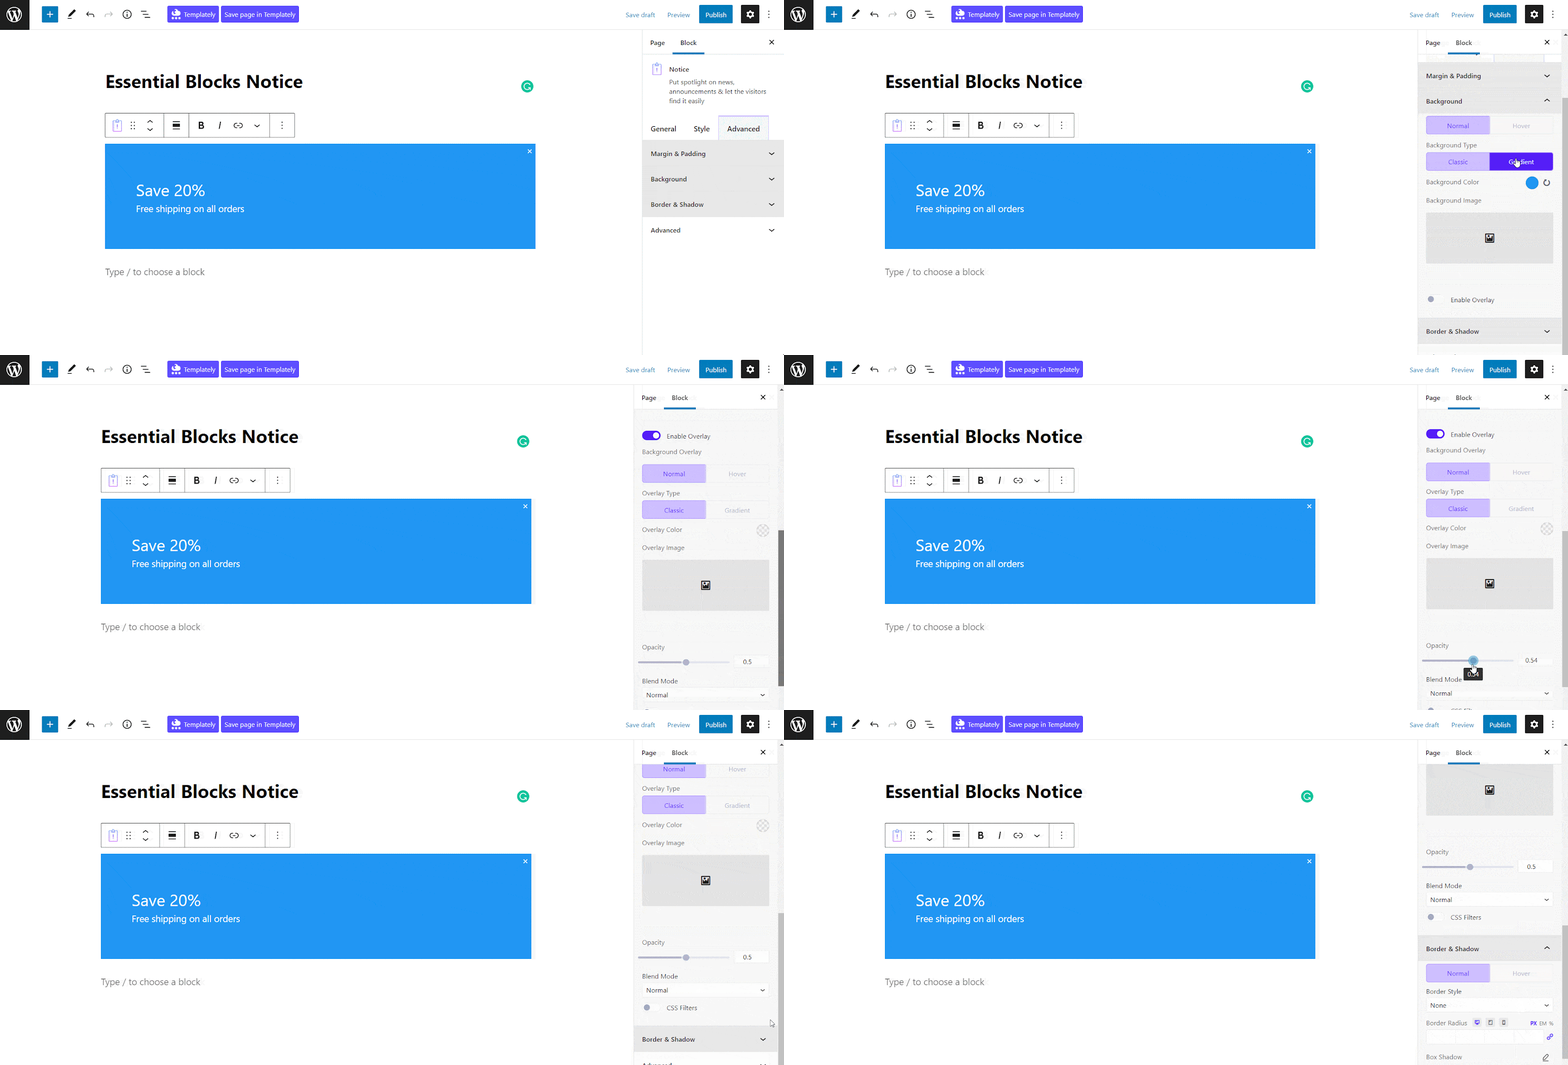
In the Advanced tab, you will get the options to adjust the Margin and Padding. From here, you can also customize the Background type, color, and image. If you want, you can enable the Overlay option. Also, you can change the Opacity and Blend modes. As well as, you can fix the Border and Shadow of your notice bar.
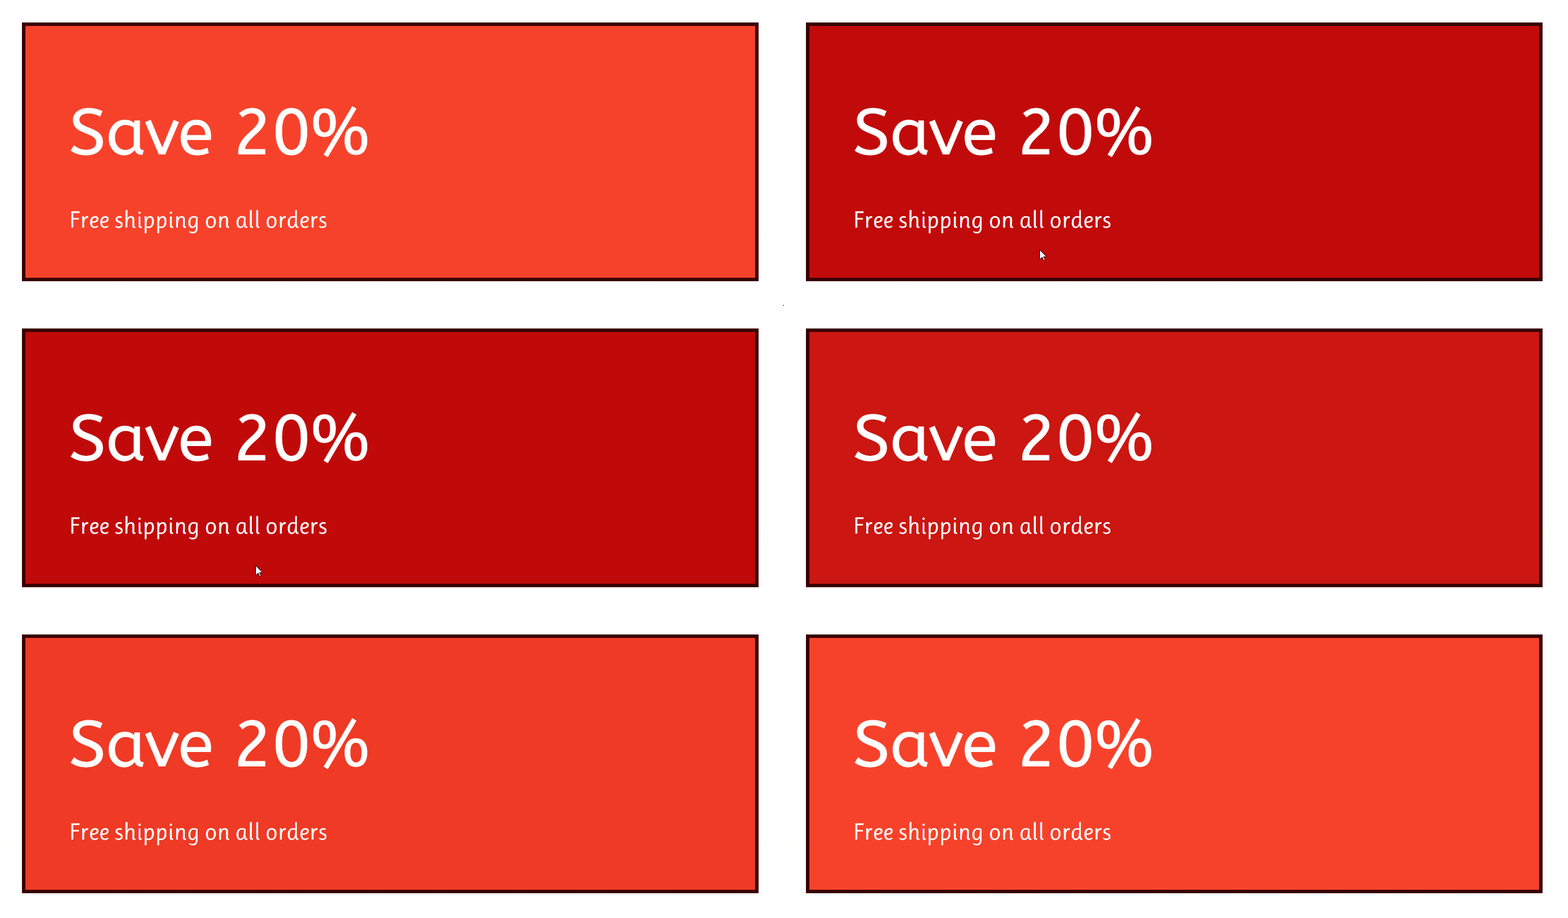
Once all your customization has been done, you can check the preview of your content. If you are satisfied, then click on the ‘PUBLISH’ button to make your content public. After publishing, you can see your content like below. Here, we are showing a sample of the Essential Blocks Notice block after customization according to personal choice.
Now It’s Your Time To Share Your Announcements With Style
Essential Blocks Notice Block is a great option to showcase your Urgent Announcement amazingly and attractively that grabs visitors’ attention in a moment. Cleverly setting up the correct position and preparing a catchy content of Notice can fulfill your purpose very well.
So, are you interested in using this block? If you enjoyed this post, subscribe to our blog and join our Facebook community to connect with web creators. Leave your comments below and stay connected.
![Guide for WooCommerce Checkout Flow Optimization [2026] 19 woocommerce checkout](https://essential-blocks.com/wp-content/uploads/2026/01/WooCommerce-Checkout_-A-Complete-Guide-for-2025-150x150.jpg)


