If you are familiar with WordPress, you would know that Gutenberg has replaced Classic Editor as the default WordPress block editor. If you’re new to Gutenberg and need help understanding how it works, you’ve come to the right place.

This blog will guide you through the detailed steps of using WordPress default editor. The new WordPress editor is built around “blocks,” which have become a standard feature of the popular content management system. Let’s get started and learn more about Gutenberg.
Gutenberg: Essential Things You Need To Know
Gutenberg substitutes the Classic editor and simply allows you to add text, photos, and other media to your posts and web pages using content blocks. That’s why it is called Gutenberg block editor. The old editor was text-based, which limited new users who did not know how to code.
Even in Classic Editor, you needed to go to the HTML view to make customized changes. But HTML skill was not necessary at all. To add simple features to your websites, such as tables or image galleries, you’d have to install a separate plugin. In that case, Gutenberg helps you to create a website that is visually-driven instead of text-driven. The WordPress Gutenberg block editor makes it simple to add content blocks to your pages and posts. There are blocks for adding images, texts, and nearly any other thing you could want to include on your website.

A Thorough Gutenberg Tutorial For Any WordPress User
If you use Gutenberg, the default WordPress editor to create any content, you will be able to save a lot of time. Gutenberg helps you to create visually appealing content with the right format and style with lots of customization options. Besides ready Gutenberg blocks, you can even insert patterns or layouts to create a page from scratch. You will get ready blocks for almost everything. On the other hand, you can even create your own reusable Gutenberg blocks as well. But for first, let’s dive in and see how you can get started with it from scratch.
Let’s go into the details of the WordPress block editor now that we’ve covered the fundamentals. When you first open the Gutenberg editor for a page or a post, it appears to be quite blank. The first step is to place some blocks on the table.
Step 1: Include Gutenberg Blocks To Your Post
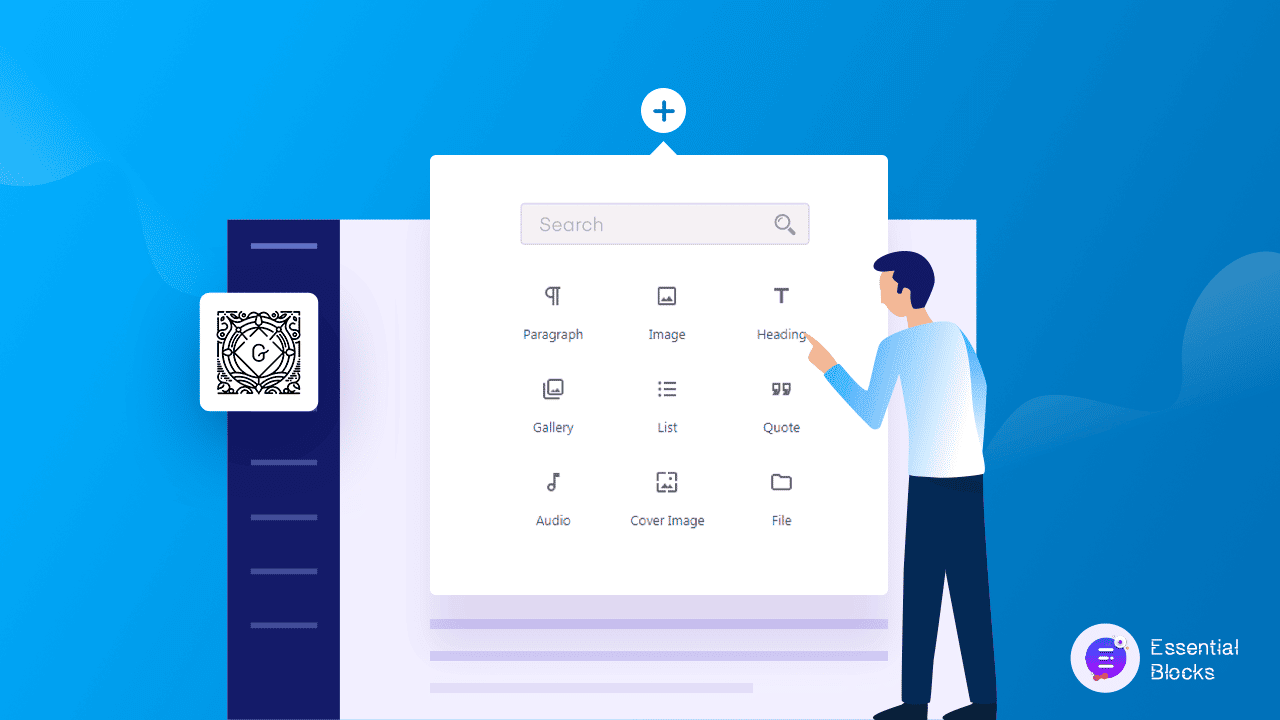
As you have already created a post in WordPress, now from the blank page, you need to click on the ‘+’ sign from the editor and lots of blocks will appear. To explore all the blocks, click on the ‘Browse All’ button below and all the blocks will appear.

There are lots of blocks available for instance, paragraphs, images, headings, lists, tables, separators, galleries, buttons, and so on. Your content creation can be smoother if you use Gutenberg WordPress editor as all you need to do is drag the Gutenberg block you want to add somewhere and drop it. Creating visually attractive content in a matter of time is easier using this editor. You can also add commands just by typing ‘/’ in the editor and the options will appear in a list view.

Step 2: Change The Order Of Your Gutenberg Blocks
You can change Gutenberg block positions just by clicking and dragging them where you want them to appear, or by tapping the dots in between the directions and dragging and dropping the Gutenberg blocks.

One of the nicest advantages of the Gutenberg block editor is the ease with which you may arrange your blocks. It saves you time by reducing the need to rectify coding errors, and it eliminates the need to depend on cutting and pasting content to complete the task.
Step 3: Change The Style Settings Of Your Blocks
In your Gutenberg tutorial, setting up a style for all your Gutenberg blocks is the next step. Just when you click on any block you want to style, some options will appear as icons. You can hover over the icons to see the functions one by one. For this blog, we will show you how you can change the style of a paragraph.

Here we have shown how to choose styles from the options and customize the section as you prefer. You need to configure the options and play around to get a grip of the editor. Not only just these options but also you will get a secondary settings panel on the right-hand side as well. To see the settings panel, you need to click on the ‘Settings’ icon from the top right side. From this section, you can easily configure individual settings for the whole post or particular block. From setting up the typography to template, permalink, tags, you can customize all these from here.

Here you need to keep in mind that every block has its own set of setting options and it appears differently for each. For instance, the settings options for images look totally different from the paragraph block.
How To Create Reusable Blocks In Gutenberg Block Editor?
Gutenberg gives you an outstanding feature with which you can create your own blocks easily. Creating your own blocks will help you reuse them whenever you need them. For instance, you regularly write food review blogs and you want to show a certain section of your website ranking that you do not want to change. Instead of creating the same content all over again, you can turn it into a reusable block and use it in your blogs. It will save you time and energy at the same time.
For this blog, we will create a reusable text block from scratch. First, you need to provide text content. Click on the content and you will see three dots in the options. Click on the three dots and choose the ‘Add To Reusable Blocks’ option. Now you can give a suitable name for this text block.

Now if you click on the ‘+’ sign from the top left bar, you will see a new section called ‘Reusable’ has appeared. You will find your newly made reusable block there. You can insert it anywhere you want. You do not need to create the content again.

By choosing Import from JSON, you can upload reusable blocks you’ve stored from the other websites too. After that, you should be able to access them as usual via the Blocks menu’s Reusable option.
How To Create Block Groups Inside Of Your Block Editor?
You might be wondering how grouping some blocks during content creation can benefit you. Consider the following scenario: you need to include a call to action section in each of your blog posts. A signup form, a call-to-action button, and a support link are commonly included in your call-to-action section. You can use this set as a single unit of the group if you can combine these form, link, and button blocks together. As a result, you will save time and effort by not having to create the same part many times for each blog post.
To create block groups, you need to select all the blocks you want to make a group of and you will see an overlay icon. From the new menu, from the ‘Transform to’ inscription you can choose ‘Group’. Your block is ready to go. You can now change the chronology and adjust it as per your preference.

Select the group and then click the three dots in the overlay menu to ungroup the blocks. Ungroup is located at the bottom of the page.
What Is A WordPress Block Pattern And How To Create One?
You may now design your WordPress block pattern to make building website pages easier with the latest version of Gutenberg. A Gutenberg block layout is a collection of blocks that have been organized in a certain pattern. Building a whole page or WordPress website from scratch might take a long time, but if you can develop a block pattern once and use it several times, building any web page will be a lot easier and faster. Click the same plus sign that you used to go to the Block menu to get to Block Patterns. Select the Patterns tab from the drop-down menu.

Another advantage of Block Patterns is that they make switching between Themes easier. Another Theme has no effect on your formatting because it is linked in the blocks themselves.

Hope this blog has helped you to get started with WordPress block editor right now. If you find this blog useful and want to read more blogs like this, subscribe to our blog and join our community to share your thoughts. We would appreciate it!

![Guide for WooCommerce Checkout Flow Optimization [2026] 14 woocommerce checkout](https://essential-blocks.com/wp-content/uploads/2026/01/WooCommerce-Checkout_-A-Complete-Guide-for-2025-150x150.jpg)


