Table Of Contents
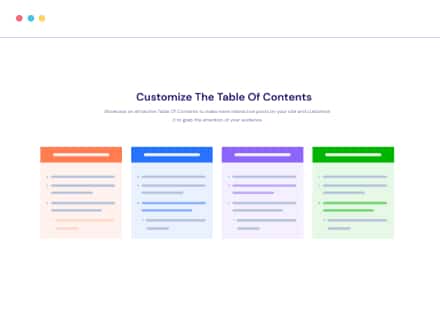
Showcase blogs headings, titles & subtitles on the top of the article with Table Of Contents block. This block comes with exclusive styles to make blog posts easy to navigate & redirect readers to their desired sections at a glance.


Limitless Content Customization

Responsive Preview Controls

Infinite Styling Possibilities

45+ Advanced Gutenberg Blocks
If you are familiar with WordPress, you would know that Gutenberg has replaced Classic Editor as the default WordPress block editor. If you’re new to Gutenberg and need help understanding how it works, you’ve come to the right place. This blog will guide you through the detailed steps of using WordPress default editor. The new WordPress editor is built around “blocks,” which have become a standard feature of the popular.
Gutenberg: Essential Things You Need To Know
Gutenberg substitutes the Classic editor and simply allows you to add text, photos, and other media to your posts and web pages using content blocks. That’s why it is called Gutenberg block editor. The old editor was text-based, which limited new users who did not know how to code.
Even in Classic Editor, you needed to go to the HTML view to make customized changes. But HTML skill was not necessary at all. To add simple features to your websites, such as tables or image galleries, you’d have to install a separate plugin. In that case,
A Thorough Gutenberg Tutorial For WordPress User
Lorem ipsum, or lipsum as it is sometimes known, is dummy text used inying out print, graphic or web designs. The passage is attributed to and unknown typesetter in the 15th century who is thought

How To Create Reusable Blocks In Gutenberg Block Editor?
Gutenberg gives you an outstanding feature with which you can create your own blocks easily. Creating your own blocks will help you reuse them whenever you need them. For instance, you regularly write food review blogs and you want to show a certain section of your website ranking that you do not want to change. Instead of creating the same content all over again, you can turn it into a reusable block and use it in your blogs.

How To Create Block Groups Inside Of Your Block Editor?
You might be wondering how grouping some blocks during content creation can benefit you. Consider the following scenario: you need to include a call to action section in each of your blog posts. A signup form, a call-to-action button, and a support link are commonly included in your call-to-action section. You can use this set as a single unit of the group if you can combine these form, link, and button blocks together. As a result, you will save time and effort by not having to create the same part many times for each blog post.
To create block groups, you need to select all the blocks you want to make a group of and you will see an overlay icon. From the new menu, from the ‘Transform to’ inscription you can choose ‘Group’. Your block is ready to go. You can now change the chronology and adjust it as per your preference.


